ESP32 (beta)
Develop and deploy native ESP-IDF apps to supported ESP32 devices with Wendy
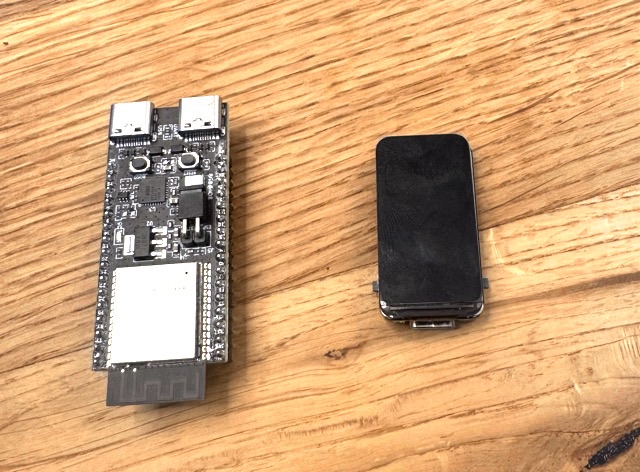
ESP32 with Wendy
Wendy supports regular, native ESP-IDF projects on ESP32. This is the recommended way to build ESP32 apps: keep the standard ESP-IDF project layout and APIs, then use wendy run to select the correct chip target, build, deploy, reboot, and stream logs.
Swift and other WebAssembly apps remain available through the optional Wendy Lite WASM runtime, but new projects should start with native ESP-IDF unless they specifically need WASM portability.
Supported targets: ESP32-C5, ESP32-C6, ESP32-C61, ESP32-P4, and ESP32-S3. When the installer offers multiple firmware variants, choose one labeled native app support. ESP32-P4 support is available for the boards listed by the installer.
What You'll Need
- A supported ESP32 development board
- A USB data cable
- The Wendy CLI (Developer Machine Setup)
- The ESP-IDF Installation Manager (
eim). On macOS, install it withbrew install espressif/eim/eim - An existing ESP-IDF project, or a new project created with the standard ESP-IDF tooling
Wendy uses eim to run ESP-IDF 5.5.4. If that version is not installed, the first wendy run installs it for you.
Install the Wendy Firmware
Connect Your Board
Plug the ESP32 into your development machine over USB. If the board has separate UART and native USB ports, prefer native USB.
Install the Firmware
Run:
wendy install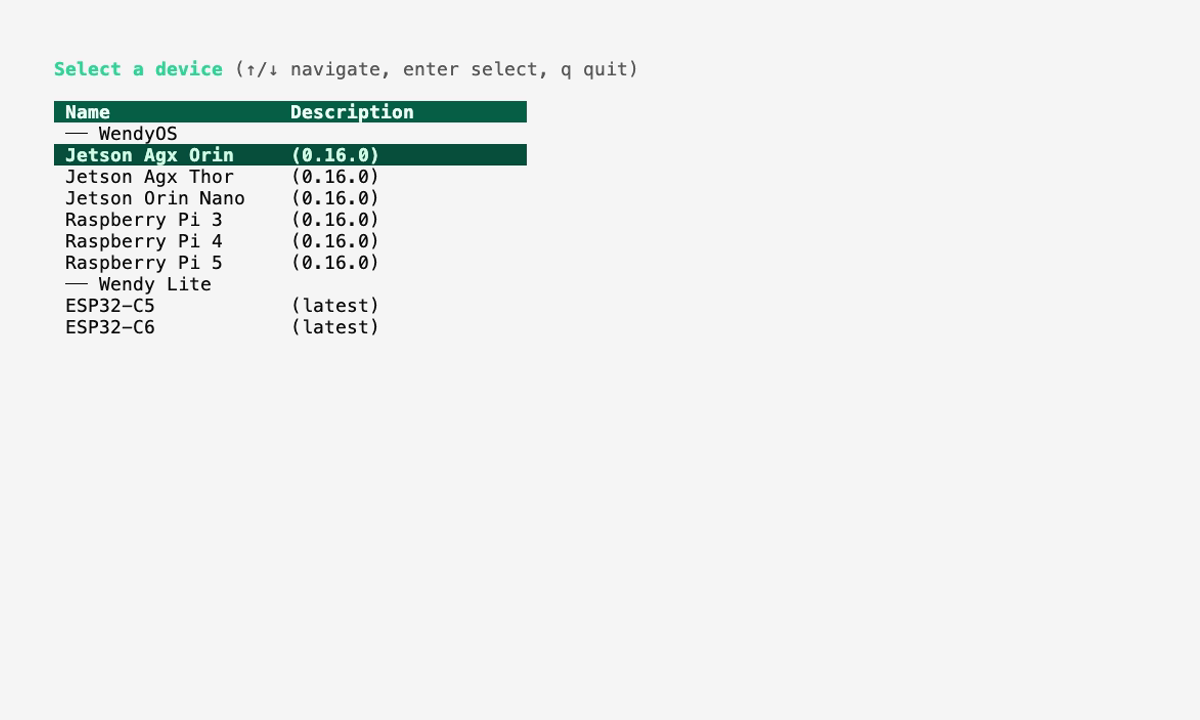
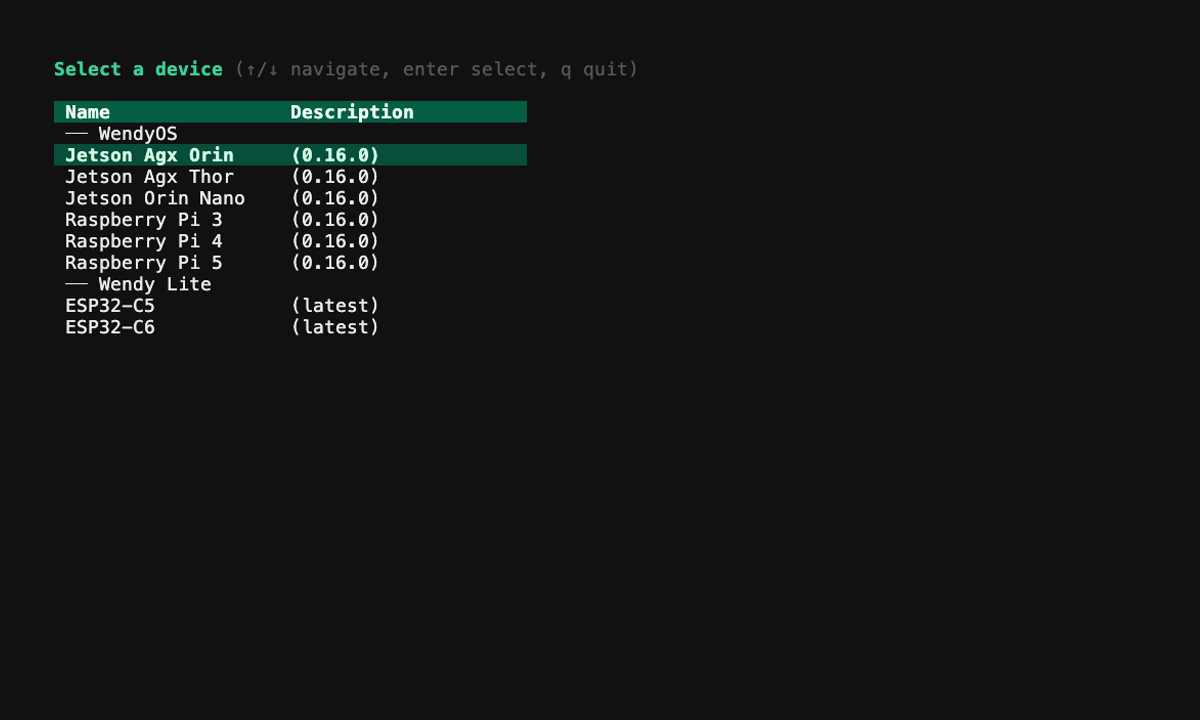
Select the target that matches your chip, then choose your board. For generic ESP32-C5, ESP32-C6, and ESP32-S3 boards, select the variant labeled native app support.
The CLI detects the USB serial port, verifies the chip model, downloads the correct Wendy firmware, and flashes it directly. No separate esptool installation is required.
Discover Your Device
After the board reboots, run:
wendy discover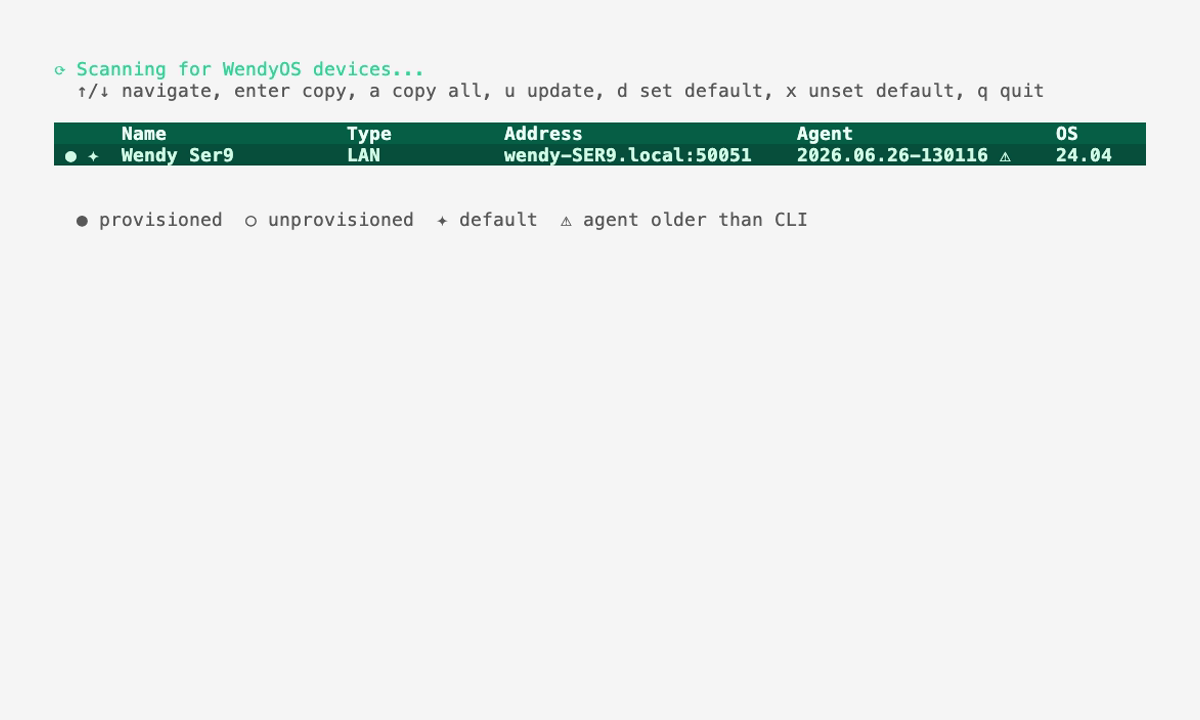
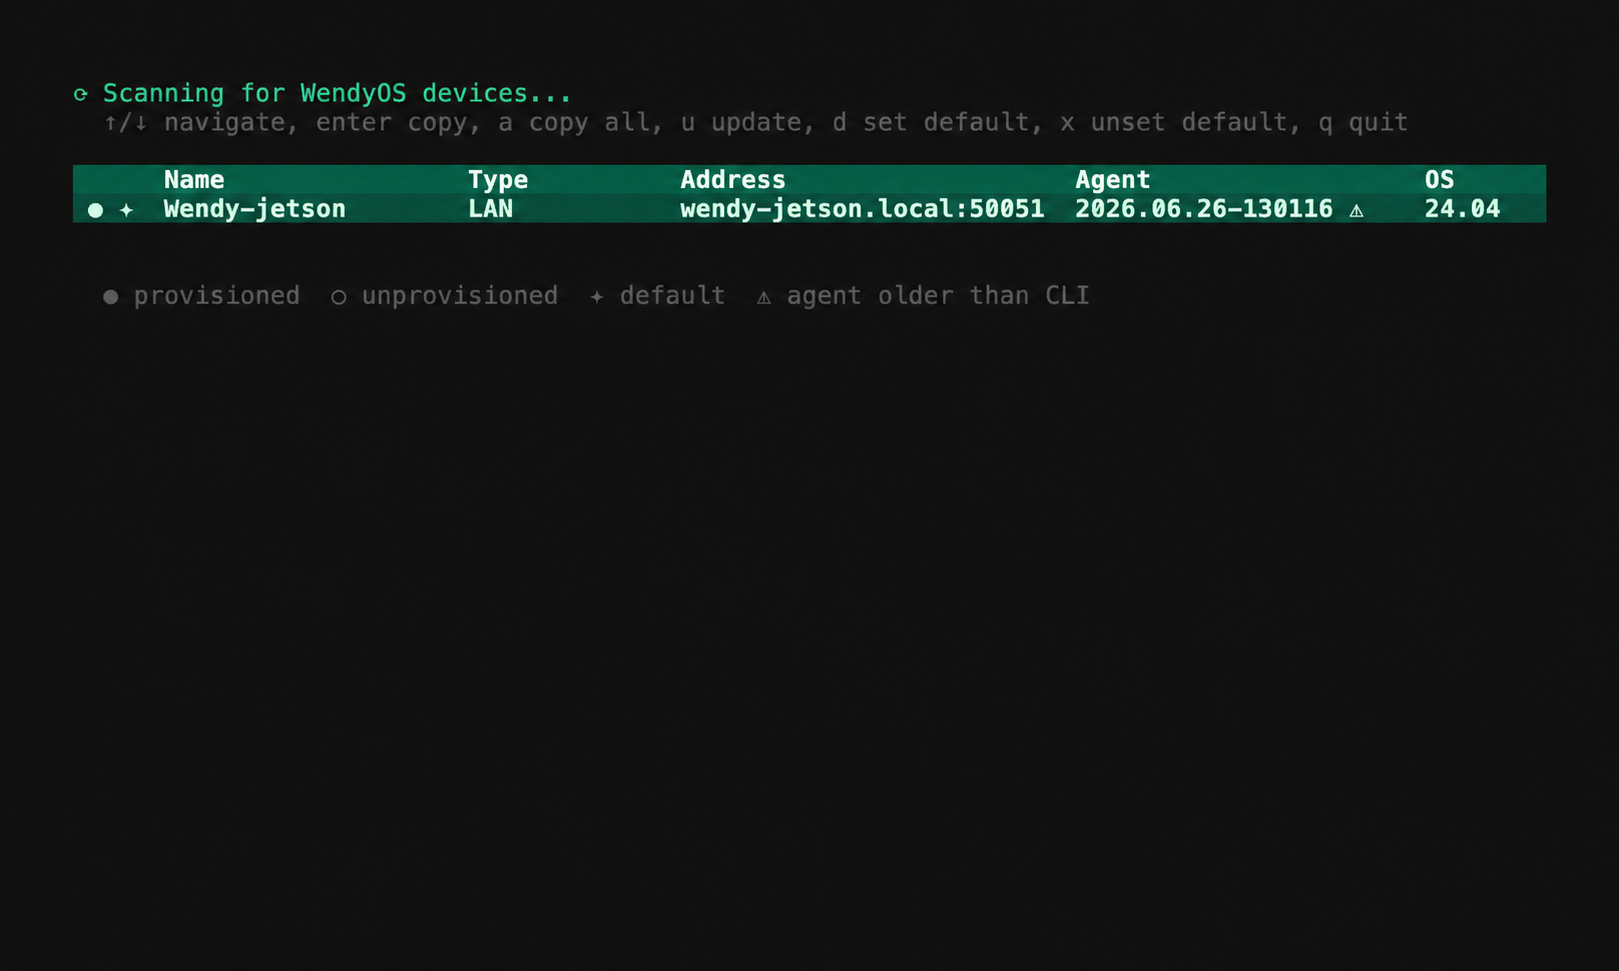
The ESP32 can be discovered over its native USB connection or over the network after Wi-Fi provisioning.
Use a Regular ESP-IDF Project
Wendy recognizes the standard ESP-IDF project markers: a top-level CMakeLists.txt that includes project.cmake, or an sdkconfig/sdkconfig.defaults file. Keep the normal ESP-IDF layout and add a small wendy.json manifest:
hello-esp32/
├── CMakeLists.txt
├── sdkconfig.defaults
├── wendy.json
└── main/
    ├── CMakeLists.txt
    └── main.c
The top-level CMakeLists.txt remains standard ESP-IDF:
cmake_minimum_required(VERSION 3.16)
include($ENV{IDF_PATH}/tools/cmake/project.cmake)
project(hello_esp32)
Add a Wendy manifest using the wendy-lite device platform:
{
  "$schema": "https://wendy.dev/schemas/wendy.json",
  "appId": "com.example.hello-esp32",
  "version": "0.1.0",
  "platform": "wendy-lite",
  "entitlements": []
}
Your app code uses normal ESP-IDF components and APIs. Wendy does not require a custom application SDK or wrapper.
Deploy
From the ESP-IDF project directory, run:
wendy run --device <name>Wendy:
- Detects the project as ESP-IDF.
- Reads the target from the connected device.
- Runs
idf.py set-targetwhen the project is configured for a different chip. - Builds the project with ESP-IDF 5.5.4.
- Uploads the native application firmware, reboots the ESP32, and reconnects.
- Streams the ESP-IDF console output back to your terminal.
Use the usual ESP-IDF tools such as idf.py menuconfig and component manifests as normal. You can also build or flash with idf.py directly whenever you want the conventional ESP-IDF workflow.
Wi-Fi Provisioning
Wendy devices advertise over BLE for headless Wi-Fi provisioning. Run wendy device setup to send Wi-Fi credentials and, when applicable, cloud enrollment information. Once connected, the board is discoverable over mDNS and can receive deployments over the network.
Optional WASM Apps
Wendy Lite can also run Swift and other WebAssembly guests on firmware variants with WASM support. This path is useful when application portability is more important than direct access to the complete ESP-IDF API. See the Wendy Lite reference for the WASM SDK, host API, and deployment details.
Next Steps
- Start from the native ESP32-C6 NeoPixel example
- Read the
wendy runreference - Read the
wendy installESP32 reference