Simple Web Server
Build a long-running HTTP server on WendyOS using C++
Building a Web Server with Drogon
Often times you'll want a long-running server where you can make HTTP or WebSocket calls to your WendyOS device. This allows your device to accept incoming requests and respond to them, making it easy to build interactive applications or APIs that can be accessed from other devices on your network.
This guide shows you how to build a web server using Drogon, a high-performance C++14/17 HTTP application framework. The Wendy C++ template scaffolds the server, Dockerfile, and wendy.json for you.
Prerequisites
- Wendy CLI installed on your development machine
- A WendyOS device plugged in over USB or connectable over Wi-Fi
Setting Up Your Project
Initialize the Project
Start from the Wendy C++ web server template:
wendy init simple-server --target wendyos --language cpp --template simple-api --var APP_ID=simple-server --var PORT=3000 --assistant skip --git-init no
cd simple-server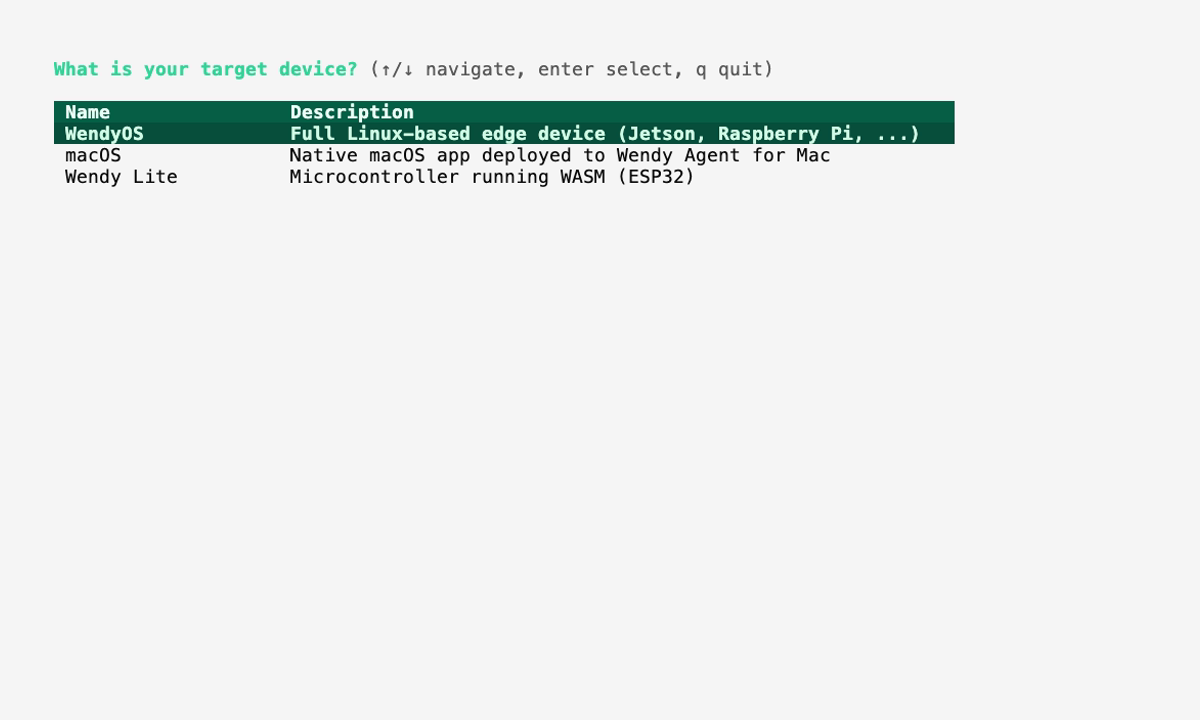
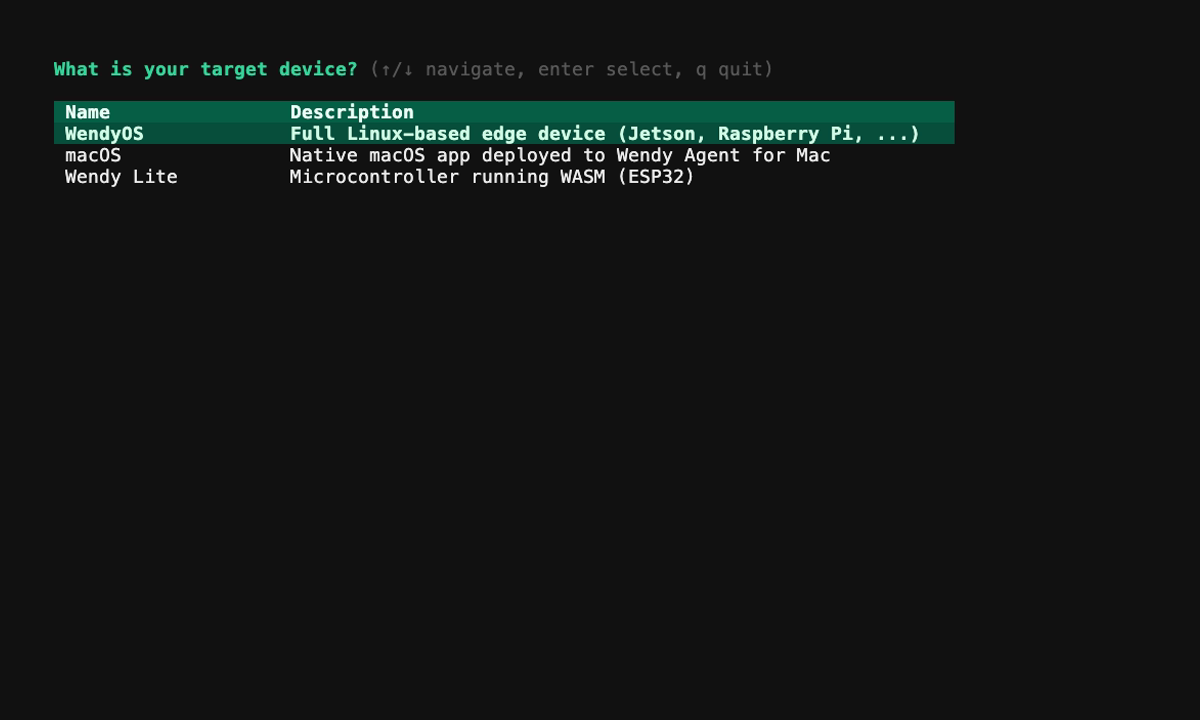
The template creates CMakeLists.txt, main.cpp, Dockerfile, and wendy.json. The sections below explain the generated server and the pieces you can customize.
Run on WendyOS
wendy run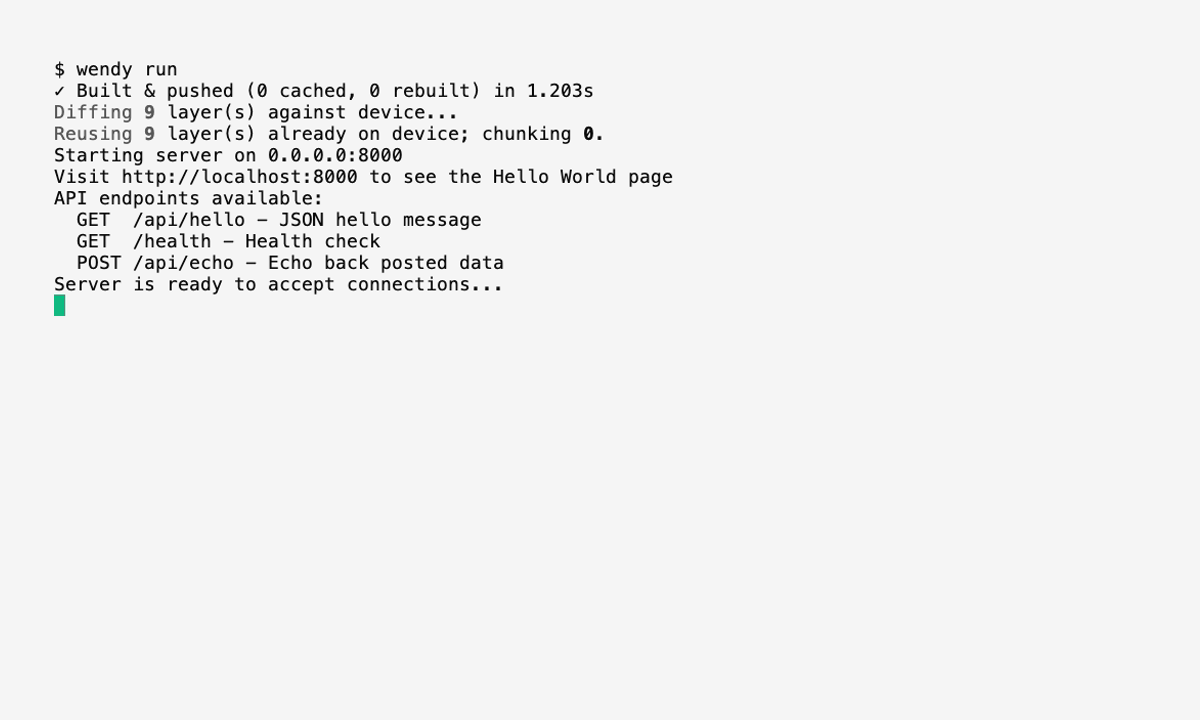
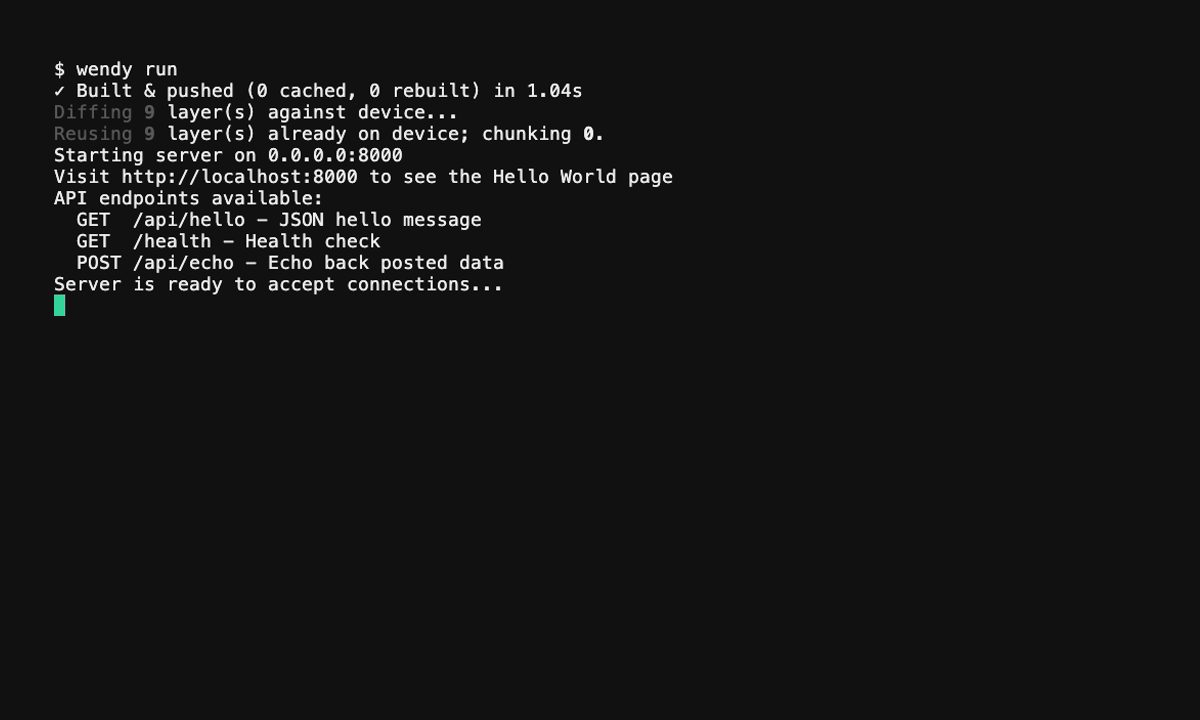
Wendy will build the app, ask you to select a device if one is not already configured, deploy the app, and stream the run output. The generated wendy.json includes a postStart hook, so your browser opens automatically once the server is ready.
Code Breakdown
Generated Web Server
The generated main.cpp registers three routes on a Drogon server listening on port 3000:
#include <drogon/drogon.h>
#include <cstdlib>
#include <iostream>
#include <string>

using namespace drogon;

int main() {
    const char* env_hostname = std::getenv("WENDY_HOSTNAME");
    std::string hostname = env_hostname ? env_hostname : "0.0.0.0";

    app().registerHandler(
        "/",
        [](const HttpRequestPtr&, std::function<void(const HttpResponsePtr&)>&& callback) {
            std::cout << "Received request: GET /" << std::endl;
            Json::Value json;
            json["message"] = "hello-world";
            auto resp = HttpResponse::newHttpJsonResponse(json);
            callback(resp);
        },
        {Get});

    app().registerHandler(
        "/health",
        [](const HttpRequestPtr&, std::function<void(const HttpResponsePtr&)>&& callback) {
            Json::Value json;
            json["status"] = "ok";
            auto resp = HttpResponse::newHttpJsonResponse(json);
            callback(resp);
        },
        {Get});

    app().registerHandler(
        "/items",
        [](const HttpRequestPtr& req, std::function<void(const HttpResponsePtr&)>&& callback) {
            std::cout << "Received request: POST /items" << std::endl;
            auto body = req->getJsonObject();
            if (!body) {
                Json::Value err;
                err["error"] = "Invalid JSON";
                auto resp = HttpResponse::newHttpJsonResponse(err);
                resp->setStatusCode(k400BadRequest);
                callback(resp);
                return;
            }

            Json::Value item;
            item["id"] = 1;
            item["name"] = (*body)["name"].asString();
            item["price"] = (*body)["price"].asDouble();
            auto resp = HttpResponse::newHttpJsonResponse(item);
            resp->setStatusCode(k201Created);
            callback(resp);
        },
        {Post});

    std::cout << "Server running on http://" << hostname << ":3000" << std::endl;

    app().addListener("0.0.0.0", 3000);
    app().run();

    return 0;
}
Three routes: This example includes:
GET /— returns{"message":"hello-world"}GET /health— returns{"status":"ok"}, handy for health checksPOST /items— parses a JSON body (name,price) and echoes it back with anidand a201 Createdstatus, or returns400for invalid JSON
Important: The server binds to 0.0.0.0 rather than localhost or 127.0.0.1. This is because your WendyOS device needs to accept connections from other devices on the network. Binding to 0.0.0.0 makes the server reachable externally.
Generated CMakeLists.txt
The generated CMakeLists.txt finds Drogon and links it into the server binary:
cmake_minimum_required(VERSION 3.16)
project(simple-server VERSION 0.1.0 LANGUAGES CXX)

set(CMAKE_CXX_STANDARD 17)
set(CMAKE_CXX_STANDARD_REQUIRED ON)

find_package(Drogon REQUIRED)

add_executable(simple-server main.cpp)

target_link_libraries(simple-server PRIVATE Drogon::Drogon)
Generated Dockerfile
The generated project includes a multi-stage Dockerfile configured for the NVIDIA Jetson Orin Nano (ARM64). The build stage compiles Drogon v1.9.12 from source and builds the app; the runtime stage ships only the binary and its shared-library dependencies:
FROM arm64v8/debian:bookworm-slim AS builder

RUN apt-get update && apt-get install -y --no-install-recommends \
    build-essential \
    cmake \
    git \
    ca-certificates \
    libjsoncpp-dev \
    libssl-dev \
    uuid-dev \
    zlib1g-dev \
    && rm -rf /var/lib/apt/lists/*

WORKDIR /deps

RUN git clone --branch v1.9.12 --depth 1 https://github.com/drogonframework/drogon.git && \
    cd drogon && \
    git submodule update --init && \
    cmake -B build -DCMAKE_BUILD_TYPE=Release -DBUILD_EXAMPLES=OFF -DBUILD_CTL=OFF -DBUILD_ORM=OFF && \
    cmake --build build -j$(nproc) && \
    cmake --install build

WORKDIR /app

COPY CMakeLists.txt main.cpp ./

RUN cmake -B build -DCMAKE_BUILD_TYPE=Release && \
    cmake --build build --config Release

FROM arm64v8/debian:bookworm-slim

RUN apt-get update && apt-get install -y --no-install-recommends \
    ca-certificates \
    libjsoncpp25 \
    libssl3 \
    libuuid1 \
    zlib1g \
    && rm -rf /var/lib/apt/lists/*

COPY --from=builder /app/build/simple-server /usr/local/bin/simple-server

EXPOSE 3000

CMD ["simple-server"]
Building Drogon from source takes a while: The first wendy run compiles Drogon inside the build stage, which can take several minutes. Subsequent builds reuse the cached layer and are much faster.
Generated wendy.json
The generated wendy.json already includes the network entitlement, a readiness probe on port 3000, and a postStart hook that opens your browser once the server is ready — you don't need to add these by hand:
{
    "appId": "simple-server",
    "platform": "linux",
    "version": "0.1.0",
    "entitlements": [
        {
            "type": "network"
        }
    ],
    "readiness": {
        "tcpSocket": { "port": 3000 },
        "timeoutSeconds": 30
    },
    "hooks": {
        "postStart": {
            "cli": "wendy utils open-browser http://${WENDY_HOSTNAME}:3000"
        }
    }
}
Run Again on WendyOS
Deploy your containerized web server to your WendyOS device:
wendy runThe Wendy CLI will build your container, transfer it to your device, and run it with the appropriate port mapping.
Test Your Server on WendyOS
After deploying your server, the postStart hook opens your browser automatically when the readiness probe passes. You can also open your browser manually and navigate to:
http://wendyos-true-probe.local:3000Replace the hostname: Each WendyOS device has a unique hostname. Replace wendyos-true-probe with your device's actual hostname shown in the CLI output. Don't forget to include the port.
The default route returns:
{"message":"hello-world"}This confirms your web server is successfully running on your WendyOS device and accepting requests from your network.
Verifying Deployment
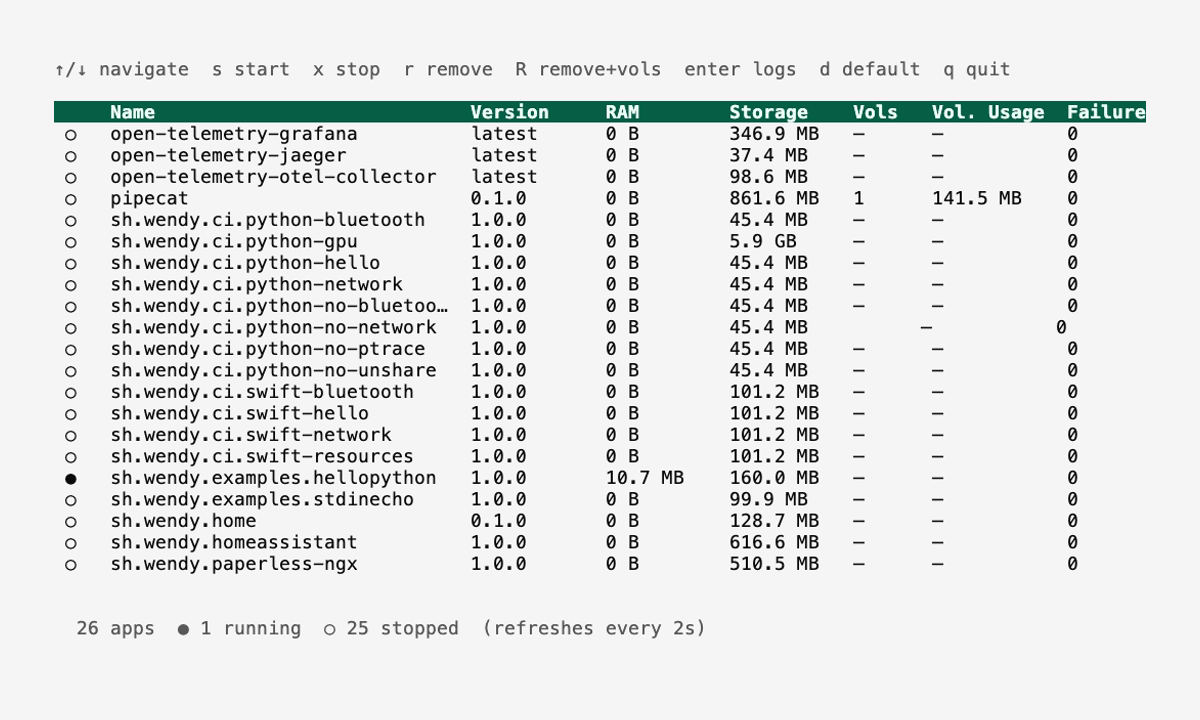
You can verify the server container is running by listing the applications on your device:
wendy device apps list
✔︎ Searching for WendyOS devices [5.3s]
✔︎ Listing applications: True Probe [USB, Ethernet, LAN]
╭───────────────┬─────────┬─────────┬──────────╮
│ App           │ Version │ State   │ Failures │
├───────────────┼─────────┼─────────┼──────────┤
│ simple-server │ 0.1.0   │ Running │ 0        │
╰───────────────┴─────────┴─────────┴──────────╯
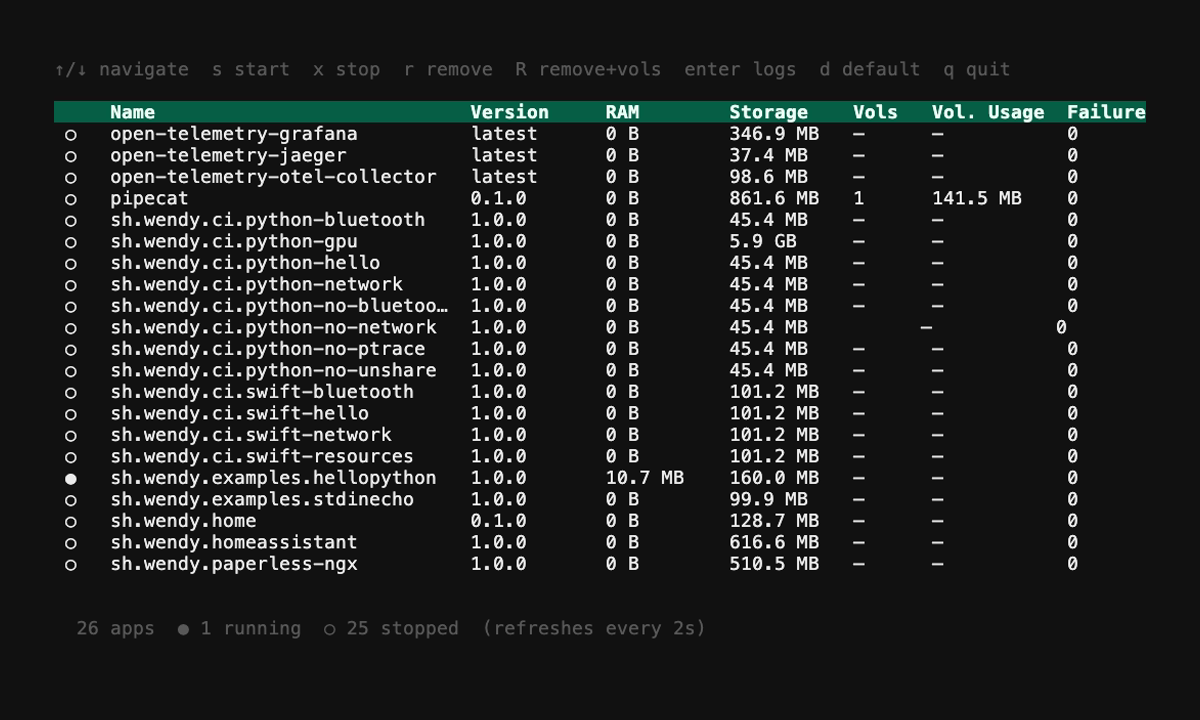
Because the server stays up to serve requests, it shows as "Running" with 0 failures.
More Code Notes
Let's break down what the code does:
-
Include Drogon:
<drogon/drogon.h>brings in the framework. JSON support is built in viaJson::Value. -
Read the hostname: The app reads
WENDY_HOSTNAMEfrom the environment so it can log a reachable URL, falling back to0.0.0.0. -
Register routes:
app().registerHandler(...)attaches a lambda handler and the allowed HTTP methods ({Get},{Post}) to each path.POST /itemsparses the request body withreq->getJsonObject()and validates it. -
Start the server:
app().addListener("0.0.0.0", 3000)binds the listener andapp().run()blocks, serving connections on port3000.
Alternative Frameworks
While the template uses Drogon, other excellent C++ web frameworks are available:
- Crow: A Flask-inspired micro web framework
- Pistache: A modern and elegant HTTP and REST framework
- Oat++: Light and powerful C++ web framework
- cpp-httplib: A lightweight, single-file HTTP/HTTPS server and client library
All of these frameworks can be containerized and deployed to WendyOS following a similar Docker-based approach.
Next Steps
Now that you have a basic web server running:
- Add more routes to handle different endpoints
- Implement PUT and DELETE routes for a full REST API
- Add request validation and error handling
- Parse query parameters
- Connect to WendyOS device features to control hardware via HTTP
- Implement WebSocket support for real-time communication (see the Camera Feed guide)