NVIDIA Jetson
Install WendyOS on your NVIDIA Jetson device

NVIDIA Jetson Installation
For Jetson Orin Nano and Jetson AGX Orin, you'll need an NVMe SSD to USB-C adapter to flash WendyOS onto your NVMe SSD. Jetson AGX Thor uses a separate USB recovery flash path and does not use an external drive.
Installing WendyOS on NVIDIA Jetson
WendyOS supports these NVIDIA Jetson devices:
For DGX Spark, use Wendy Agent — Linux on the existing OS instead of flashing WendyOS. Prefer video? Watch the Jetson Orin Nano installation walkthrough.
Installation Steps
Prepare Storage or Recovery Mode
Using an NVMe SSD to USB-C adapter, connect your NVMe SSD into the adapter and then the USB-C end to your computer.
On macOS you'll be presented with a permission dialog to use the adapter. Press Allow.
Start with the Thor powered off. Connect your computer to the USB-C port next to the HDMI port, then enter recovery mode: plug in power, hold Force Recovery, briefly tap Reset, then release Force Recovery. The other USB-C port is power-only.
Install WendyOS
Use the wendy CLI to install the operating system:
wendy install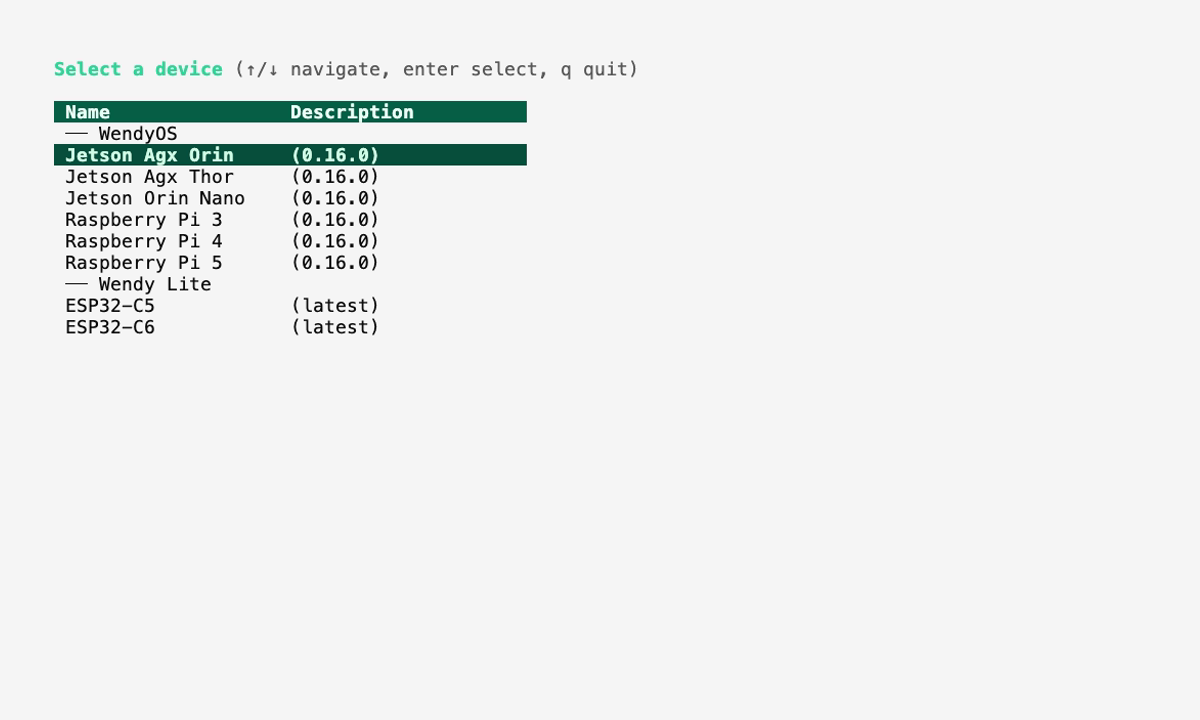
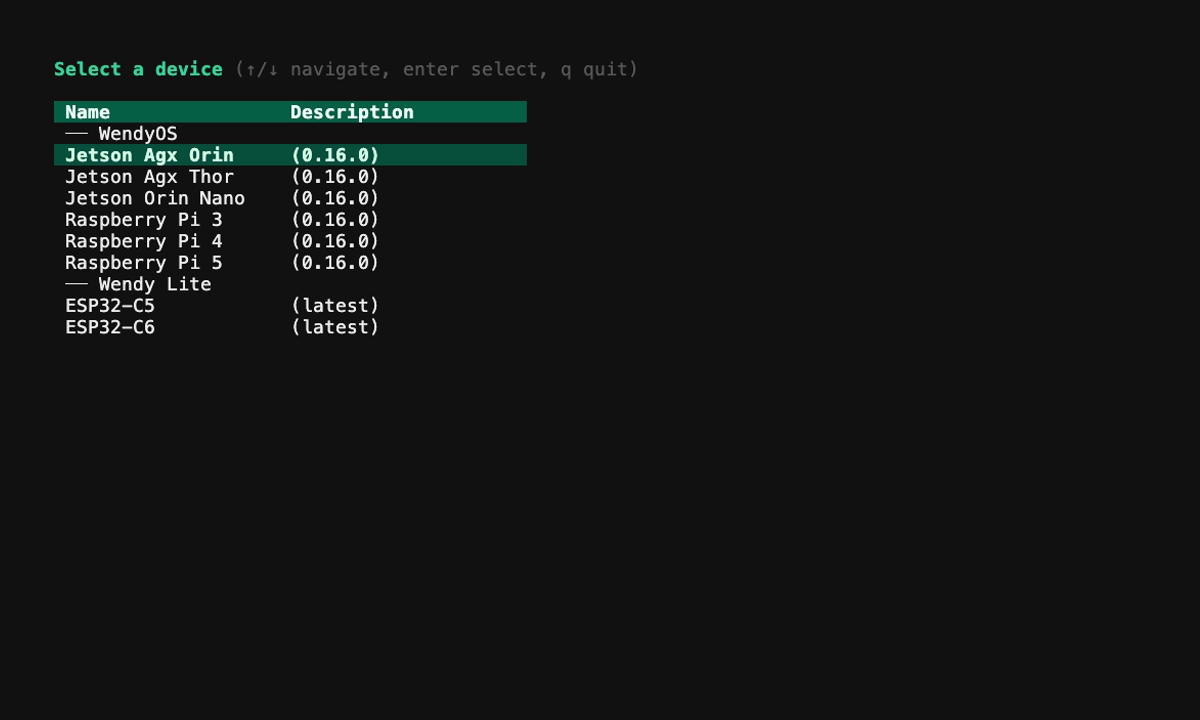
Select the Jetson model you are installing:
- Jetson Orin Nano or Jetson AGX Orin: select your target drive. WendyOS downloads to the drive, and you'll enter your administrator password to write the image.
- Jetson AGX Thor: the CLI downloads a Thor flashpack, scans for the board in USB recovery mode, and flashes QSPI plus the internal NVMe. No external drive is selected.
The CLI also offers optional first-boot provisioning — joining WiFi, applying critical updates, and pre-enrolling the device to Wendy Cloud. Each can also be set up after the device boots. See wendy install for more.
Install Storage or Reboot
Remove the NVMe SSD from your computer and insert it into your Jetson's M.2 slot.
After the CLI reports a successful flash, power-cycle the Thor out of recovery mode so it boots WendyOS from its internal storage.
Connect the Jetson to Your Computer
Connect your Jetson to your computer using the data-capable USB-C port. This will allow you to deploy and manage apps on your device.
Power On the Device
With the supplied power supply, insert the power into the power slot on your Jetson and then plug into a power source like your wall outlet.
Discover Your Device
Wait 1-2 minutes after powering on your Jetson to allow WendyOS to fully boot. Then run:
wendy discoverYou should see your Jetson appear in the list of discovered devices.
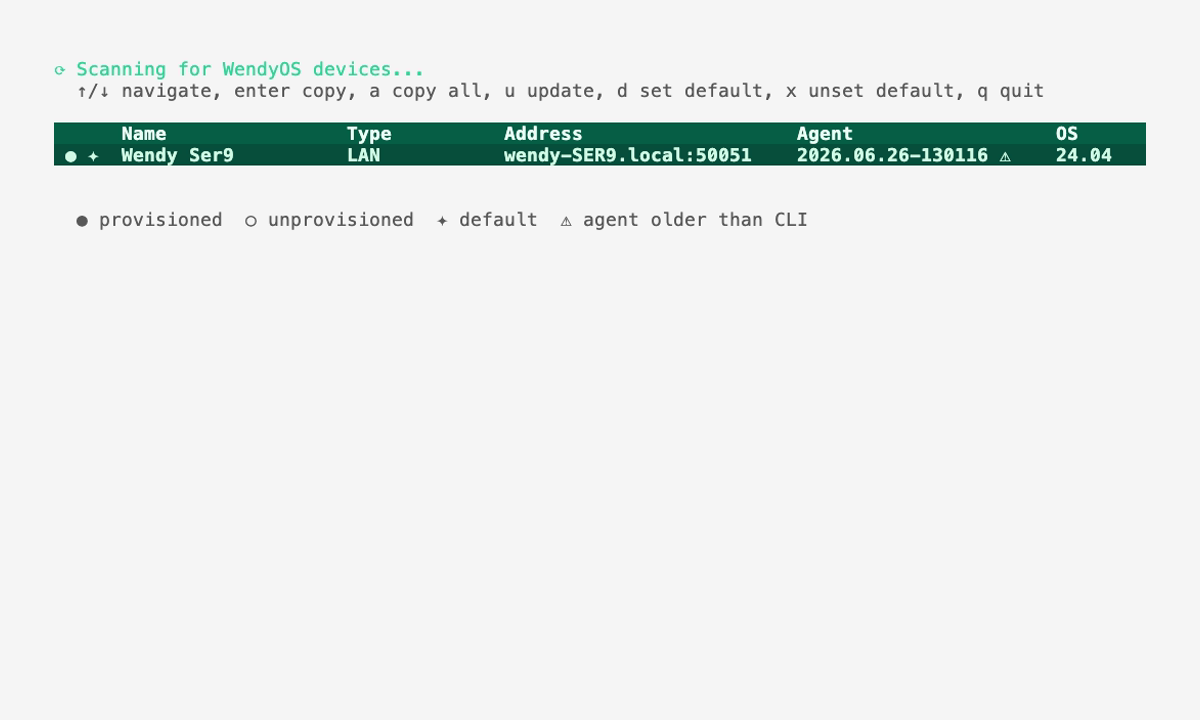
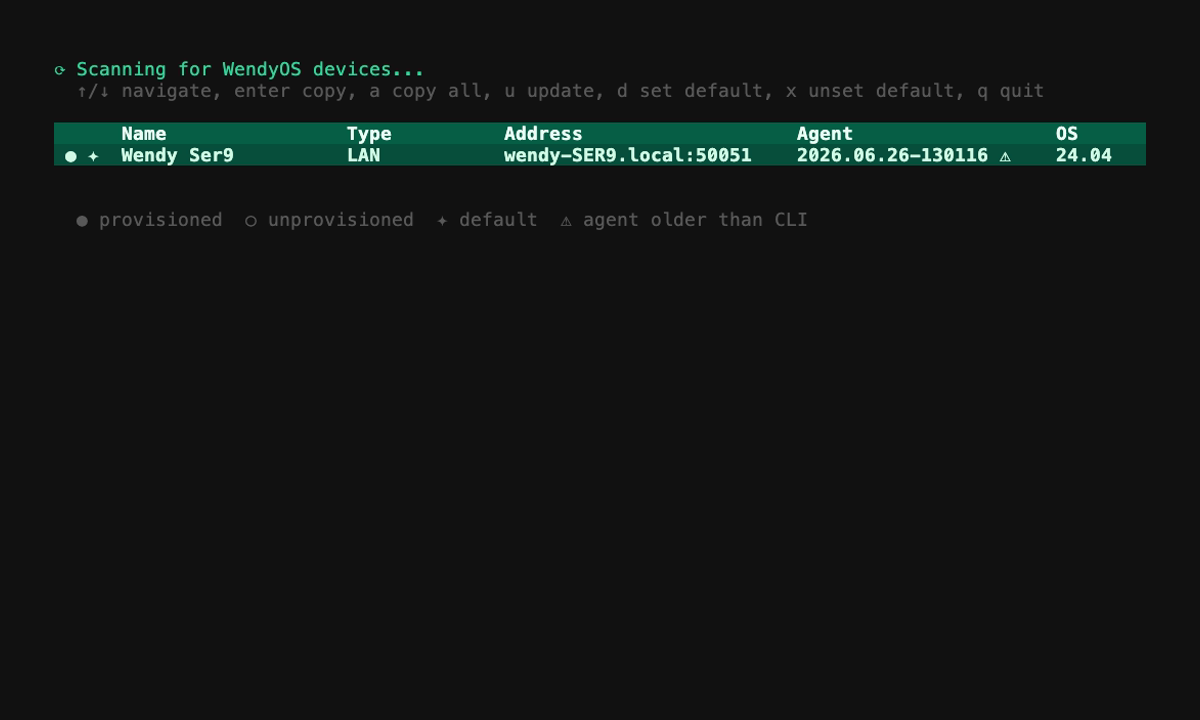
Your device is now ready for development! For more information on device discovery and configuration, see Discovering Devices.
Next Steps
Now that WendyOS is installed, you can start deploying apps to your device. Check out the Hello World Guide to build your first app.