Raspberry Pi
Install WendyOS on your Raspberry Pi 3, 4, or 5

Raspberry Pi Installation
WendyOS runs on these Raspberry Pi boards, with the Wendy agent built in:
The Pi 5 and Pi 4 expose a USB gadget over their USB-C port, so you can plug them straight into your computer for setup. The Pi 3 B/B+ cannot do this — its onboard USB hub blocks USB gadget mode — so it connects over the network instead. Plan to give the Pi 3 Wi-Fi or wired Ethernet (see the connection step below).
Installation Steps
Prefer to follow along with video? Watch the WendyOS Raspberry Pi 5 installation video. The steps are the same for the Pi 4 and Pi 3, apart from how you connect the board.
Connect the microSD Card to Your Computer
Insert your microSD card into a microSD-to-SD card adapter.
Then insert the adapter into your MacBook's SD card slot.
Pi 5 with NVMe: If you're booting your Pi 5 from an NVMe drive instead of a microSD card, connect the NVMe drive to your computer (for example via a USB-C NVMe enclosure) and select it as the target drive in the next step.
Install WendyOS
Use the wendy CLI to install the operating system:
wendy install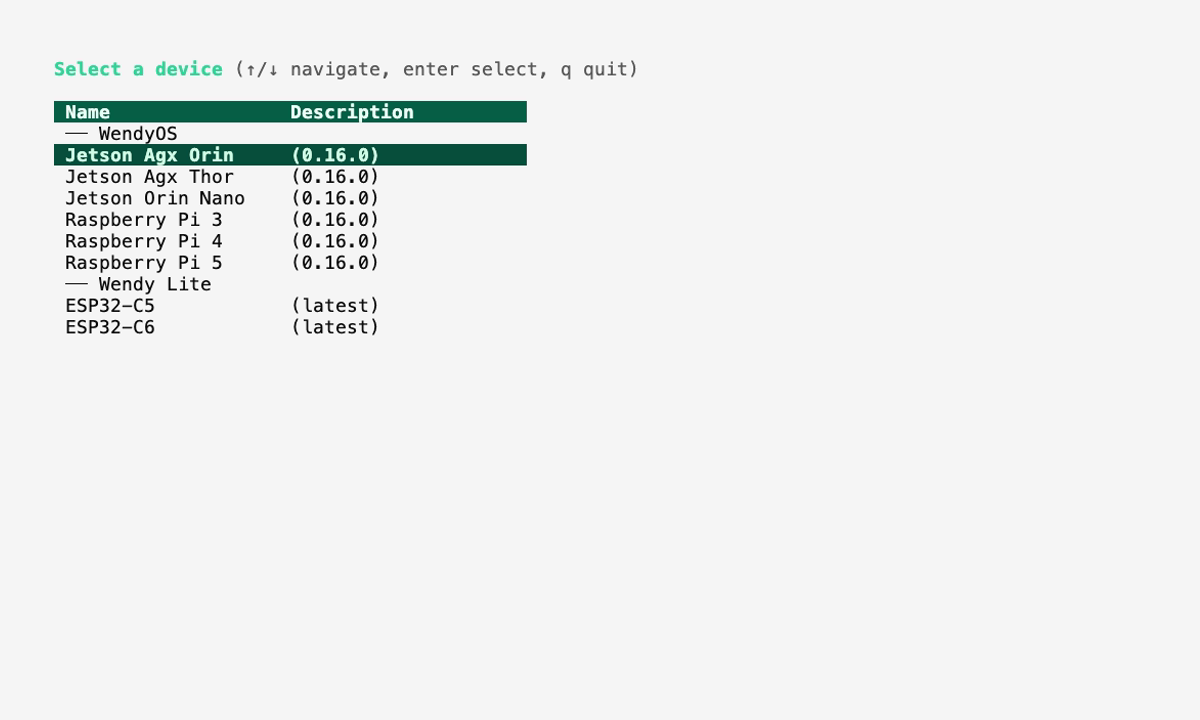
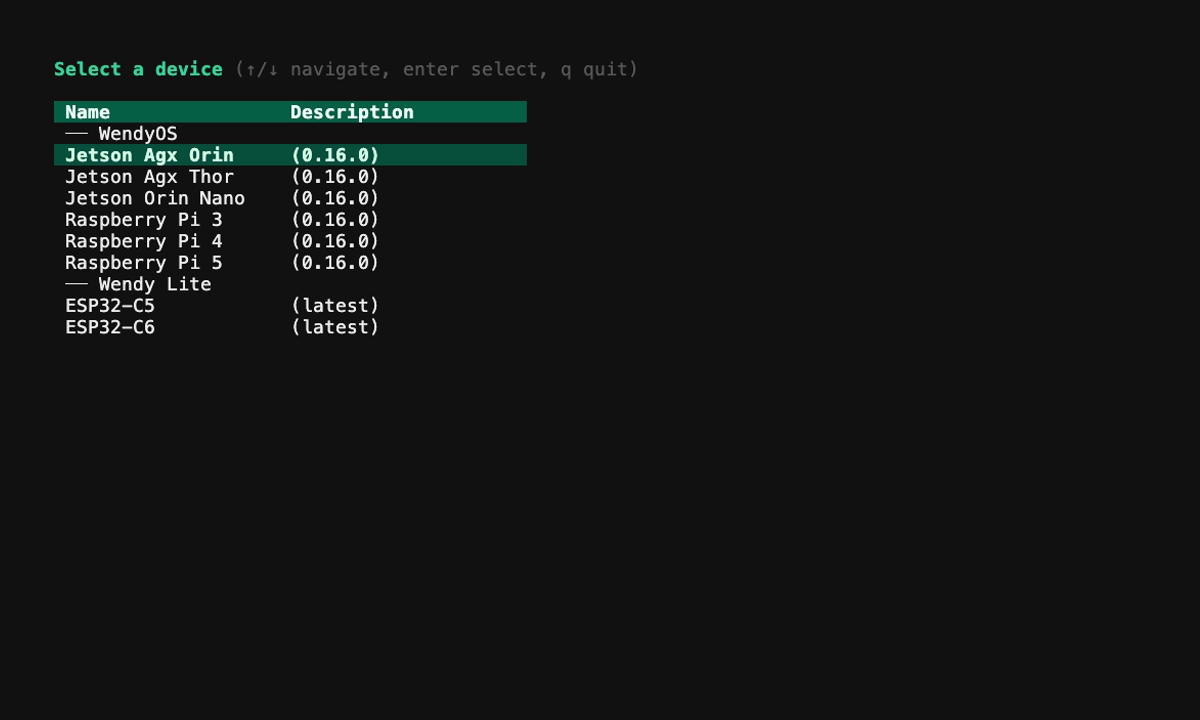
Select your board — Raspberry Pi 5, Raspberry Pi 4, or Raspberry Pi 3 — then your drive. WendyOS downloads and writes to your microSD card (or NVMe drive on the Pi 5); this can take a while, and you'll enter your administrator password to write the image.
The CLI also offers optional first-boot provisioning — joining WiFi, applying critical updates, and pre-enrolling the device to Wendy Cloud. Each can also be set up after the device boots. See wendy install for more.
Pi 3 — set up Wi-Fi now: The Pi 3 connects over the network rather than over USB, so it's easiest to pre-configure Wi-Fi while imaging. The installer will offer to do this, or you can pass it directly:
wendy install --wifi-ssid "MyNetwork" --wifi-password "hunter2"If you're using wired Ethernet on the Pi 3, you can skip this. Pi 5 and Pi 4 users can also pre-seed Wi-Fi the same way, but it's optional since those boards also connect over USB-C.
Insert the microSD Card into Your Pi
Remove the card from your computer and insert the microSD card into your Raspberry Pi. (On a Pi 5 booting from NVMe, install the NVMe drive into your Pi 5's M.2 HAT instead.)
Connect and Power On Your Pi
How you connect depends on your board:
Connect your Raspberry Pi 5 to your computer using a USB-C cable. This both powers the board and creates a direct connection for deploying and managing apps.
Connect your Raspberry Pi 4 to your computer using a USB-C cable, plugged into the Pi's USB-C port. The Pi 4's USB-C port runs in gadget mode, so this both powers the board and creates a direct connection for deploying and managing apps — just like the Pi 5.
The Raspberry Pi 3 doesn't support a USB connection to your computer, so it connects over the network instead:
- Power the Pi 3 with its micro-USB power supply.
- Make sure it can reach your network — either over the Wi-Fi you configured during install, or by plugging in an Ethernet cable.
Your computer and the Pi 3 must be on the same network for the next step to find it.
Discover Your Device
Wait 1–2 minutes after powering on your Pi to allow WendyOS to fully boot. Then run:
wendy discoverYou should see your Raspberry Pi appear in the list of discovered devices.
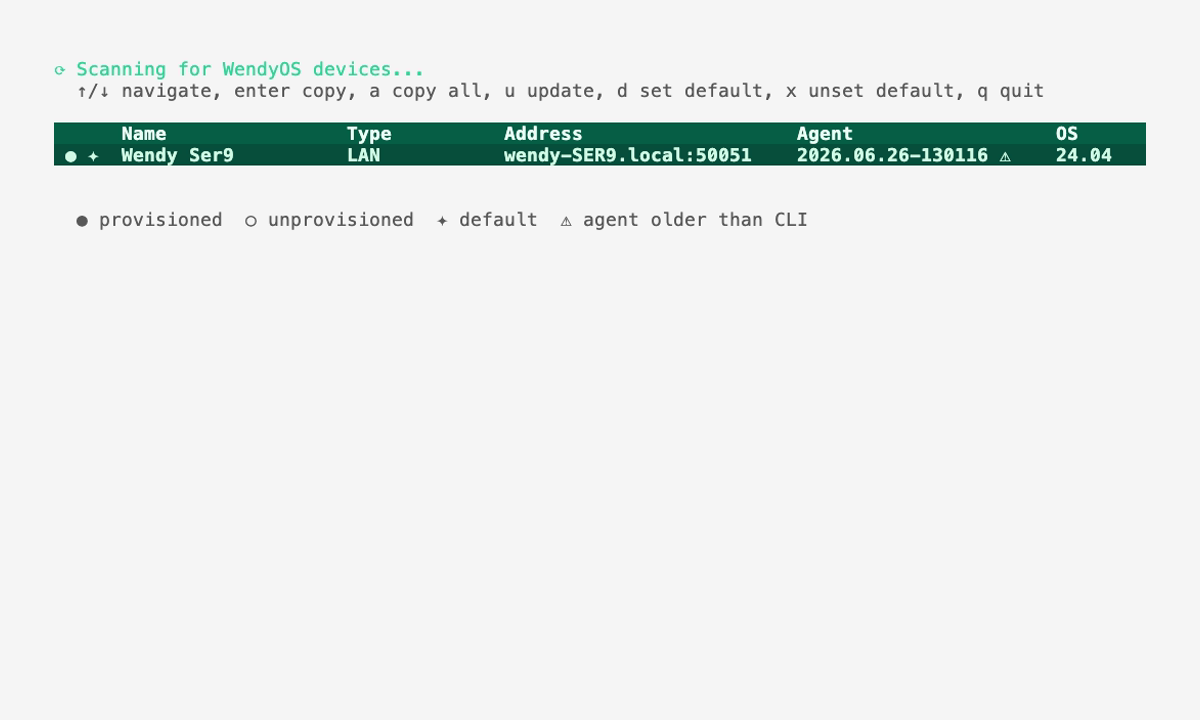
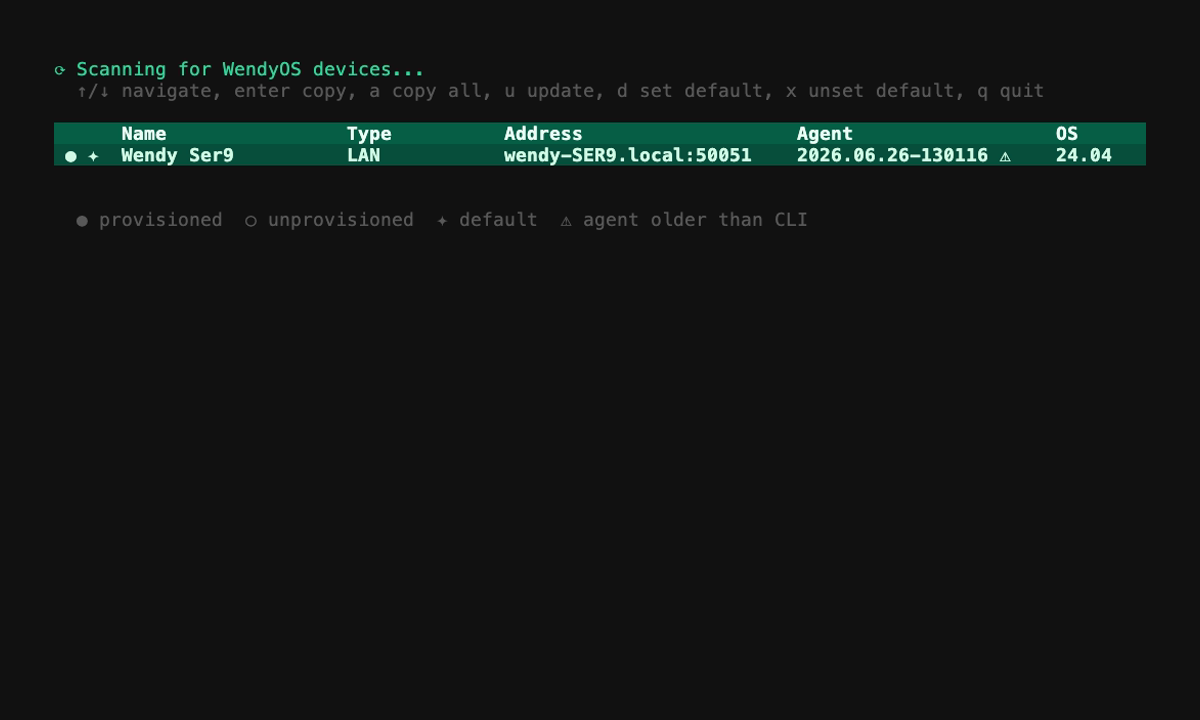
Don't see your Pi 3? Since the Pi 3 is found over the network, discovery relies on mDNS. If it doesn't show up, confirm the Pi is on the same network as your computer and that the network allows mDNS traffic — see Discovering Devices for troubleshooting.
Your device is now ready for development! For more information on device discovery and configuration, see Discovering Devices.
Next Steps
Now that WendyOS is installed, you can start deploying apps to your device. Check out the Hello World Guide to build your first app.