Hello World in C++
Create your first WendyOS application using C++
Creating Your First C++ Application
This guide will walk you through creating your first WendyOS application in C++. The Wendy C++ template scaffolds a small HTTP server built on the Drogon framework, so your very first app is a real, long-running service you can reach from a browser. This is a great way to prove you can send an app to your device and verify your development environment is set up correctly.
Prerequisites
- Wendy CLI installed on your development machine
- A WendyOS device plugged in over USB or connectable over Wi-Fi
Containerized Deployment: C++ applications run inside containers on your WendyOS device. The Dockerfile in this guide is configured for the NVIDIA Jetson Orin Nano's ARM64 architecture using arm64v8/debian:bookworm-slim as the base image. The Wendy CLI handles the build and deploy for you — you do not need a local C++ toolchain.
Creating the Project
Initialize the Project
Start from the Wendy C++ template:
wendy init hello-world --target wendyos --language cpp --template simple-api --var APP_ID=hello-world --var PORT=7001 --assistant skip --git-init no
cd hello-world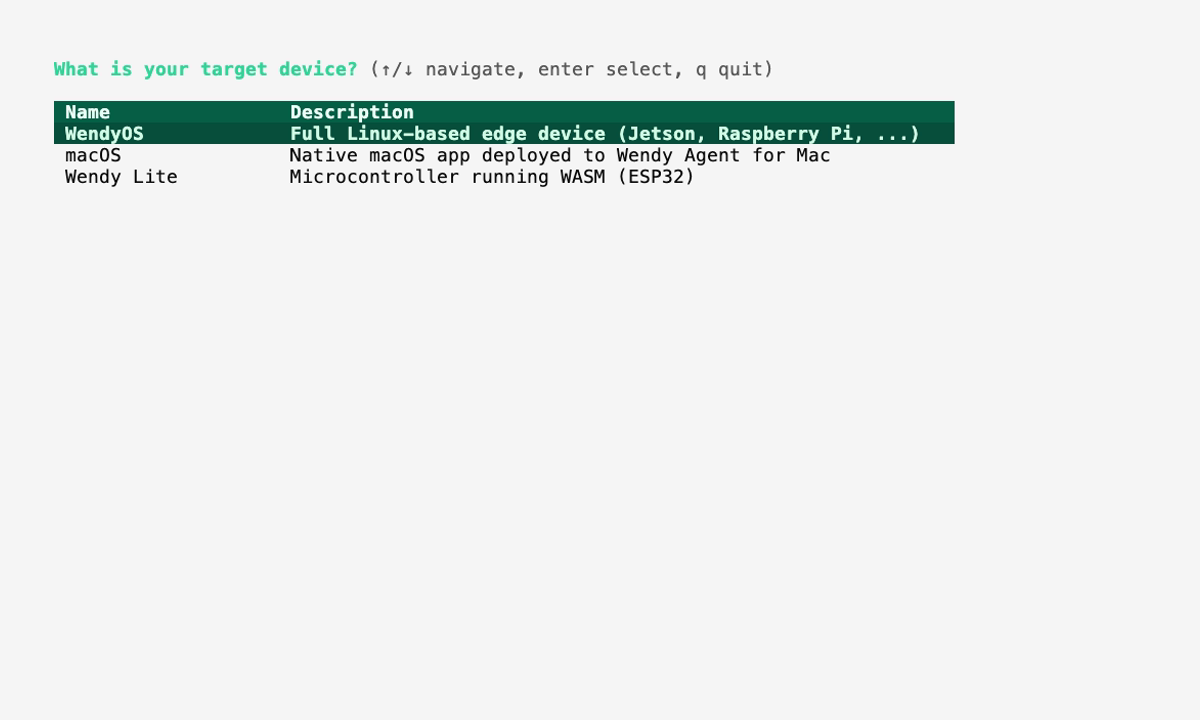
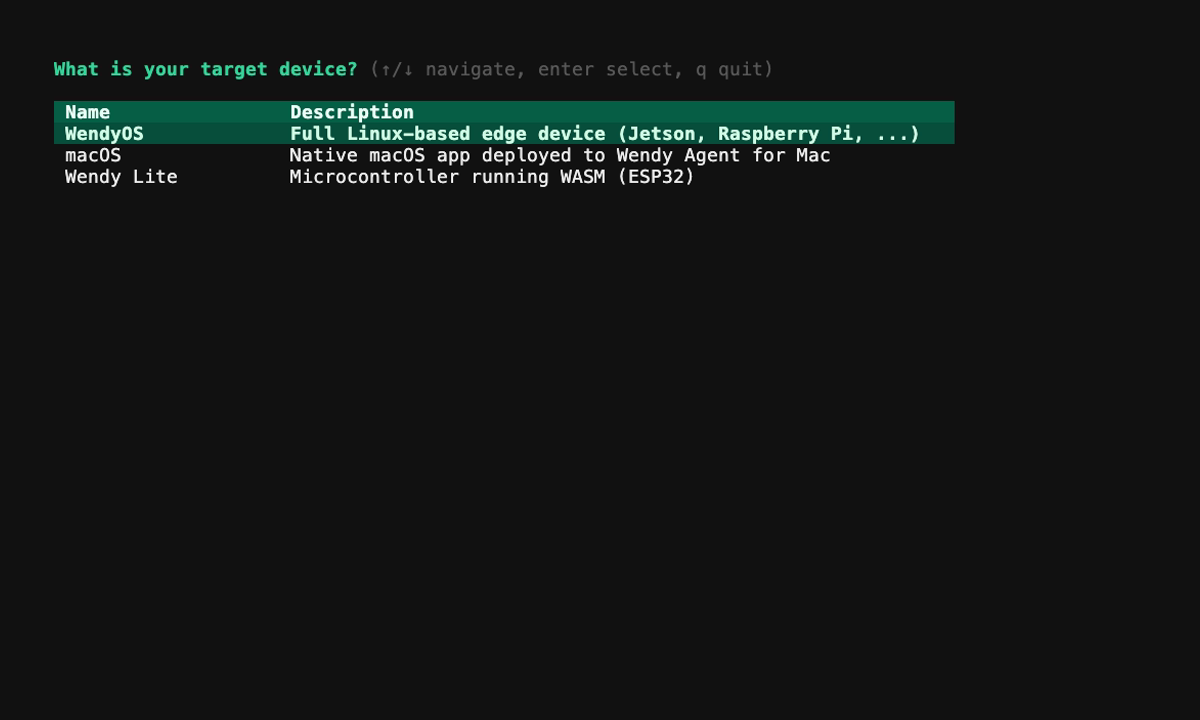
The template creates CMakeLists.txt, main.cpp, Dockerfile, and wendy.json. Continue below to understand the generated project.
Run on WendyOS
wendy run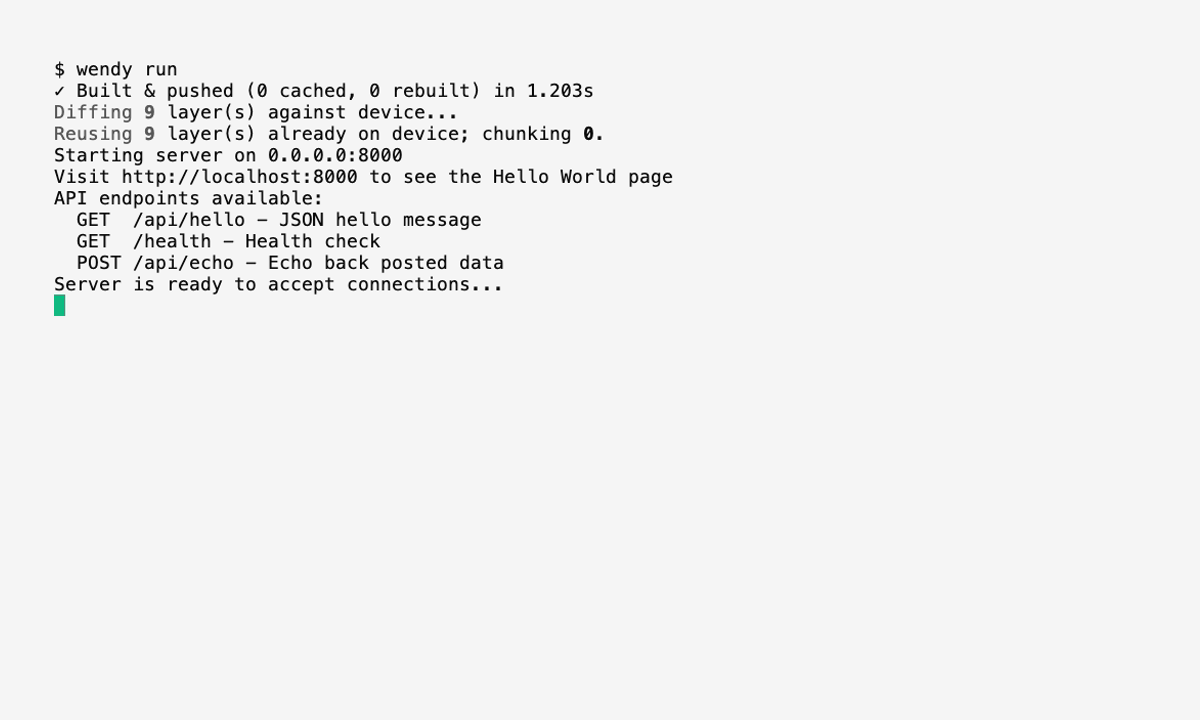
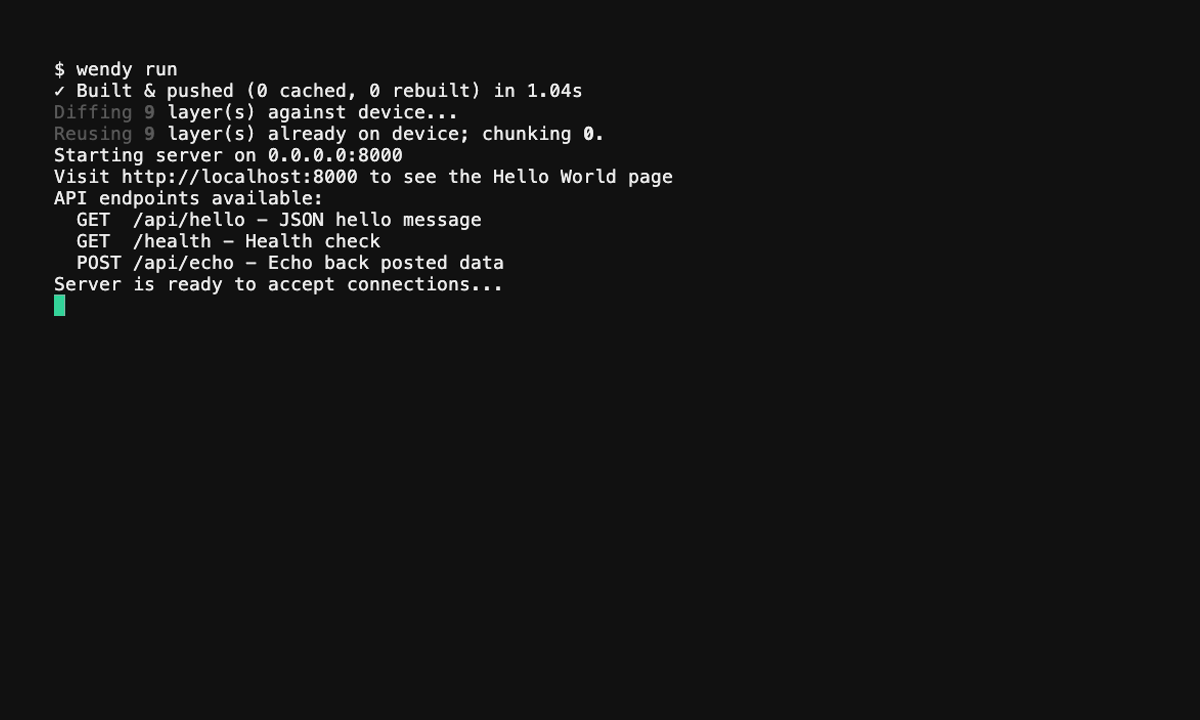
Wendy will build the app, ask you to select a device if one is not already configured, deploy the app, and stream the run output. Because the generated wendy.json includes a postStart hook, your browser opens automatically once the server is ready and shows the JSON response from /.
Code Breakdown
Generated Application
The generated main.cpp starts a Drogon HTTP server with three routes and listens on port 7001:
#include <drogon/drogon.h>
#include <cstdlib>
#include <iostream>
#include <string>

using namespace drogon;

int main() {
    const char* env_hostname = std::getenv("WENDY_HOSTNAME");
    std::string hostname = env_hostname ? env_hostname : "0.0.0.0";

    app().registerHandler(
        "/",
        [](const HttpRequestPtr&, std::function<void(const HttpResponsePtr&)>&& callback) {
            std::cout << "Received request: GET /" << std::endl;
            Json::Value json;
            json["message"] = "hello-world";
            auto resp = HttpResponse::newHttpJsonResponse(json);
            callback(resp);
        },
        {Get});

    app().registerHandler(
        "/health",
        [](const HttpRequestPtr&, std::function<void(const HttpResponsePtr&)>&& callback) {
            Json::Value json;
            json["status"] = "ok";
            auto resp = HttpResponse::newHttpJsonResponse(json);
            callback(resp);
        },
        {Get});

    app().registerHandler(
        "/items",
        [](const HttpRequestPtr& req, std::function<void(const HttpResponsePtr&)>&& callback) {
            std::cout << "Received request: POST /items" << std::endl;
            auto body = req->getJsonObject();
            if (!body) {
                Json::Value err;
                err["error"] = "Invalid JSON";
                auto resp = HttpResponse::newHttpJsonResponse(err);
                resp->setStatusCode(k400BadRequest);
                callback(resp);
                return;
            }

            Json::Value item;
            item["id"] = 1;
            item["name"] = (*body)["name"].asString();
            item["price"] = (*body)["price"].asDouble();
            auto resp = HttpResponse::newHttpJsonResponse(item);
            resp->setStatusCode(k201Created);
            callback(resp);
        },
        {Post});

    std::cout << "Server running on http://" << hostname << ":7001" << std::endl;

    app().addListener("0.0.0.0", 7001);
    app().run();

    return 0;
}
A real server, not a print-and-exit app: Unlike a classic "hello world" that prints a line and exits, this app calls app().run() and stays running so it can serve requests. The default route GET / returns {"message":"hello-world"}.
Generated CMakeLists.txt
The generated CMakeLists.txt finds Drogon and builds the server binary:
cmake_minimum_required(VERSION 3.16)
project(hello-world VERSION 0.1.0 LANGUAGES CXX)

set(CMAKE_CXX_STANDARD 17)
set(CMAKE_CXX_STANDARD_REQUIRED ON)

find_package(Drogon REQUIRED)

add_executable(hello-world main.cpp)

target_link_libraries(hello-world PRIVATE Drogon::Drogon)
Generated Dockerfile
The generated project includes a multi-stage Dockerfile configured for the NVIDIA Jetson Orin Nano (ARM64). The build stage compiles Drogon v1.9.12 from source, then builds the app; the runtime stage ships only the binary and its shared-library dependencies:
FROM arm64v8/debian:bookworm-slim AS builder

RUN apt-get update && apt-get install -y --no-install-recommends \
    build-essential \
    cmake \
    git \
    ca-certificates \
    libjsoncpp-dev \
    libssl-dev \
    uuid-dev \
    zlib1g-dev \
    && rm -rf /var/lib/apt/lists/*

WORKDIR /deps

RUN git clone --branch v1.9.12 --depth 1 https://github.com/drogonframework/drogon.git && \
    cd drogon && \
    git submodule update --init && \
    cmake -B build -DCMAKE_BUILD_TYPE=Release -DBUILD_EXAMPLES=OFF -DBUILD_CTL=OFF -DBUILD_ORM=OFF && \
    cmake --build build -j$(nproc) && \
    cmake --install build

WORKDIR /app

COPY CMakeLists.txt main.cpp ./

RUN cmake -B build -DCMAKE_BUILD_TYPE=Release && \
    cmake --build build --config Release

FROM arm64v8/debian:bookworm-slim

RUN apt-get update && apt-get install -y --no-install-recommends \
    ca-certificates \
    libjsoncpp25 \
    libssl3 \
    libuuid1 \
    zlib1g \
    && rm -rf /var/lib/apt/lists/*

COPY --from=builder /app/build/hello-world /usr/local/bin/hello-world

EXPOSE 7001

CMD ["hello-world"]
Building Drogon from source takes a while: The first wendy run compiles Drogon inside the build stage, which can take several minutes. Subsequent builds reuse the cached layer and are much faster.
Generated wendy.json
The generated wendy.json already wires up everything the app needs — the network entitlement, a readiness probe on port 7001, and a postStart hook that opens your browser when the server is ready:
{
    "appId": "hello-world",
    "platform": "linux",
    "version": "0.1.0",
    "entitlements": [
        {
            "type": "network"
        }
    ],
    "readiness": {
        "tcpSocket": { "port": 7001 },
        "timeoutSeconds": 30
    },
    "hooks": {
        "postStart": {
            "cli": "wendy utils open-browser http://${WENDY_HOSTNAME}:7001"
        }
    }
}
Run Again on WendyOS
Deploy your application to a connected WendyOS device:
wendy runThis will build your application into a container, deploy it to your device, and stream the logs. When the readiness probe passes, the postStart hook opens http://${WENDY_HOSTNAME}:7001 in your browser, where you should see:
{"message":"hello-world"}Verifying Deployment on Your Device
After deploying your application to a WendyOS device, you can verify it is running by listing the applications on your device:
wendy device apps list
✔︎ Searching for WendyOS devices [5.3s]
✔︎ Listing applications: True Probe [USB, Ethernet, LAN]
╭───────────────┬─────────┬─────────┬──────────╮
│ App           │ Version │ State   │ Failures │
├───────────────┼─────────┼─────────┼──────────┤
│ hello-world   │ 0.1.0   │ Running │ 0        │
╰───────────────┴─────────┴─────────┴──────────╯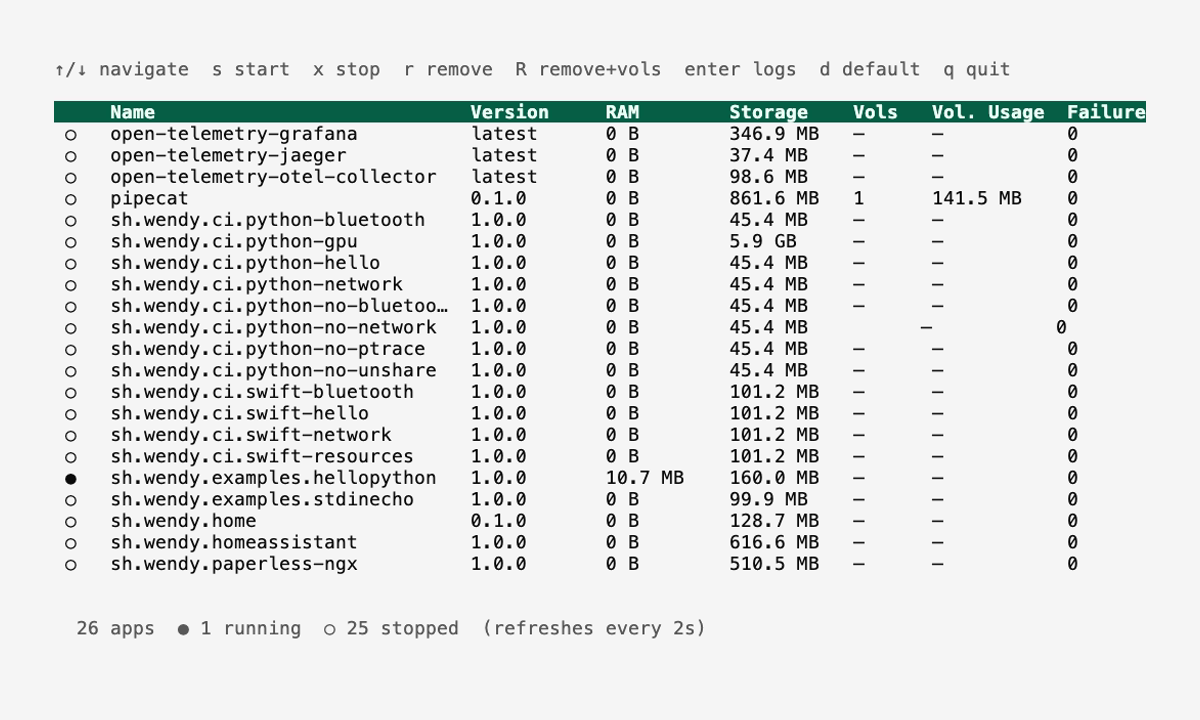
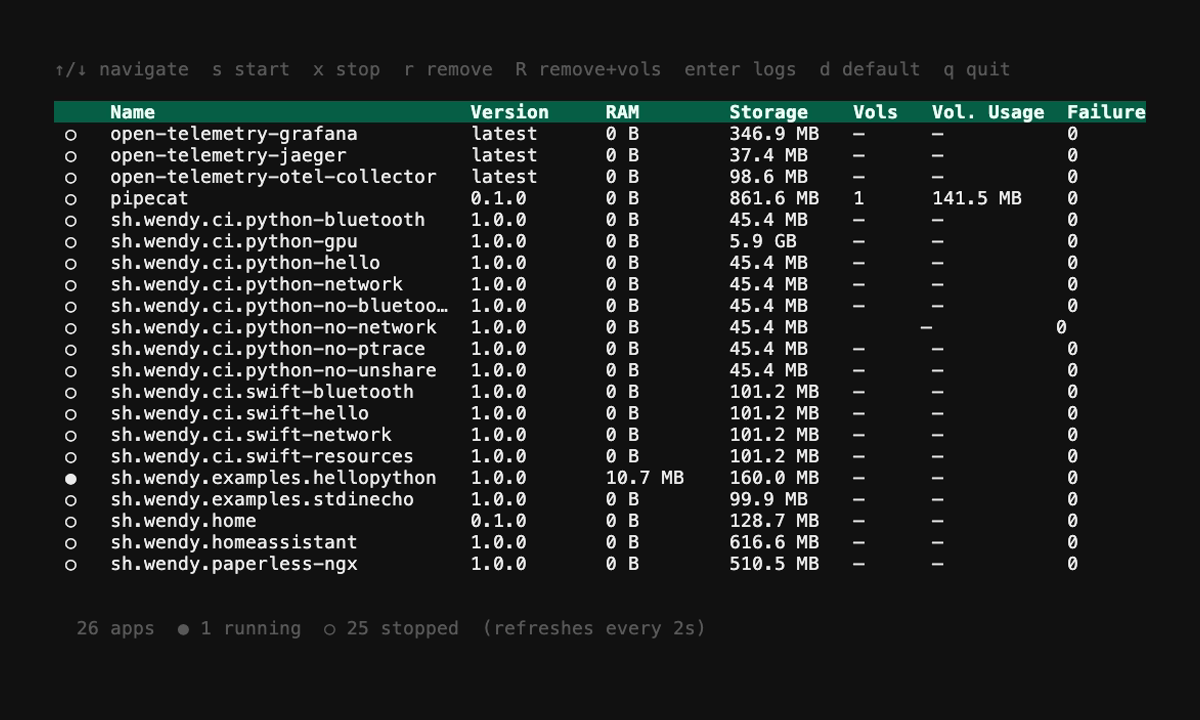
Expected State: Because this app is an HTTP server, it shows as "Running" — it stays up to serve requests rather than exiting. The "Failures" column showing 0 confirms it started cleanly. (To stop it, run wendy device apps stop hello-world.)
Next Steps
Now that you have a basic C++ application running:
- Build out the API in the Simple Web Server guide
- Stream a camera feed with the Camera Feed guide
- Explore environment variables and configuration
- Integrate with WendyOS device features via HTTP APIs
Containerized Deployment: C++ applications on WendyOS run in containers. This provides isolation and portability, and the Wendy CLI handles the local build setup when deploying to your device.