Full-Stack Web App
Build a full-stack device dashboard with a Vite/React frontend and Express backend on WendyOS
Building a Full-Stack Web App
Source Code: The complete source code for this example is available at github.com/wendylabsinc/samples/node-typescript/web-app
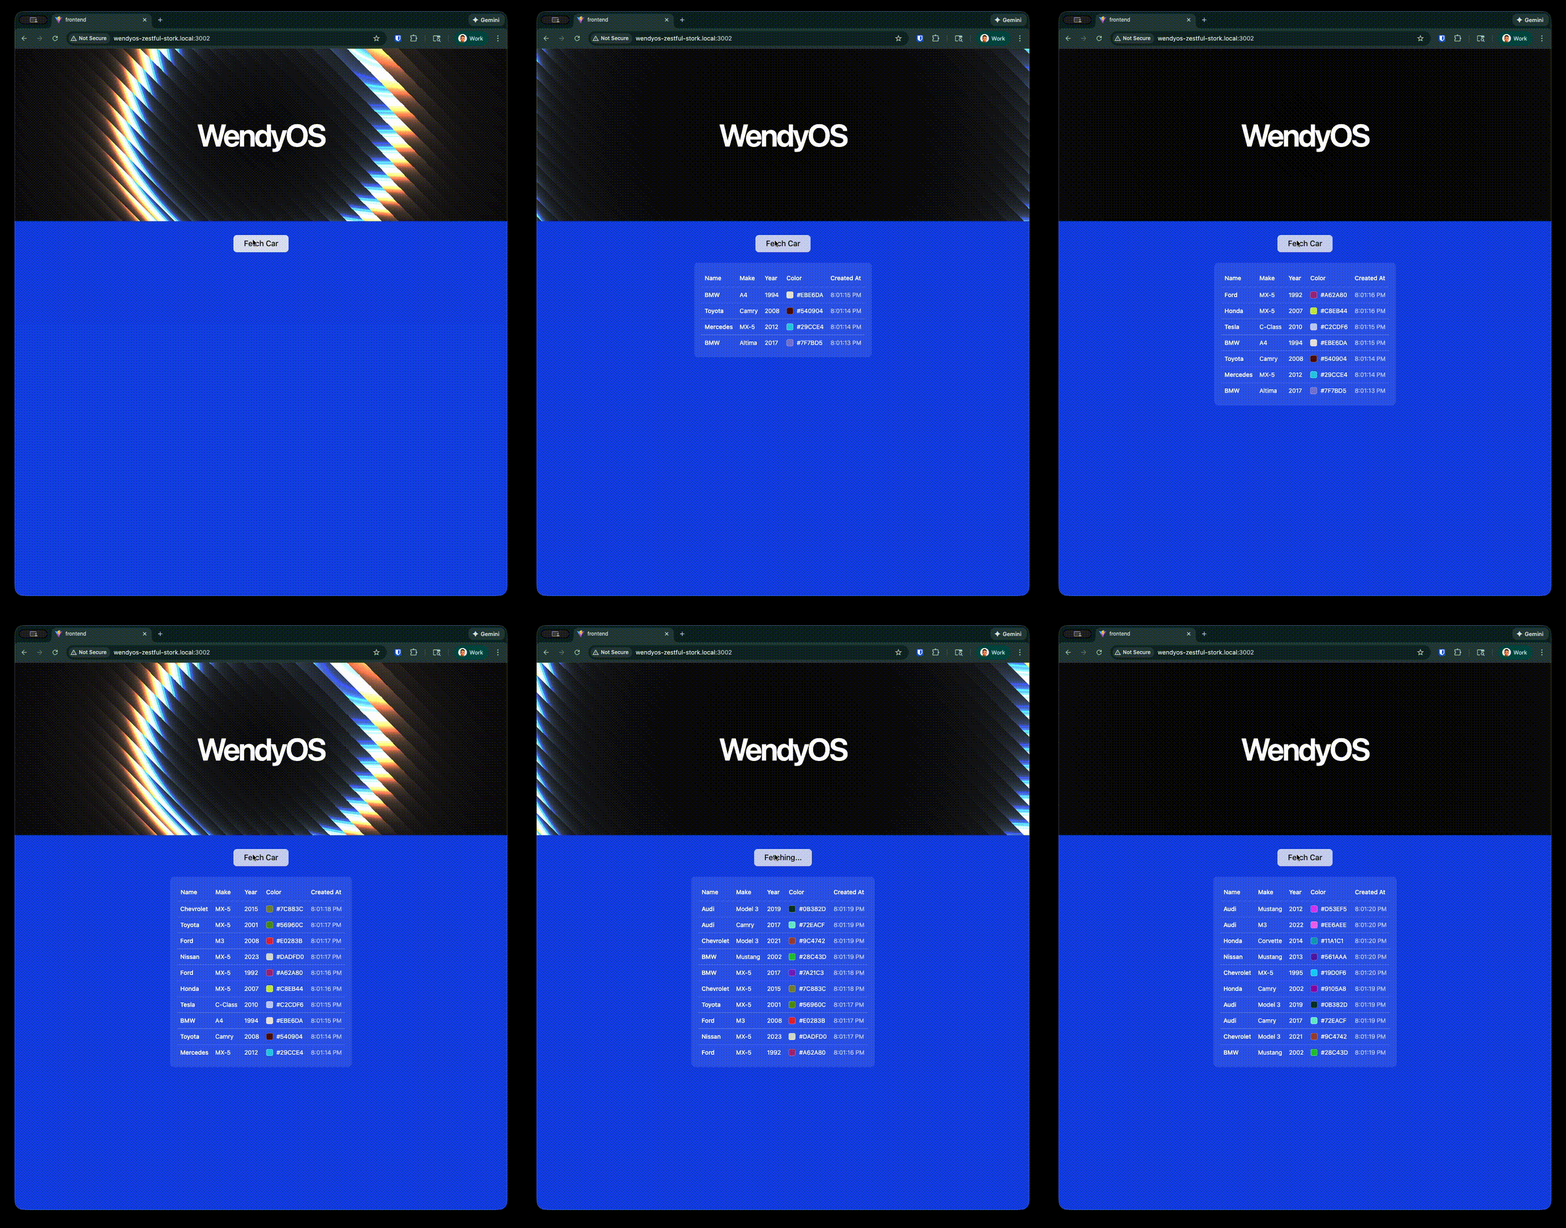
The Wendy fullstack template scaffolds a complete device dashboard: a modern React 19 frontend (Vite, TypeScript, Tailwind v4, shadcn/ui) talking to an Express backend that exposes your WendyOS device's camera, audio, GPU, system info, and a persistent SQLite-backed data store. The whole thing is packaged and deployed as a single container.
The dashboard uses a sidebar layout with pages for camera, audio, persistence, gpu, and system, wired together with react-router-dom (the default route redirects to /camera). The backend serves /api/* routes and the built frontend as static files, falling back to index.html for client-side routing.
This demonstrates how to:
- Serve a production-built React SPA from a Node.js backend
- Expose device features (camera, audio, GPU, system) through HTTP and WebSocket APIs
- Persist data on the device with SQLite and a
persistvolume - Deploy the entire stack as a single container to your WendyOS device
Prerequisites
- Wendy CLI installed on your development machine
- Node.js 22+ and npm installed
- A WendyOS device plugged in over USB or connectable over Wi-Fi
Project Structure
The template ships the full frontend and backend — you don't scaffold them by hand. At the top level it looks like:
web-app/
├── Dockerfile          # Multi-stage build: frontend -> backend -> runtime
├── wendy.json          # Entitlements, readiness probe, postStart hook
├── package.json        # Express backend (better-sqlite3, ws)
├── tsconfig.json
├── src/
│   └── index.ts        # Express + WebSocket backend (/api/* routes)
└── frontend/           # Vite + React 19 + Tailwind v4 + shadcn/ui
    ├── package.json
    ├── vite.config.ts
    └── src/
        ├── App.tsx     # Sidebar layout + react-router routes
        ├── pages/      # camera, audio, persistence, gpu, system
        └── components/ # shadcn/ui + dashboard components
The built frontend (frontend/dist) is copied into the backend image as ./static.
Setting Up Your Project
Initialize the Project
Start from the Wendy full-stack TypeScript template:
wendy init web-app --target wendyos --language node --template fullstack --var APP_ID=web-app --var PORT=8000 --assistant skip --git-init no
cd web-app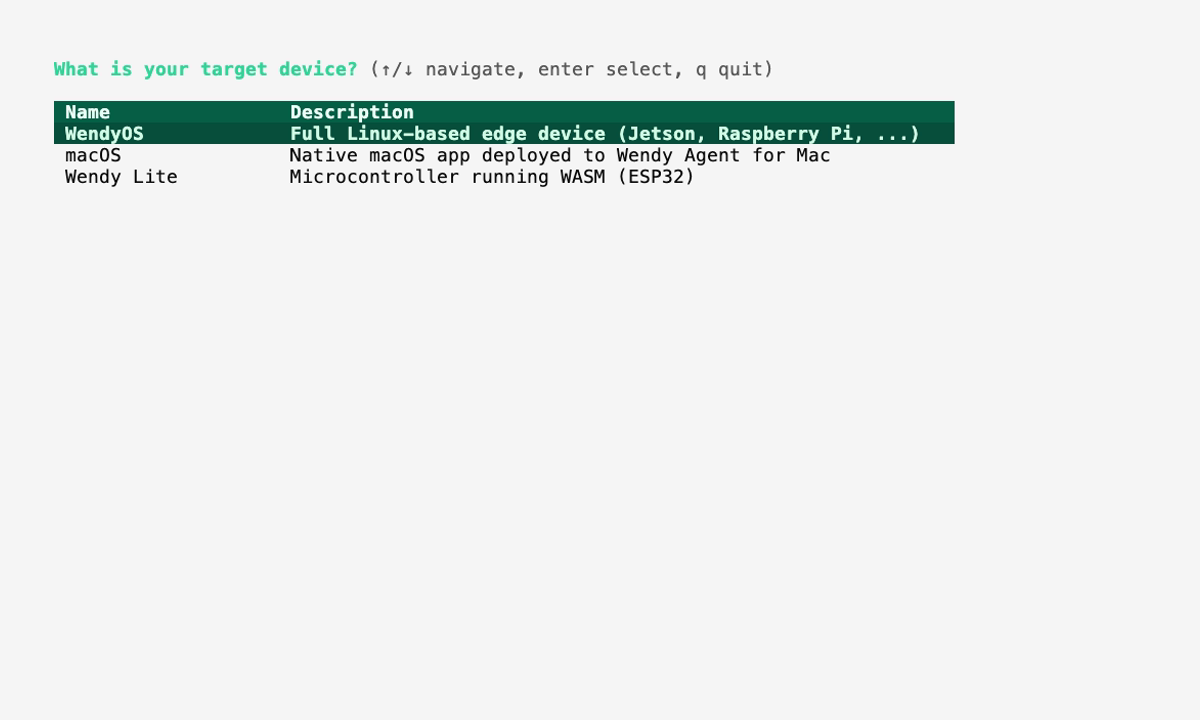
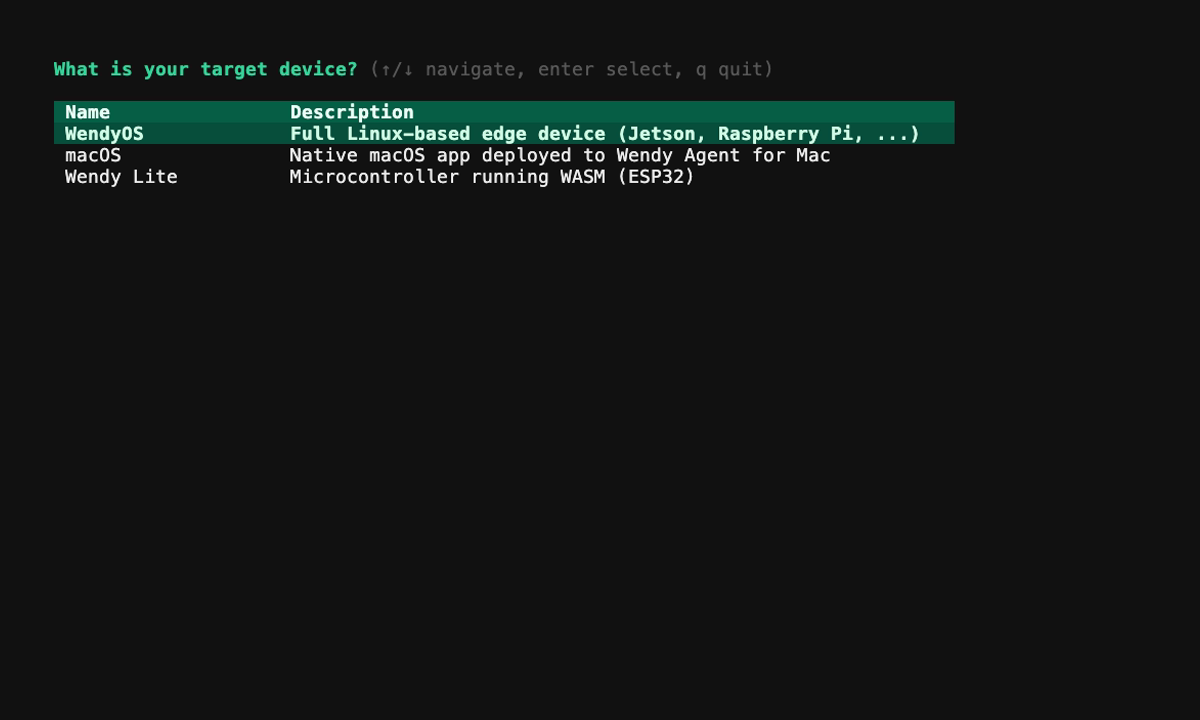
The template creates wendy.json, the Dockerfile, the complete frontend under frontend/, and the TypeScript backend (package.json, tsconfig.json, src/index.ts). The sections below explain how the generated full-stack app fits together.
Run on WendyOS
wendy run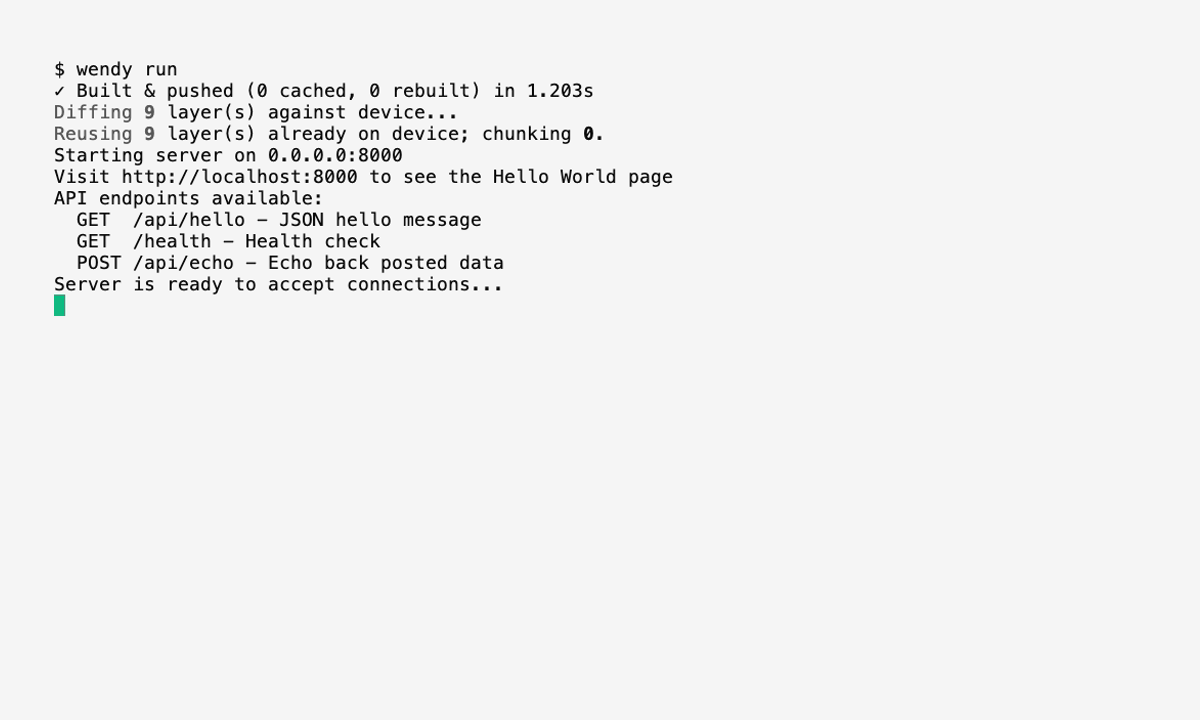
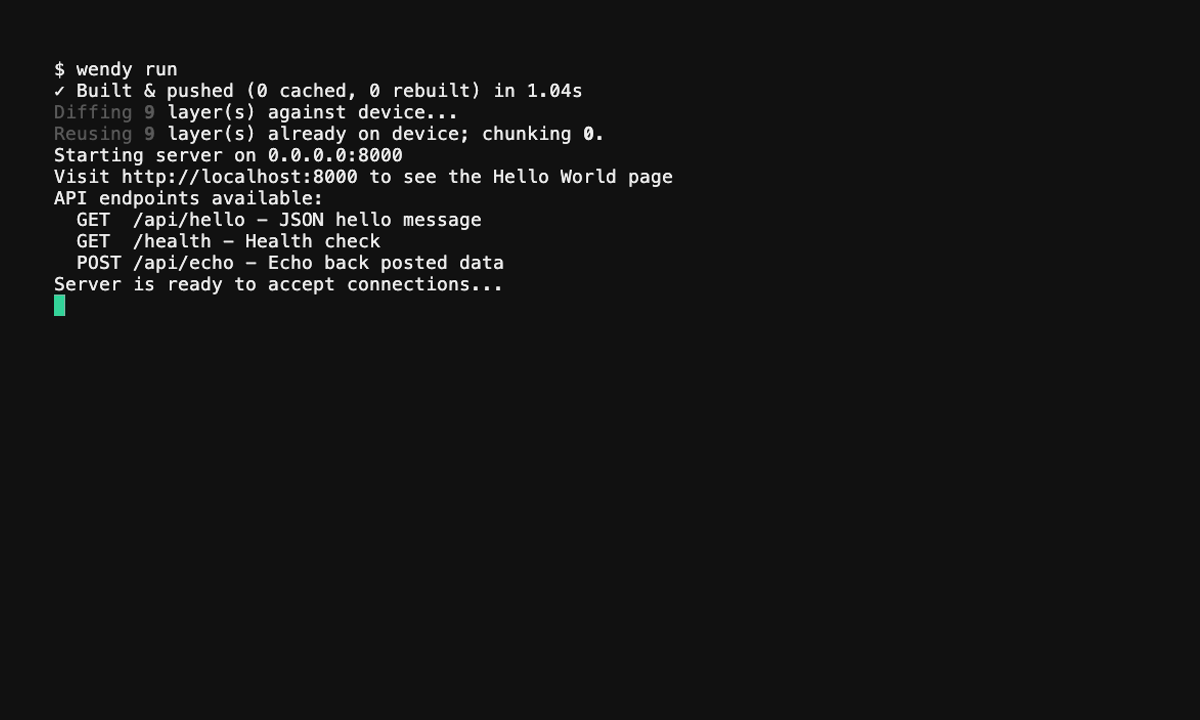
Wendy will build the app, ask you to select a device if one is not already configured, deploy the app, and print the URL or run output.
Code Breakdown
Generated Frontend
The frontend/ directory is a complete Vite + React 19 app using Tailwind v4 and shadcn/ui. It uses react-router-dom v7 for a sidebar dashboard. The router lives in frontend/src/App.tsx:
import { BrowserRouter, Routes, Route, Navigate } from "react-router-dom"
import { AppSidebar } from "@/components/app-sidebar"
import { SiteHeader } from "@/components/site-header"
import { SidebarInset, SidebarProvider } from "@/components/ui/sidebar"

import CameraPage from "@/pages/camera"
import AudioPage from "@/pages/audio"
import PersistencePage from "@/pages/persistence"
import GpuPage from "@/pages/gpu"
import SystemPage from "@/pages/system"

export default function App() {
  return (
    <BrowserRouter>
      {/* ...sidebar layout... */}
      <Routes>
        <Route path="/" element={<Navigate to="/camera" replace />} />
        <Route path="/camera" element={<CameraPage />} />
        <Route path="/audio" element={<AudioPage />} />
        <Route path="/persistence" element={<PersistencePage />} />
        <Route path="/gpu" element={<GpuPage />} />
        <Route path="/system" element={<SystemPage />} />
      </Routes>
    </BrowserRouter>
  )
}
Each page (frontend/src/pages/*.tsx) calls the matching backend API. You build it with Vite:
cd frontend
npm install
npm run build
cd ..
The Dockerfile runs this build for you in its own stage and copies the output into the backend image.
Generated Express Backend
The backend lives at the project root. The generated package.json pulls in Express, ws (for camera/audio streaming), and better-sqlite3 (for persistence):
{
    "name": "web-app",
    "version": "0.1.0",
    "type": "module",
    "scripts": {
        "build": "tsc",
        "start": "node dist/index.js",
        "dev": "tsx watch src/index.ts"
    },
    "dependencies": {
        "express": "^4",
        "ws": "^8",
        "better-sqlite3": "^11"
    },
    "devDependencies": {
        "@types/express": "^5",
        "@types/ws": "^8",
        "@types/better-sqlite3": "^7",
        "@types/node": "^22",
        "typescript": "^5.7",
        "tsx": "^4"
    },
    "engines": {
        "node": ">=22"
    }
}
The generated tsconfig.json configures TypeScript:
{
    "compilerOptions": {
        "target": "ES2022",
        "module": "NodeNext",
        "moduleResolution": "NodeNext",
        "outDir": "./dist",
        "rootDir": "./src",
        "strict": true,
        "esModuleInterop": true,
        "skipLibCheck": true,
        "declaration": true
    },
    "include": ["src"]
}
src/index.ts is the heart of the app. It listens on port 8000 and exposes:
/api/cars— a CRUD API (GET,POST,GET/:id,PUT/:id,DELETE/:id) backed by a SQLite database stored at/data/cars.db./api/system— host, CPU, memory, disk, and uptime info./api/gpu— GPU details vianvidia-smi(with a thermal-zone fallback)./api/cameras,/api/microphones,/api/speakers— device enumeration viav4l2-ctland ALSA./api/camera/streamand/api/audio/stream— WebSocket endpoints that run GStreamer pipelines to stream MJPEG video and PCM audio.- Static serving of the built frontend from
./static, with anindex.htmlfallback for SPA routing.
The SQLite setup and a couple of the routes look like this:
import express, { Request, Response } from "express";
import { createServer } from "http";
import Database from "better-sqlite3";

const PORT = 8000;
const WENDY_HOSTNAME = process.env.WENDY_HOSTNAME ?? "localhost";
const DB_PATH = "/data/cars.db";

const db = new Database(DB_PATH);
db.pragma("journal_mode = WAL");
db.exec(`
    CREATE TABLE IF NOT EXISTS cars (
        id         INTEGER PRIMARY KEY AUTOINCREMENT,
        make       TEXT    NOT NULL,
        model      TEXT    NOT NULL,
        color      TEXT    NOT NULL,
        year       INTEGER NOT NULL,
        created_at TEXT    NOT NULL DEFAULT (datetime('now')),
        updated_at TEXT
    )
`);

const app = express();
app.use(express.json());

app.get("/api/cars", (_req: Request, res: Response) => {
    res.json(listCars.all());
});

app.post("/api/cars", (req: Request, res: Response) => {
    const { make, model, color, year } = req.body;
    const info = insertCar.run({ make, model, color, year });
    res.status(201).json(getCar.get(info.lastInsertRowid));
});

// ...more routes, plus static serving + SPA fallback...

// Wrap the Express app in an HTTP server so the camera/audio
// WebSocket streams can share the same port.
const server = createServer(app);

server.listen(PORT, () => {
    console.log(`Server running on http://${WENDY_HOSTNAME}:${PORT}`);
});
Install and build the backend with:
npm install
npm run buildPersistence: The cars database lives at /data/cars.db. The persist entitlement in wendy.json mounts a volume named web-app-data at /data, so your data survives app restarts and redeploys.
Generated Dockerfile
The generated multi-stage Dockerfile builds the frontend, builds the backend, and assembles a runtime image with the GStreamer/ALSA/v4l tooling the device APIs need. The runtime stage also installs python3, make, and g++ so npm can rebuild the native better-sqlite3 addon:
# Stage 1 — Build React frontend
FROM node:22-slim AS frontend
WORKDIR /frontend
COPY frontend/package*.json ./
RUN npm install
COPY frontend/ ./
RUN npm run build

# Stage 2 — Build backend TypeScript
FROM node:22-slim AS builder
WORKDIR /app
COPY package*.json ./
RUN npm install
COPY tsconfig.json ./
COPY src/ ./src/
RUN npm run build

# Stage 3 — Production runtime
FROM node:22-slim
WORKDIR /app

# Install GStreamer, ALSA, v4l-utils, and native build tools for better-sqlite3
RUN apt-get update && apt-get install -y --no-install-recommends \
    gstreamer1.0-tools \
    gstreamer1.0-plugins-base \
    gstreamer1.0-plugins-good \
    gstreamer1.0-plugins-bad \
    gstreamer1.0-plugins-ugly \
    gstreamer1.0-libav \
    gstreamer1.0-alsa \
    alsa-utils \
    v4l-utils \
    python3 \
    make \
    g++ \
    && rm -rf /var/lib/apt/lists/*

# Install production dependencies (rebuilds better-sqlite3 native addon)
COPY package*.json ./
RUN npm install --omit=dev

# Copy compiled backend and frontend assets
COPY --from=builder /app/dist ./dist
COPY --from=frontend /frontend/dist ./static

EXPOSE 8000
CMD ["node", "dist/index.js"]
Generated wendy.json
The generated wendy.json requests the entitlements the dashboard needs: host-mode network, plus camera, audio, gpu, and a persist volume for the SQLite database:
{
    "appId": "web-app",
    "platform": "linux",
    "version": "0.1.0",
    "entitlements": [
        {
            "type": "network",
            "mode": "host"
        },
        {
            "type": "camera"
        },
        {
            "type": "audio"
        },
        {
            "type": "gpu"
        },
        {
            "type": "persist",
            "name": "web-app-data",
            "path": "/data"
        }
    ],
    "readiness": {
        "tcpSocket": { "port": 8000 },
        "timeoutSeconds": 30
    },
    "hooks": {
        "postStart": {
            "cli": "wendy utils open-browser http://${WENDY_HOSTNAME}:8000"
        }
    }
}
The readiness probe tells the CLI to wait until port 8000 is accepting connections before proceeding. The postStart hook automatically opens your browser once the app is ready.
Run Again on WendyOS
Deploy your full-stack web application to your WendyOS device:
wendy runTest Your Web App
Your browser will open automatically once the app is ready, thanks to the postStart hook. If it doesn't, navigate to:
http://wendyos-true-probe.local:8000Replace the hostname: Each WendyOS device has a unique hostname. Replace wendyos-true-probe with your device's actual hostname shown in the CLI output.
The dashboard opens on the Camera page by default. Use the sidebar to switch between the camera, audio, persistence, GPU, and system pages.
Test the API Directly
List the system info reported by the device:
curl http://wendyos-true-probe.local:8000/api/systemAdd a car to the persistent store:
curl -X POST http://wendyos-true-probe.local:8000/api/cars \
  -H "Content-Type: application/json" \
  -d '{"make":"Toyota","model":"Camry","color":"Blue","year":2015}'
Response:
{"id":1,"make":"Toyota","model":"Camry","color":"Blue","year":2015,"created_at":"2026-06-06 10:30:00","updated_at":null}List all cars:
curl http://wendyos-true-probe.local:8000/api/carsLearn More
Next Steps
Now that you have a full-stack web app running:
- Add more API endpoints and dashboard pages
- Stream the camera or microphone in your own UI via the WebSocket endpoints
- Extend the SQLite schema for your own persistent data
- Add authentication middleware
- Connect to additional WendyOS device sensors and display data in the UI