Mac (beta)
Deploy and debug native macOS apps on Apple Silicon Mac targets with the Wendy CLI.
Headless Mac is beta software. Apple Silicon only — Intel Macs are not supported.
Overview
Headless Mac turns any Apple Silicon Mac into a Wendy target: install Wendy Agent, point the CLI at it, and deploy native macOS apps with wendy run — same as a Jetson or Pi. Apps run as native macOS processes (not Linux containers), making it a fit for headless Mac mini/Studio servers, mixed WendyOS + Mac fleets, and Core ML / Metal / Neural Engine apps.
Requirements
- An Apple Silicon Mac target running macOS 15 or later
- Wendy CLI on a Mac development machine (install it) — it builds the app locally before syncing to the target
- A Swift toolchain on the development Mac
If one Mac is both development machine and target, install both the CLI and Wendy Agent on it.
Installation
The recommended path uses Homebrew:
brew tap wendylabsinc/tap
brew trust wendylabsinc/tap
brew install --cask wendy-agentFor the nightly build:
brew install --cask wendy-agent-nightlywendylabsinc/tap is a third-party tap. Recent Homebrew versions ask you to
trust non-official taps before they will load a formula or cask — required
when HOMEBREW_REQUIRE_TAP_TRUST is set, and harmless otherwise. If you skip
the brew trust step and the install is blocked, run
brew trust wendylabsinc/tap (or brew trust --cask wendylabsinc/tap/wendy-agent)
and retry. brew trust is only available on newer Homebrew; on older versions
it is not needed and you can omit it.
Without Homebrew, download the wendy-agent-macos-arm64 zip from the Wendy releases page, unzip it, and move WendyAgentMac.app to /Applications:
open /Applications/WendyAgentMac.appWendy Agent appears in the macOS menu bar. Open the menu to confirm the agent is running.
Headless Mac Setup
For any Mac that will run without a monitor, set it up once with a keyboard, mouse, and display attached before putting it on the shelf. Use a virtual display dongle or HDMI dummy plug for the final headless setup.
-
Plug in the virtual display dongle, then open System Settings → Displays and confirm macOS sees it.
-
Open System Settings → Energy Saver and keep the Mac awake on AC power: enable Prevent automatic sleeping when the display is off and Wake for network access.
-
For a MacBook used as a target, open System Settings → Battery → Options, enable Prevent automatic sleeping on power adapter when the display is off, and keep it on AC power.
-
Open System Settings → Lock Screen and set Turn display off on power adapter when inactive to a short interval. The display can sleep; the Mac itself should stay awake.
-
Recommended: open System Settings → General → Sharing and enable Screen Sharing for named trusted admin users so you can administer the Mac remotely.
-
Recommended: in the same Sharing pane, enable Remote Login and set up key-based SSH from your development Mac:
ssh-copy-id {user}@{hostname} ssh {user}@{hostname} -
When Wendy Agent first opens, leave Open Wendy Agent automatically when you log in enabled.
Verify the Installation
From your development Mac, check that the CLI can reach the Mac target:
wendy --device {hostname}:50051 device info --jsonThe response should report "os": "darwin" and "cpuArchitecture": "arm64".
Discovery
Headless Mac advertises over Bonjour/mDNS as _wendyos._udp. Use wendy discover to find it on the local network.
Deploy your first Mac app
Create a native Swift app and run it on the Mac target:
wendy init hello-mac --target darwin --language swift --no-extra-entitlements --assistant skip --git-init no
cd hello-mac
wendy run --device {hostname}:50051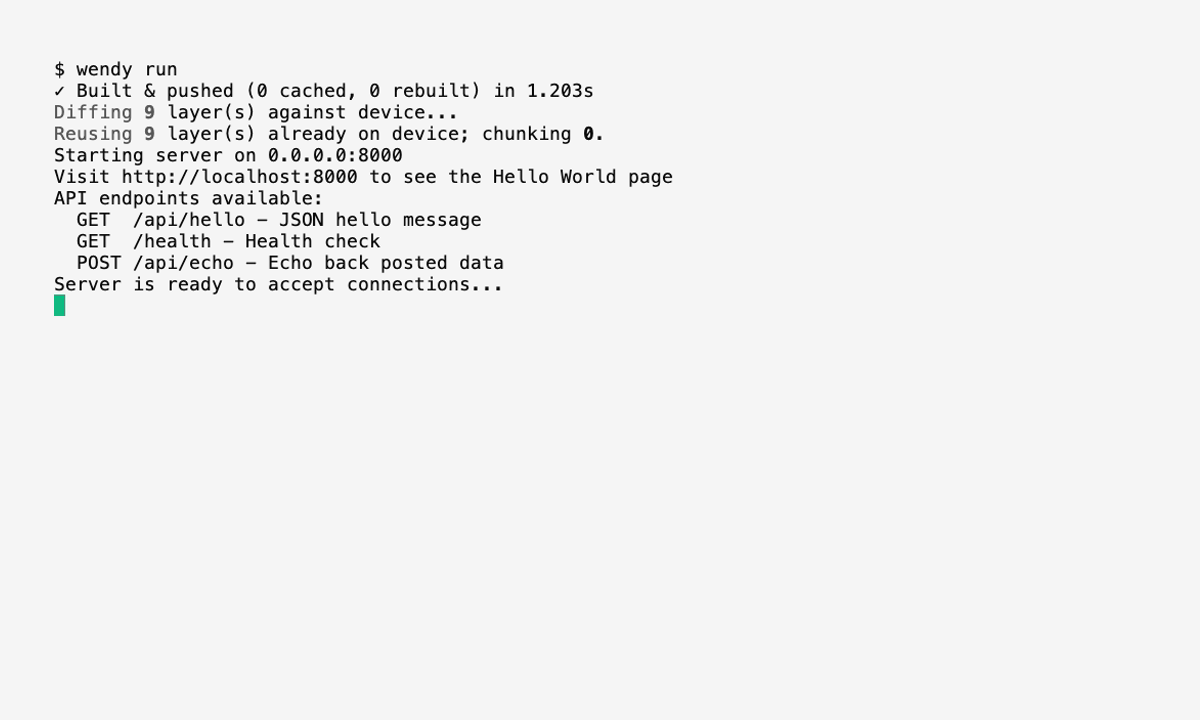
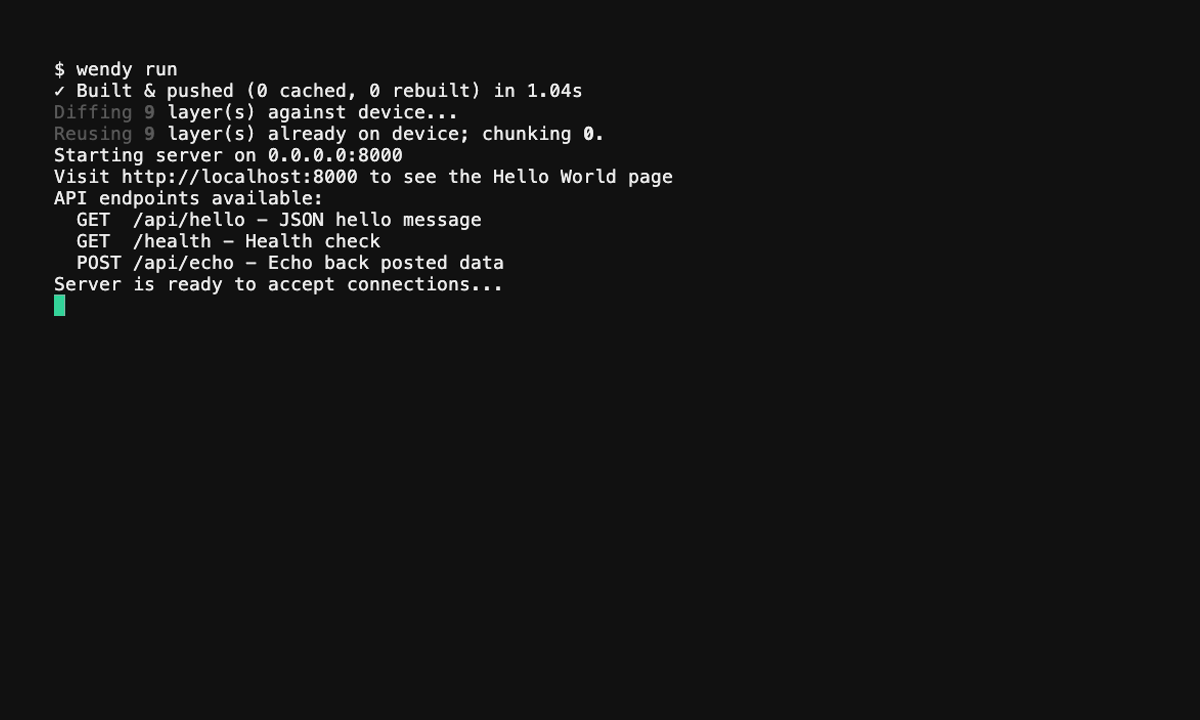
The CLI builds the app on the Mac development machine, syncs the build output
to Wendy Agent for Mac, and starts it as a native macOS process. These apps
currently run natively on macOS, not inside a Linux-style container. Expect
Hello from hello-mac! in the attached logs. Edit the Swift source, then use
wendy run --watch to deploy changes as you save.
If you set the Mac as your default device, omit --device:
wendy runLocal Build Service (optional)
Wendy Agent for Mac includes an optional Local Build Service that runs BuildKit in a lightweight Linux VM using Virtualization.framework. It is off by default and starts only when you choose Start Local Build Service from the menu bar. The menu shows its starting, running, stopping, or failed state and lets you stop it explicitly. Quitting Wendy Agent also requests a clean stop.
The VM exposes BuildKit through a user-owned Unix socket with 0600
permissions. A bounded 32 GB sparse disk preserves its build cache across
restarts. The embedded arm64 kernel and initramfs add approximately 132 MB
uncompressed to the app bundle.
This service only solves and caches Linux image builds. It does not run Wendy
applications: native Mac apps continue to run as macOS processes, and Apple
container remains the Mac application runtime. Starting the service alone
does not change CLI builder selection; choose the BuildKit builder explicitly
when using CLI versions that support it.
Homebrew dependencies with Brewfile
Native SwiftPM and Xcode Mac apps can declare Homebrew dependencies with a
Brew Bundle Brewfile.
Place Brewfile.wendy at the project root for auto-detection, or set a relative path
in wendy.json:
{
  "platform": "darwin",
  "brewfile": "ops/Brewfile"
}
wendy run syncs the Wendy Brewfile to the target Mac and Wendy Agent runs
brew bundle --file <synced Brewfile> before starting the app. A plain project-root
Brewfile can remain dedicated to developer-machine setup; Wendy does not apply it
to the target unless wendy.json explicitly references it. Homebrew must already be
installed on the target Mac;
Wendy reports a clear error if brew is missing or if brew bundle fails. This
only applies to native Mac deployments.
Wendy Mesh VPN (beta)
Wendy Agent for Mac includes an opt-in Mesh VPN for private DNS, TCP, UDP, and ICMP traffic to enrolled devices. Wendy does not install the System Extension or start a VPN connection until you explicitly enable Wendy Mesh from the menu bar.
Before enabling Mesh, run wendy auth login on this Mac and select the intended
CLI context. On first use, macOS asks you to approve the Wendy Network
Extension. The menu shows when approval is required, links to the relevant
System Settings pane, and lets you cancel the pending request. Canceling or
turning Mesh off prevents an automatic connection later.
Cloud v2 UUID contexts are not supported by the current Mac Mesh relay. Wendy preserves UUID identities but refuses the connection explicitly rather than truncating them or routing them through the legacy integer broker. A current identity-blind Cloud v2 relay client is required before this limitation can be removed.
Mesh credentials are passed to the Network Extension only when a tunnel starts and are not written to the persistent VPN profile. The one-shot handoff still uses Swift string storage, which cannot be reliably zeroed after use.
Developer ID signing, notarization, and the required Network/System Extension entitlements are necessary for release builds to load the extension on an end-user Mac. Local development builds use monotonically increasing bundle versions so macOS can replace an older installed extension.
What Works
- Apple Silicon Mac targets running macOS 15 or later
- Installing Headless Mac with Homebrew or the release zip
- Deploying native SwiftPM macOS apps with
wendy run - Discovering Mac targets over Bonjour/mDNS
- Setting the Mac as your default Wendy device
- Starting the optional BuildKit-based Local Build Service from the menu bar
- Opt-in Wendy Mesh VPN for legacy numeric Cloud contexts (beta)
Not Supported
- Intel Macs
- Linux containers as the Mac application runtime — the Local Build Service builds images but does not run Wendy apps
- Wi-Fi remote provisioning — configure Wi-Fi through macOS network settings
- Bluetooth, audio, and GPU hardware APIs via Wendy
- Wendy camera APIs — use native hardware SDKs (AVFoundation, etc.) directly in your app
- WendyOS OTA updates — update macOS and Wendy Agent through their normal install paths
- Wendy Mesh VPN with Cloud v2 UUID contexts
Troubleshooting
If the CLI cannot connect:
- Confirm Wendy Agent is open in the menu bar.
- Run with an explicit device address:
wendy --device {hostname}:50051 device info --json - If
wendy discoverdoesn't show the Mac, check macOS Local Network permission for the CLI process. - Quit and reopen Wendy Agent from the menu bar.
- If you installed both stable and nightly builds, quit both and open only the one you want.
If Wendy Mesh cannot connect:
- Confirm
wendy auth loginhas an active context on this Mac. - If the error reports a UUID organization or tenant, the active context is Cloud v2 and is not supported by the current Mac Mesh relay.
- If approval is pending, use the menu link to open System Settings and approve the Wendy Network Extension, or cancel the request from the menu.
- Use a signed and notarized build when validating extension installation on an end-user Mac.