Camera Feed in Rust
Start a live camera feed app on WendyOS using the Rust camera template
Live Camera Feed with Rust
Use the Wendy camera template when you want a browser-viewable camera stream without wiring the project from scratch. The template includes wendy.json (with camera entitlements), a Dockerfile, the Rust backend, and the browser UI. The backend captures MJPEG frames from a V4L2 camera with GStreamer and streams them to the browser over a WebSocket.
Prerequisites
- Wendy CLI installed on your development machine
- Rust 1.85 or later installed
- A WendyOS device with a USB camera connected
Setting Up Your Project
Initialize the Project
wendy init rust-camera --target wendyos --language rust --template camera-feed --var APP_ID=rust-camera --var PORT=4003 --assistant skip --git-init no
cd rust-camera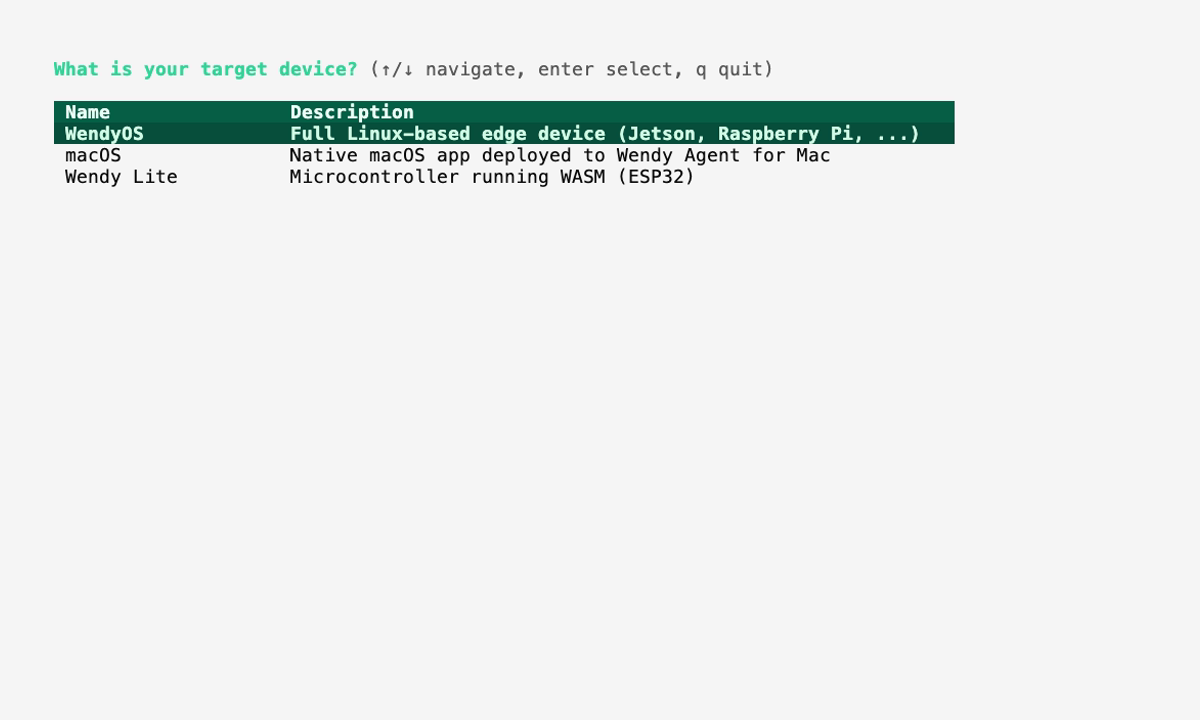
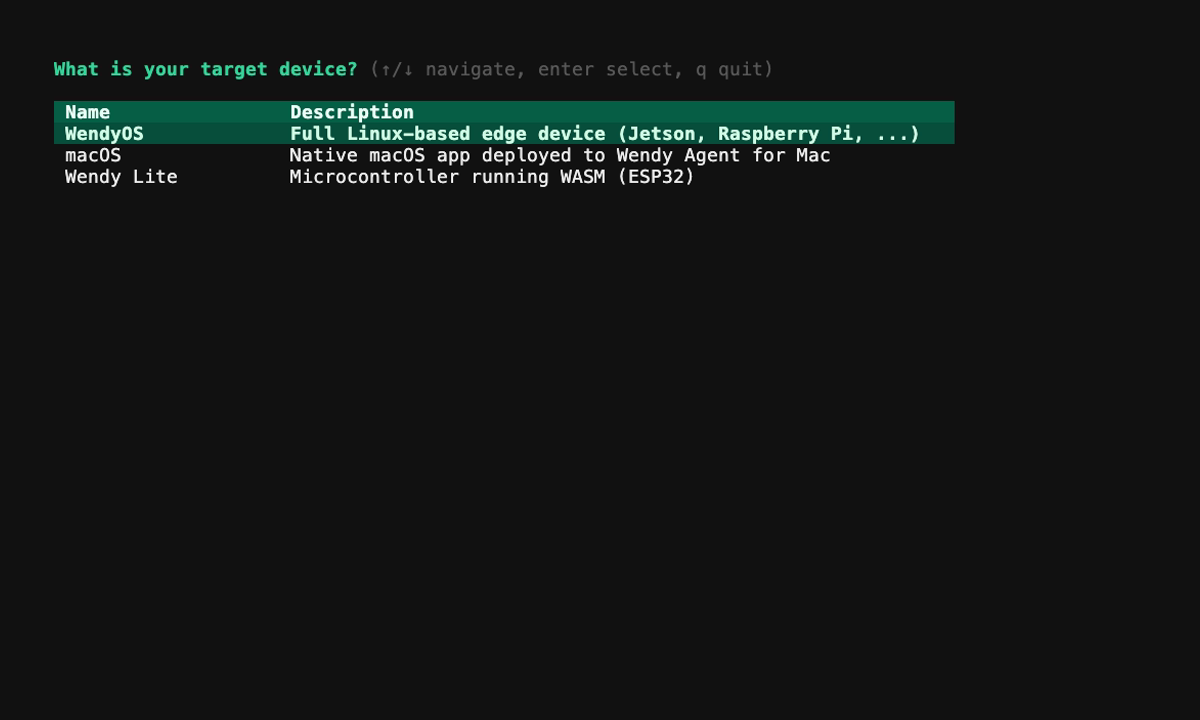
The generated project is ready to run. After the first run, use the sections below as a code breakdown when you want to understand or customize camera handling, routes, or UI behavior.
Run on WendyOS
wendy run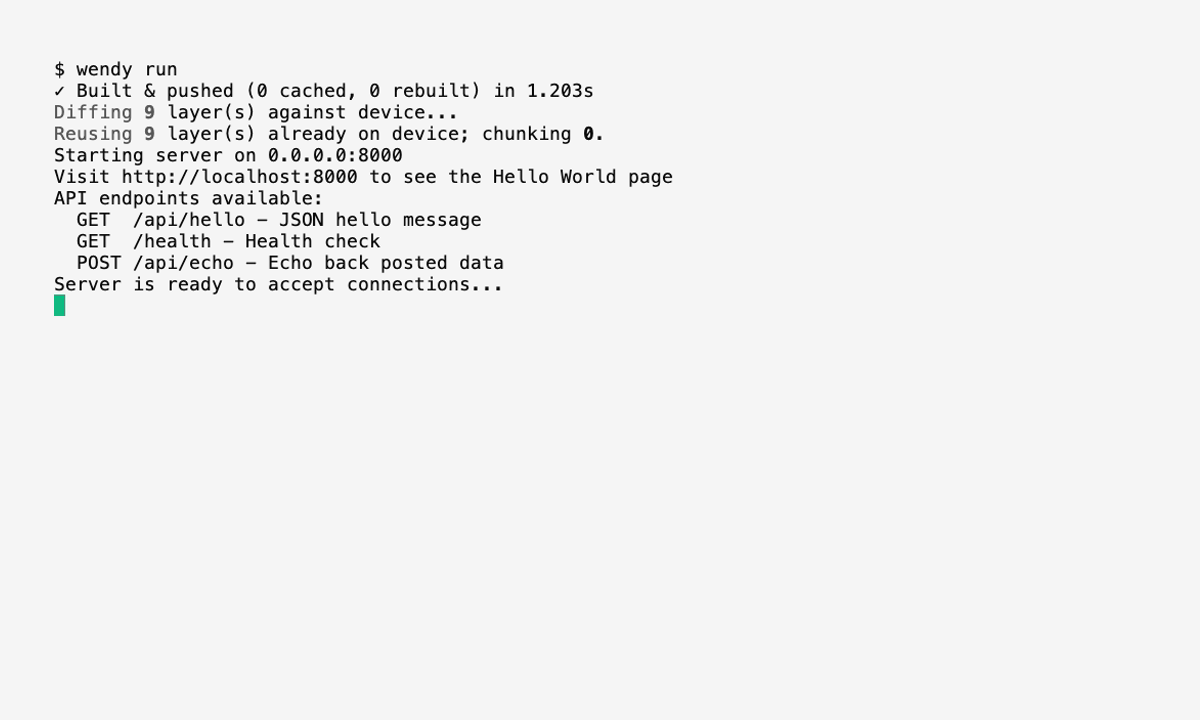
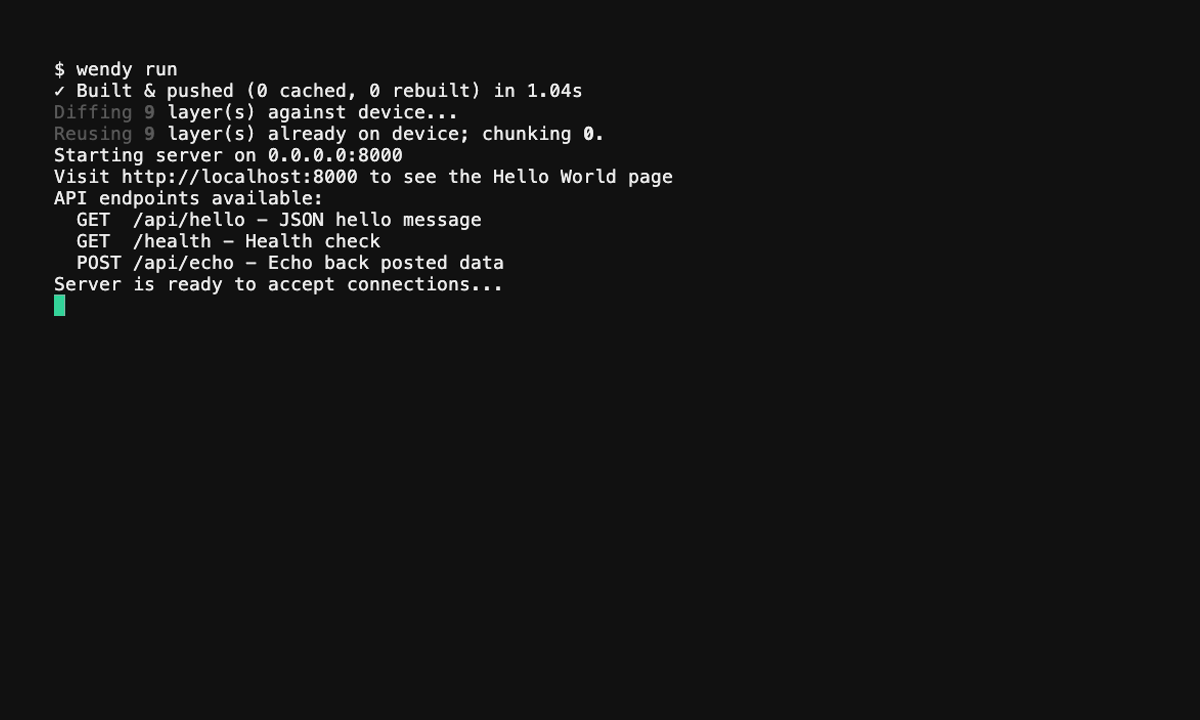
Wendy will build the app, ask you to select a device if one is not already configured, deploy the container, and open your browser to the live stream once port 4003 is ready.
Project Structure
The generated project contains the Rust backend, the browser UI, and a small assets directory:
rust-camera/
├── Cargo.toml
├── Dockerfile
├── wendy.json
├── index.html        # browser UI (served at /)
├── assets/
│   └── wendy-logo.svg
└── src/
    └── main.rs        # Axum server + GStreamer pipeline
Code Breakdown
Generated Package Dependencies
The generated Cargo.toml adds GStreamer and tower-http (for serving the assets/ directory) on top of the usual Axum stack:
[package]
name = "rust-camera"
version = "0.1.0"
edition = "2021"

[dependencies]
axum = "0.8.8"
tokio = { version = "1", features = ["full"] }
serde = { version = "1", features = ["derive"] }
serde_json = "1"
gstreamer = "0.23"
gstreamer-app = "0.23"
tower-http = { version = "0.6", features = ["fs"] }
Generated Server
The generated src/main.rs initializes GStreamer, builds an MJPEG capture pipeline (v4l2src ! image/jpeg ! jpegdec ! jpegenc ! appsink), and exposes four routes — the UI at /, the static assets, a /cameras list, and a /stream WebSocket that broadcasts JPEG frames to connected clients:
#[tokio::main]
async fn main() {
    gstreamer::init().expect("Failed to initialize GStreamer");

    let hostname = std::env::var("WENDY_HOSTNAME").unwrap_or_else(|_| "unknown".to_string());

    let (tx, _rx) = broadcast::channel::<Vec<u8>>(16);

    let camera = Arc::new(Mutex::new(MJPEGCamera::new(tx.clone())));

    let state = AppState {
        camera,
        tx,
    };

    let app = Router::new()
        .route("/", get(index))
        .nest_service("/assets", tower_http::services::ServeDir::new("./assets"))
        .route("/cameras", get(list_cameras))
        .route("/stream", get(ws_handler))
        .with_state(state);

    let addr = "0.0.0.0:4003";
    println!("Starting server on {addr} (hostname: {hostname})");

    let listener = tokio::net::TcpListener::bind(addr)
        .await
        .expect("Failed to bind");

    axum::serve(listener, app).await.expect("Server error");
}
On-demand capture: The GStreamer pipeline only runs while a browser is connected to /stream. The first WebSocket client starts the pipeline; when the last client disconnects, the pipeline stops to free the camera. The pipeline defaults to /dev/video0, and the browser can switch cameras by sending {"switch_camera": "/dev/videoN"} over the socket.
Generated Browser UI
The UI is a single index.html (styled with the Tailwind browser CDN) that is baked into the binary with include_str! and served at /. It opens a WebSocket to /stream, renders incoming JPEG frames into an <img> element, shows a connection-status indicator and FPS counter, and lets you pick a camera from a dropdown populated by the /cameras route.
Generated Dockerfile
The multi-stage Dockerfile installs the GStreamer development headers to build, then a runtime image with the GStreamer plugins and v4l-utils needed to talk to the camera:
# Stage 1: Build
FROM rust:1.85-slim AS builder

RUN apt-get update && apt-get install -y \
    libgstreamer1.0-dev \
    libgstreamer-plugins-base1.0-dev \
    pkg-config \
    && rm -rf /var/lib/apt/lists/*

WORKDIR /app
COPY Cargo.toml ./
COPY src ./src
COPY index.html ./
COPY assets ./assets

RUN cargo build --release

# Stage 2: Runtime
FROM debian:bookworm-slim

RUN apt-get update && apt-get install -y \
    gstreamer1.0-tools \
    gstreamer1.0-plugins-base \
    gstreamer1.0-plugins-good \
    gstreamer1.0-plugins-bad \
    gstreamer1.0-plugins-ugly \
    v4l-utils \
    ca-certificates \
    && rm -rf /var/lib/apt/lists/*

COPY --from=builder /app/target/release/rust-camera /usr/local/bin/rust-camera
COPY --from=builder /app/index.html /usr/local/bin/index.html
COPY --from=builder /app/assets /usr/local/bin/assets

EXPOSE 4003

CMD ["rust-camera"]
Generated wendy.json
The generated wendy.json requests the entitlements a camera app needs — network in host mode, camera, and gpu — and opens your browser to port 4003 once the stream is ready:
{
    "appId": "rust-camera",
    "platform": "linux",
    "version": "0.1.0",
    "entitlements": [
        {
            "type": "network",
            "mode": "host"
        },
        {
            "type": "camera"
        },
        {
            "type": "gpu"
        }
    ],
    "readiness": {
        "tcpSocket": { "port": 4003 },
        "timeoutSeconds": 30
    },
    "hooks": {
        "postStart": {
            "cli": "wendy utils open-browser http://${WENDY_HOSTNAME}:4003"
        }
    }
}
View the Stream
Your browser opens automatically once the app is ready, thanks to the postStart hook. If it doesn't, open the app URL from the wendy run output, or navigate to:
http://wendyos-true-probe.local:4003Replace the hostname: Each WendyOS device has a unique hostname. Replace wendyos-true-probe with your device's actual hostname shown in the CLI output.
Use the camera dropdown in the top-right to switch between connected cameras.
Next Steps
- Adjust the GStreamer pipeline in
src/main.rs(resolution, JPEG quality, framerate) - Customize the browser UI in
index.html - Add inference or processing on the frames before broadcasting them
- Learn how to add object detection in the YOLOv8 webcam detection guide