YOLOv8 Webcam Detection
Build a full-screen real-time object detection app with YOLOv8, WebSocket streaming, and a canvas overlay on WendyOS
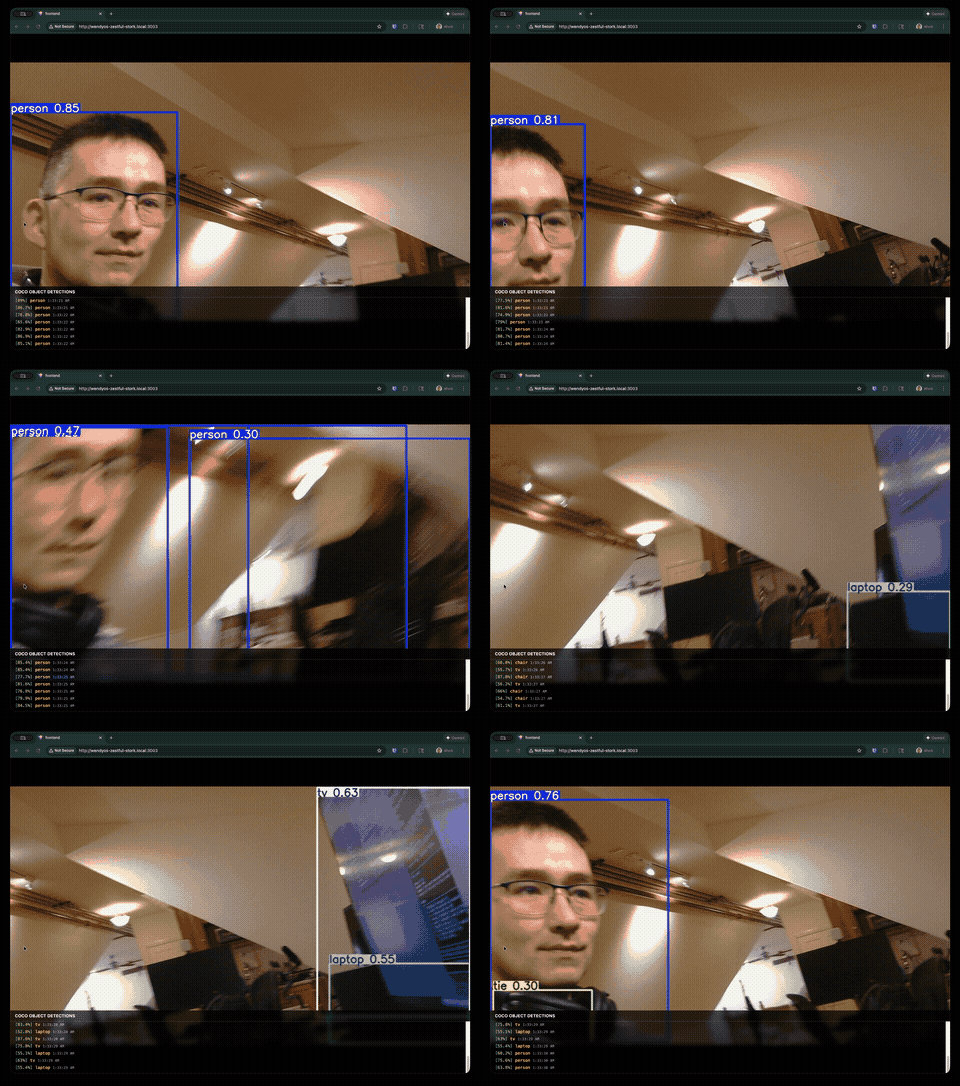
Real-Time COCO Object Detection with YOLOv8
This guide walks you through building a complete webcam detection application that runs YOLOv8 on a WendyOS device. The app features a full-screen video feed with bounding box overlays drawn on a canvas, a confidence slider, and a live count of identified objects from the COCO dataset (80 classes including people, cars, animals, and everyday objects).
The complete sample is available in the samples repository.
What You'll Build
- A FastAPI backend that captures webcam frames (via GStreamer, with an OpenCV fallback) and runs YOLOv8 inference in a background thread
- A WebSocket stream that sends raw JPEG frames alongside JSON detection metadata
- A single-file HTML/Tailwind frontend that renders frames in an
<img>and overlays bounding boxes on a<canvas>, with a camera picker and confidence slider - A multi-stage Dockerfile that picks a CUDA (Jetson) or CPU base image at build time
Prerequisites
- Wendy CLI installed on your development machine
- A WendyOS device (NVIDIA Jetson Orin Nano, Jetson AGX, etc.)
- A USB webcam connected to your WendyOS device
Recommended Webcams: We recommend a standard USB webcam such as the Logitech C920 or C270.
Initialize the Project
Start from the Wendy YOLO camera template:
wendy init yolov8 --target wendyos --language python --template camera-feed-yolo --var APP_ID=yolov8 --var PORT=3005 --assistant skip --git-init no
cd yolov8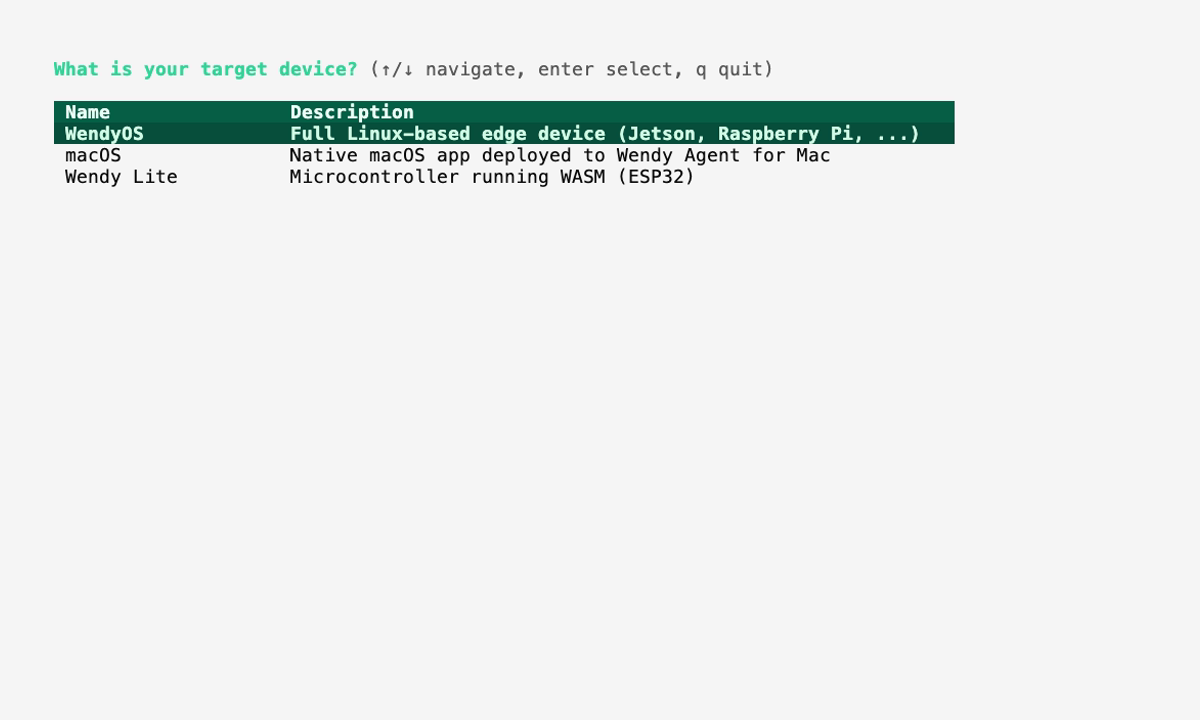
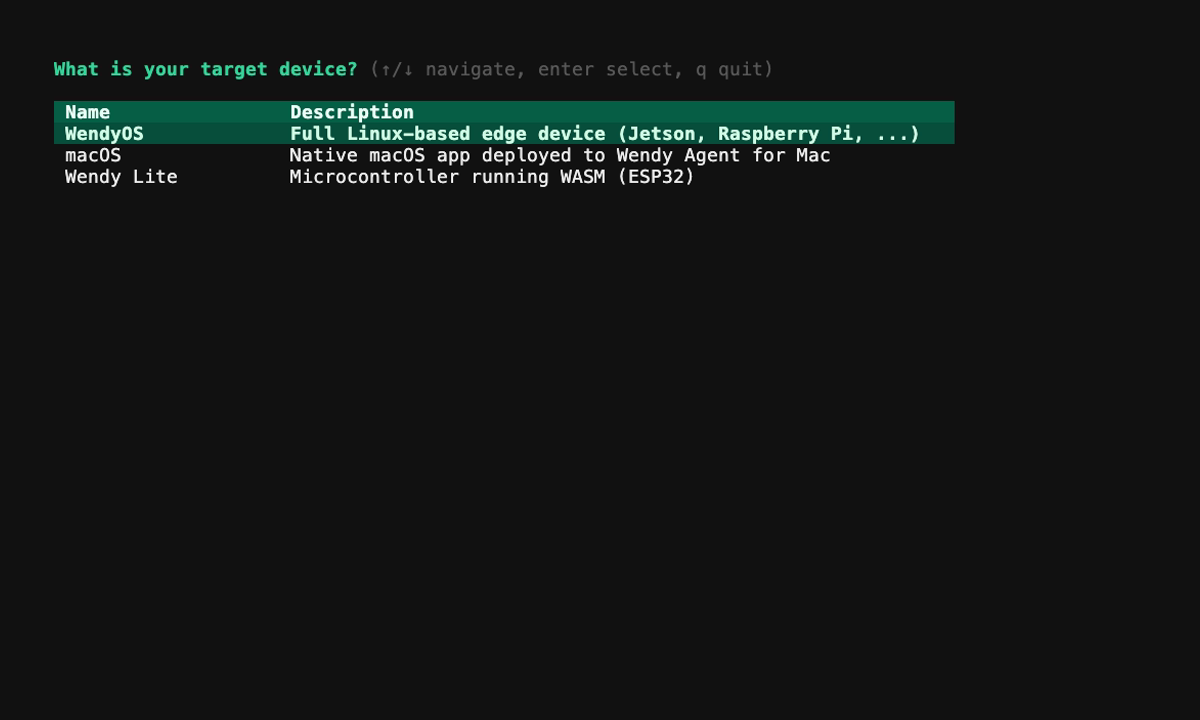
The template creates the Wendy config, Dockerfile, backend, frontend, and camera/GPU entitlements. The sections below explain the generated project.
Run on WendyOS
wendy run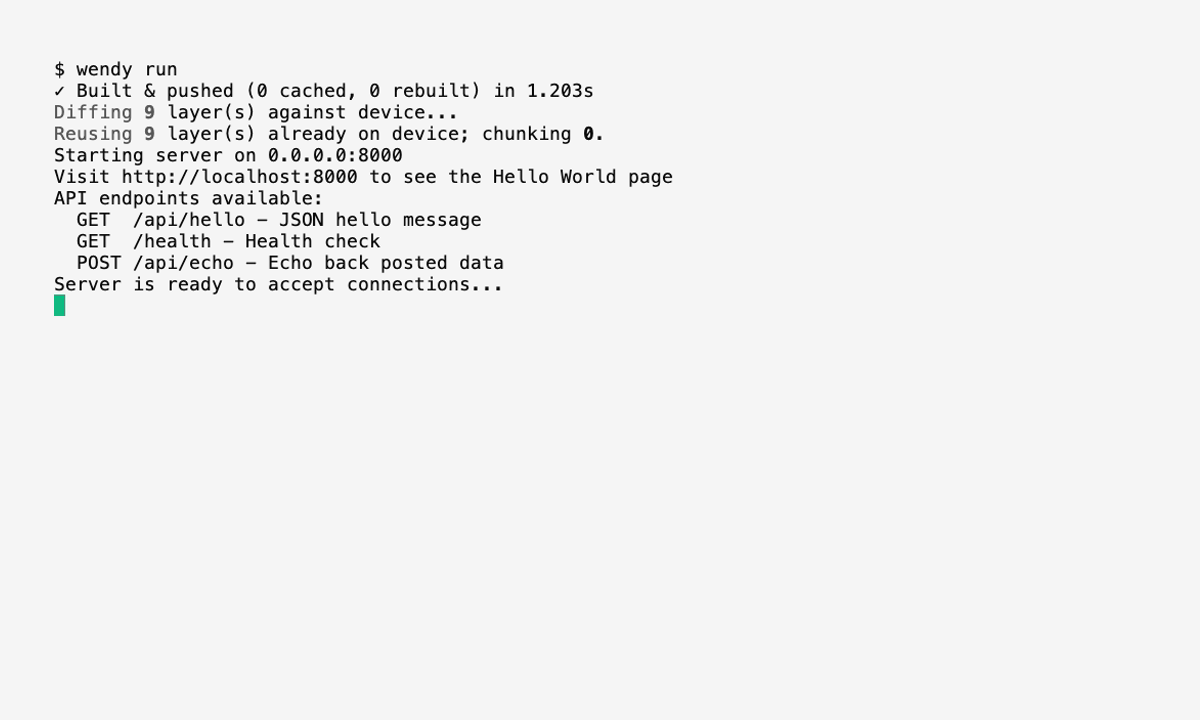
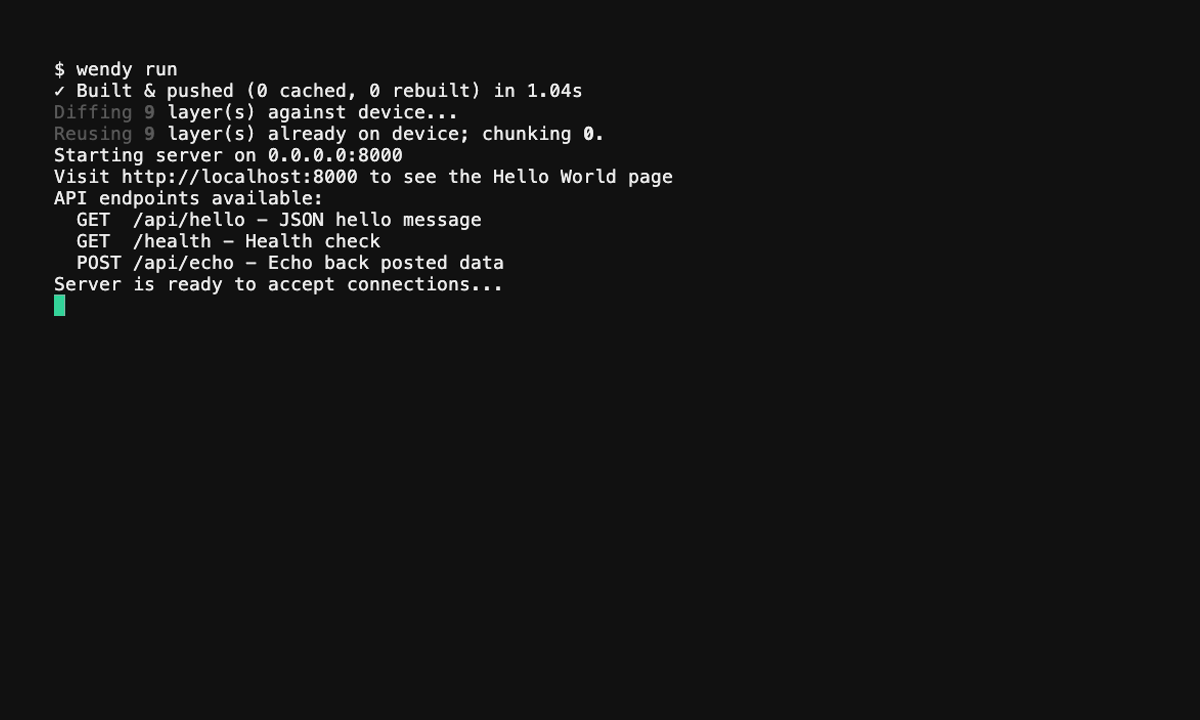
Wendy will build the app, ask you to select a device if one is not already configured, deploy the app, and print the app URL.
Code Breakdown
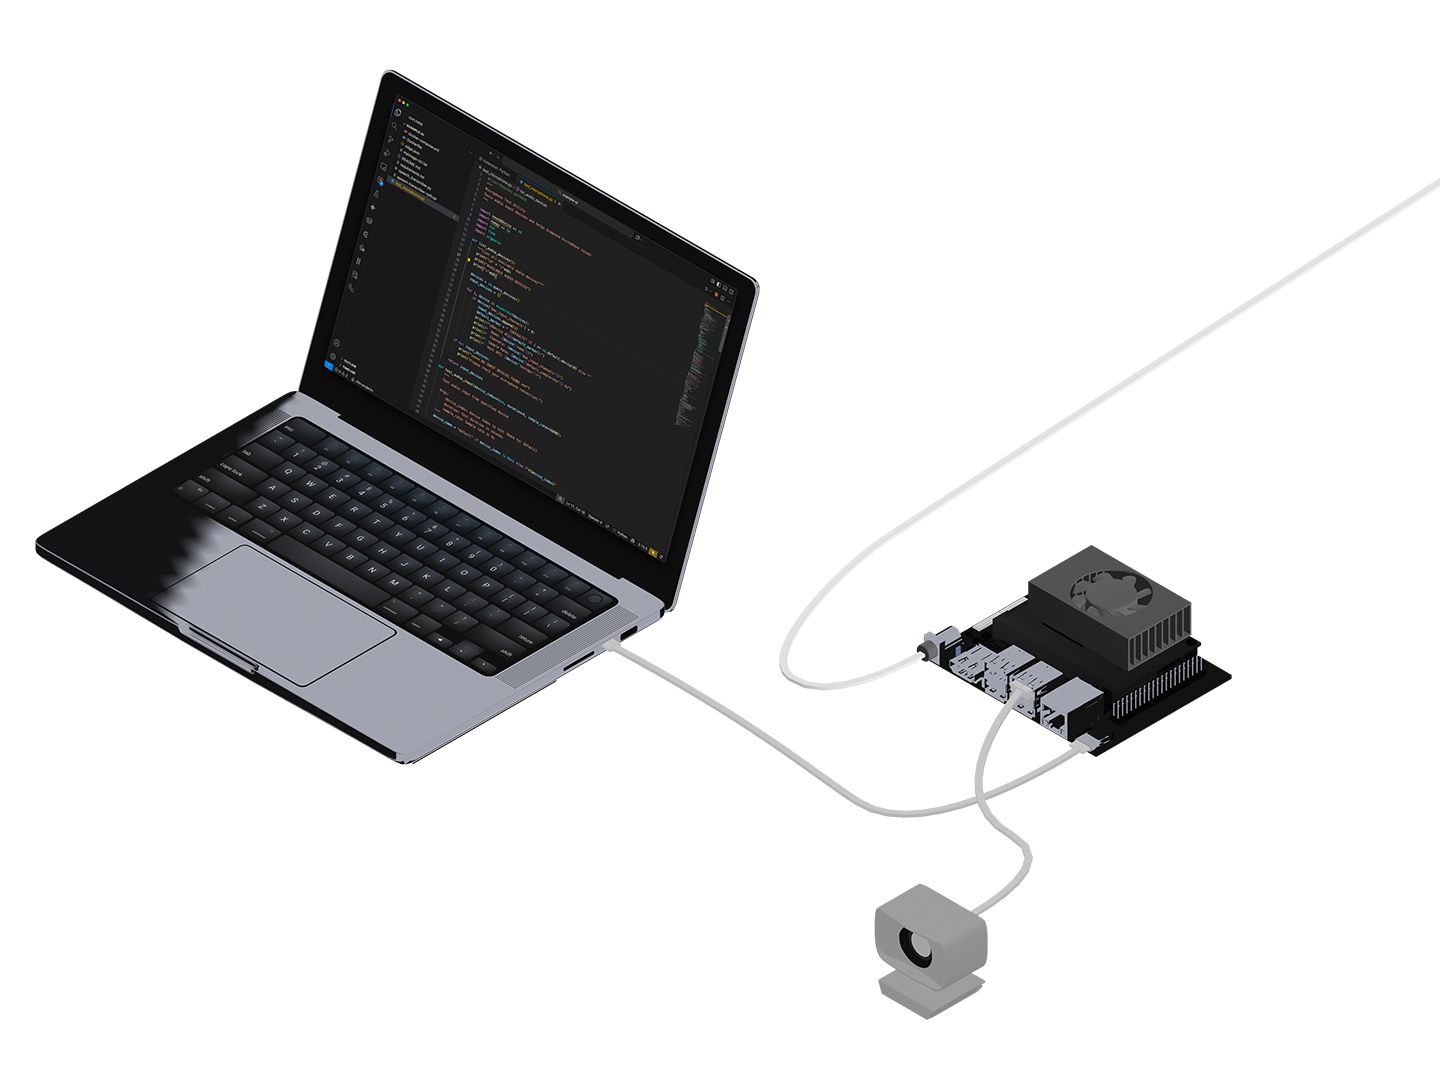
Understanding the Architecture
This sample uses a multi-stage Dockerfile that selects its base image at build time via the WENDY_PLATFORM build arg, which the Wendy CLI injects after probing the target device:
nvidia-jetson→dustynv/pytorchwith CUDA/JetPack for GPU-accelerated inferencegeneric→python:3.11-slim-bookwormfor CPU inference (Raspberry Pi, unknown devices, or a plaindocker build)
Frames flow through the app like this:
- GStreamer captures JPEG frames from the webcam (with an OpenCV fallback on CPU/RPi devices)
- The raw JPEG frames stream to the browser over a WebSocket at camera rate
- YOLOv8 inference runs in a separate background thread at a lower rate, publishing detection metadata (bounding boxes, classes, timings) as JSON
- The browser renders the JPEG in an
<img>and draws the boxes on a<canvas>overlay, so slow inference never stalls the video
Large Image Size: The Jetson CUDA base image is large (several GB). Initial uploads to your device can be slow depending on your network connection. See the Speeding Up Uploads section for tips. The YOLOv8n weights file is small (~6 MB) and is baked into the image at build time so the app works offline.
Understanding the Dockerfile
The Dockerfile is multi-stage and chooses its base from the WENDY_PLATFORM build arg. There are two base stages — a CUDA Jetson base and a generic CPU base — and a final stage that copies in the app. Here is the structure (trimmed for readability):
# syntax=docker/dockerfile:1.6
ARG WENDY_PLATFORM=generic

# ── NVIDIA Jetson base (CUDA-accelerated via L4T) ──
FROM dustynv/pytorch:2.7-r36.4.0-cu128-24.04 AS base-nvidia-jetson
# L4T base already ships CUDA torch/torchvision/OpenCV/numpy.
# Add GStreamer + v4l so USB cameras work, then app-level deps.
RUN apt-get update && apt-get install -y --no-install-recommends \
    python3-gi gir1.2-gstreamer-1.0 gir1.2-gst-plugins-base-1.0 \
    gir1.2-gst-plugins-bad-1.0 gstreamer1.0-tools \
    gstreamer1.0-plugins-base gstreamer1.0-plugins-good \
    gstreamer1.0-plugins-bad gstreamer1.0-plugins-ugly \
    gstreamer1.0-libav v4l-utils \
    && rm -rf /var/lib/apt/lists/*
ENV PATH="/opt/venv/bin:${PATH}"
RUN pip3 install --no-cache-dir --index-url https://pypi.org/simple/ \
    fastapi 'uvicorn[standard]' ultralytics

# ── Generic CPU base (Raspberry Pi, unknown, non-accelerated) ──
FROM python:3.11-slim-bookworm AS base-generic
RUN apt-get update && apt-get install -y --no-install-recommends \
    python3-gi gir1.2-gstreamer-1.0 gir1.2-gst-plugins-base-1.0 \
    gir1.2-gst-plugins-bad-1.0 gstreamer1.0-tools \
    gstreamer1.0-plugins-base gstreamer1.0-plugins-good \
    gstreamer1.0-plugins-bad gstreamer1.0-plugins-ugly \
    gstreamer1.0-libav gstreamer1.0-nice v4l-utils \
    libgl1 libglib2.0-0 libgomp1 \
    && rm -rf /var/lib/apt/lists/*
COPY requirements.txt /tmp/requirements.txt
RUN pip install --no-cache-dir -r /tmp/requirements.txt

# ── Final stage: WENDY_PLATFORM selects the hardware path ──
FROM base-${WENDY_PLATFORM} AS final
WORKDIR /app

# apt's python3-gi lives under /usr/lib/python3/dist-packages;
# expose it so `import gi` works, and fail loudly if it regresses.
ENV PYTHONPATH=/usr/lib/python3/dist-packages
RUN python3 -c "import gi; gi.require_version('Gst','1.0'); from gi.repository import Gst; Gst.init(None); print('gi+Gst OK')"

# Bake YOLOv8n weights into the image (works offline on first run).
RUN python3 -c "from ultralytics import YOLO; YOLO('yolov8n.pt')" && \
    [ -s /app/yolov8n.pt ] && [ "$(stat -c %s /app/yolov8n.pt)" -gt 6000000 ]

COPY app.py index.html ./
COPY assets/ ./assets/

ENV PYTHONUNBUFFERED=1
EXPOSE 3005
CMD ["uvicorn", "app:app", "--host", "0.0.0.0", "--port", "3005"]
The accompanying requirements.txt (used by the generic CPU base) is:
fastapi
uvicorn[standard]
opencv-python-headless
ultralytics
Key points:
ARG WENDY_PLATFORM+FROM base-${WENDY_PLATFORM}pick the CUDA or CPU base; the Wendy CLI sets this after probing your device (it falls back togenericfor a plaindocker build)- Both bases install GStreamer and
v4l-utilsso USB cameras work - The YOLOv8n weights (
yolov8n.pt, ~6 MB) are baked in at build time, not downloaded at runtime, so the app works offline - A build-time check confirms the GStreamer Python bindings (
import gi) load successfully
Understanding the Backend
The FastAPI backend (app.py) captures frames with GStreamer, runs YOLOv8 inference on a separate background thread, and ships raw JPEG frames plus JSON detection metadata to the browser over a WebSocket. Capturing and inference are decoupled so a slow inference pass never stalls the video.
The base-image selection at build time is mirrored at runtime: the app reads the WENDY_HAS_CUDA / WENDY_GPU_VENDOR hints the CLI baked in, and chooses CUDA vs CPU (and a sensible inference FPS/image size) accordingly:
_HAS_CUDA = _has_cuda()  # uses WENDY_HAS_CUDA hint, then torch.cuda.is_available()
_MAX_INFERENCE_FPS = float(os.environ.get("YOLO_MAX_FPS", "15" if _HAS_CUDA else "3"))
_INFERENCE_IMGSZ = 320 if _HAS_CUDA else 224
# RPi5 / CPU devices idle lighter on OpenCV than GStreamer + inference.
_FORCE_OPENCV = not _HAS_GSTREAMER or (_backend == "opencv") or (
    _backend == "auto" and (IS_RPI or not _HAS_CUDA)
)
The model is loaded lazily (and warmed at startup on a background thread) so the first WebSocket connection isn't blocked by the multi-second torch load:
def _get_model() -> YOLO:
    global _model
    if _model is not None:
        return _model
    with _model_lock:
        if _model is not None:
            return _model
        model_path = "yolov8n.onnx" if Path("yolov8n.onnx").exists() else "yolov8n.pt"
        m = YOLO(model_path)
        logger.info("YOLOv8n ready — %d COCO classes, backend: %s", len(m.names), model_path)
        _model = m
        return _model
Inference runs in its own loop, decoding the latest raw JPEG, running model.predict, and caching the resulting boxes/classes as JSON metadata:
def _inference_loop(self):
    last_inference = 0.0
    while True:
        self._raw_event.wait(timeout=1.0)
        self._raw_event.clear()
        now = time.monotonic()
        if now - last_inference < _MIN_INFERENCE_INTERVAL:
            continue

        with self._lock:
            raw, self._latest_raw = self._latest_raw, None
            conf = self._confidence
            has_clients = bool(self.queues)
        if raw is None or not has_clients:
            continue

        model = _get_model()
        frame = cv2.imdecode(np.frombuffer(raw, np.uint8), cv2.IMREAD_COLOR)
        if frame is None:
            continue
        h, w = frame.shape[:2]

        t0 = time.monotonic()
        results = model.predict(frame, conf=conf, imgsz=_INFERENCE_IMGSZ, verbose=False)
        inference_ms = (time.monotonic() - t0) * 1000
        last_inference = time.monotonic()

        boxes_out, classes = [], {}
        for box in results[0].boxes:
            xyxy = box.xyxy[0].tolist()
            cls_name = model.names[int(box.cls)]
            boxes_out.append({
                "x1": xyxy[0], "y1": xyxy[1], "x2": xyxy[2], "y2": xyxy[3],
                "conf": float(box.conf), "cls": int(box.cls), "name": cls_name,
            })
            classes[cls_name] = classes.get(cls_name, 0) + 1

        with self._lock:
            self._cached_meta = json.dumps({
                "detections": len(boxes_out), "inference_ms": round(inference_ms, 1),
                "classes": classes, "boxes": boxes_out, "frame_w": w, "frame_h": h,
            })
The WebSocket endpoint runs a sender task (it sends the metadata as text, then the JPEG as binary) and a receiver task that handles switch_camera and confidence commands:
@app.websocket("/stream")
async def websocket_stream(websocket: WebSocket):
    await websocket.accept()
    q = await camera.add_client(websocket)

    async def send_frames():
        while True:
            frame_data, meta = await q.get()
            await websocket.send_text(meta)
            await websocket.send_bytes(frame_data)

    async def recv_commands():
        try:
            while True:
                msg = json.loads(await websocket.receive_text())
                if "switch_camera" in msg:
                    await camera.switch_camera(msg["switch_camera"])
                if "confidence" in msg:
                    camera.set_confidence(float(msg["confidence"]))
        except WebSocketDisconnect:
            pass

    try:
        done, pending = await asyncio.wait(
            [asyncio.create_task(send_frames()), asyncio.create_task(recv_commands())],
            return_when=asyncio.FIRST_COMPLETED,
        )
        for t in pending:
            t.cancel()
    finally:
        camera.remove_client(websocket)
How it works:
- GStreamer (or OpenCV on CPU/RPi) captures JPEG frames and feeds them to all connected clients at camera rate
- A background thread runs YOLOv8 at its own throttled rate and caches detection metadata
- Each WebSocket message pair is
<json-metadata>then<binary-jpeg>; the browser overlays the boxes /cameras,/logs, and/debugendpoints expose camera inventory, recent logs, and live state;/servesindex.html
Understanding the Frontend
The frontend is a single index.html file (Tailwind via CDN). A fullscreen <img> shows the raw JPEG frames, and a <canvas id="overlay"> is positioned on top to draw the bounding boxes:
<img id="video-stream" class="max-w-full max-h-full w-full h-full object-contain" alt="" />
<canvas id="overlay" class="pointer-events-none absolute"></canvas>
Each WebSocket message is either JSON metadata (stored in latestMeta) or a binary JPEG (decoded into the <img>):
ws.onmessage = (e) => {
  if (e.data instanceof ArrayBuffer) {
    imgEl.src = arrayBufferToDataUrl(e.data);
    frameCount++;
    setStatus("Live", "green");
  } else {
    latestMeta = JSON.parse(e.data);
    updateMetaUI(latestMeta);
  }
};
The boxes are drawn on the canvas, sized to match the source frame so coordinates are 1:1. Each COCO class gets its own color:
function drawBoxes() {
  const fw = latestMeta.frame_w || imgEl.naturalWidth;
  const fh = latestMeta.frame_h || imgEl.naturalHeight;
  if (!fw || !fh) return;
  if (canvasEl.width !== fw) canvasEl.width = fw;
  if (canvasEl.height !== fh) canvasEl.height = fh;
  ctx.clearRect(0, 0, fw, fh);
  for (const b of latestMeta.boxes || []) {
    const color = COLORS[(b.cls | 0) % 80];
    ctx.strokeStyle = color;
    ctx.strokeRect(b.x1, b.y1, b.x2 - b.x1, b.y2 - b.y1);
    const label = `${b.name || `class ${b.cls}`} ${(b.conf ?? 0).toFixed(2)}`;
    // ... draw a filled label background and the text ...
  }
}
The confidence slider sends a confidence command to the server so YOLO re-thresholds in real time:
confSlider.addEventListener("change", () => {
  const val = confSlider.value / 100;
  confValue.textContent = val.toFixed(2);
  if (ws?.readyState === WebSocket.OPEN) {
    ws.send(JSON.stringify({ confidence: val }));
  }
});
UI Features:
- Fullscreen video feed (
<img>) with bounding boxes drawn on a<canvas>overlay - Live counters for FPS, object count, and inference time (ms)
- A per-class detection panel (e.g. "person 2, car 1")
- A camera picker (populated from
/cameras) and a confidence slider - Fullscreen toggle and automatic reconnect on disconnect
Configure Entitlements
The generated wendy.json specifies the required device permissions. Note the longer readiness timeout — the YOLO/CUDA image and model load can take a while on first start:
{
    "appId": "yolov8",
    "platform": "linux",
    "version": "0.1.0",
    "entitlements": [
        {
            "type": "network",
            "mode": "host"
        },
        {
            "type": "camera"
        },
        {
            "type": "gpu"
        }
    ],
    "readiness": {
        "tcpSocket": { "port": 3005 },
        "timeoutSeconds": 180
    },
    "hooks": {
        "postStart": {
            "cli": "wendy utils open-browser http://${WENDY_HOSTNAME}:3005"
        }
    }
}- network (host mode): Allows binding to ports directly on the device
- camera: Grants access to
/dev/video*webcam devices - gpu: Enables CUDA acceleration for YOLOv8 inference on Jetson
- readiness: Waits up to
180sfor port3005to accept connections (the large image and model load can be slow) - postStart: Automatically opens the detection UI in your browser once ready
Run Again on WendyOS
Connect your USB webcam to the Jetson, then run:
wendy runThe CLI will:
- Build the Docker image (cross-compiling for ARM64)
- Push the image to your device's local registry
- Start the container with the configured entitlements
wendy run
✔︎ Searching for WendyOS devices [5.0s]
✔︎ Which device?: wendyos-zestful-stork.local [USB, LAN]
✔︎ Builder ready [0.2s]
✔︎ Container built and uploaded successfully! [45.2s]
✔ Success
  Started app
INFO:     Uvicorn running on http://0.0.0.0:3005
INFO:     Loading YOLOv8n model (CUDA: True)...
INFO:     YOLOv8n ready — 80 COCO classes, backend: yolov8n.pt
Your browser will open automatically once the detection server is ready, thanks to the postStart hook. If it doesn't, navigate to:
http://wendyos-zestful-stork.local:3005Replace the hostname with your device's actual hostname.
Speeding Up Uploads
The Ultralytics Jetson image is large (5-9 GB), which can make initial deployments slow over Wi-Fi.
Use USB-3 Direct Connection
For the fastest uploads, connect your laptop directly to the Jetson via USB-C:
- Use a USB 3.0 or USB-C cable (not USB 2.0)
- The Wendy CLI will automatically detect the USB connection
- Uploads over USB are significantly faster than Wi-Fi or Ethernet
# The CLI will show [USB] when connected via USB
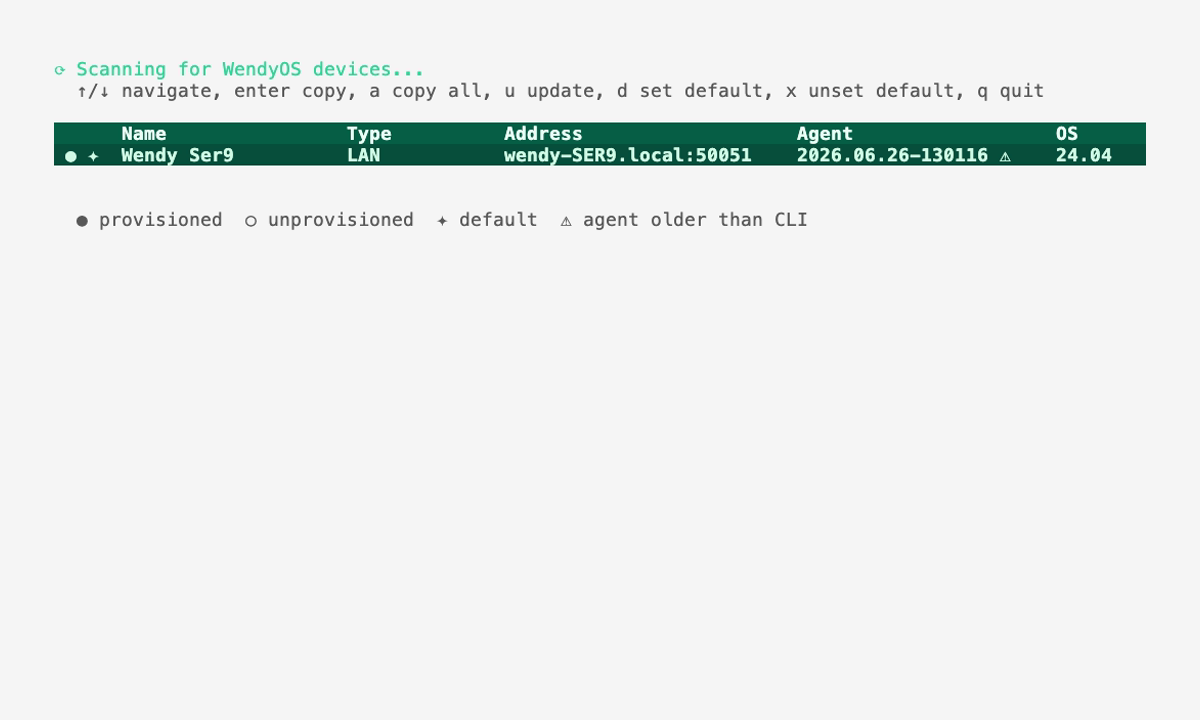
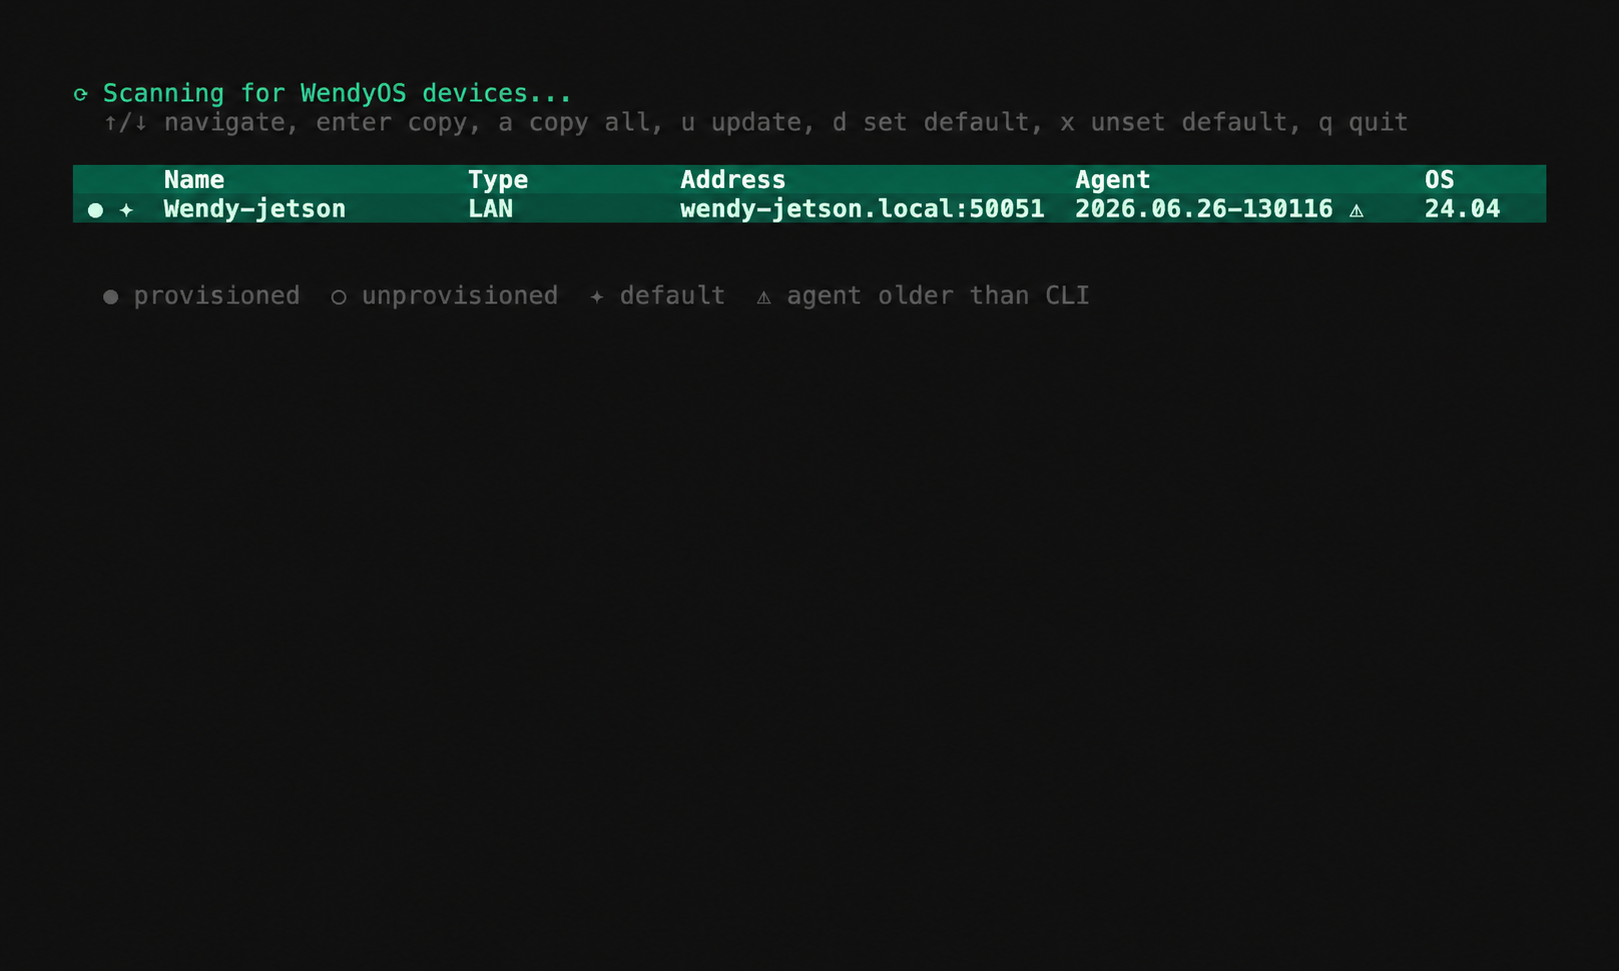
wendy discover
╭─────────────────────────────────────┬───────────────────╮
│ Device                              │ Connection        │
├─────────────────────────────────────┼───────────────────┤
│ wendyos-zestful-stork.local         │ USB, LAN          │
╰─────────────────────────────────────┴───────────────────╯
Subsequent Deploys Are Fast
Docker layer caching means that after the initial upload:
- Only changed layers are uploaded
- Code changes typically upload in seconds
- The large base image layers are cached on the device
Troubleshooting
Next Steps
- Modify the detection filter in
app.pyto only show specific object classes - Add audio alerts when certain objects are detected
- Implement recording of detection events to a database
- Try different YOLOv8 model sizes (
yolov8s.pt,yolov8m.pt) for better accuracy