Webcam Streaming
Stream a live webcam feed from your WendyOS device to the browser using GStreamer, WebSockets, and hardware-accelerated JPEG encoding
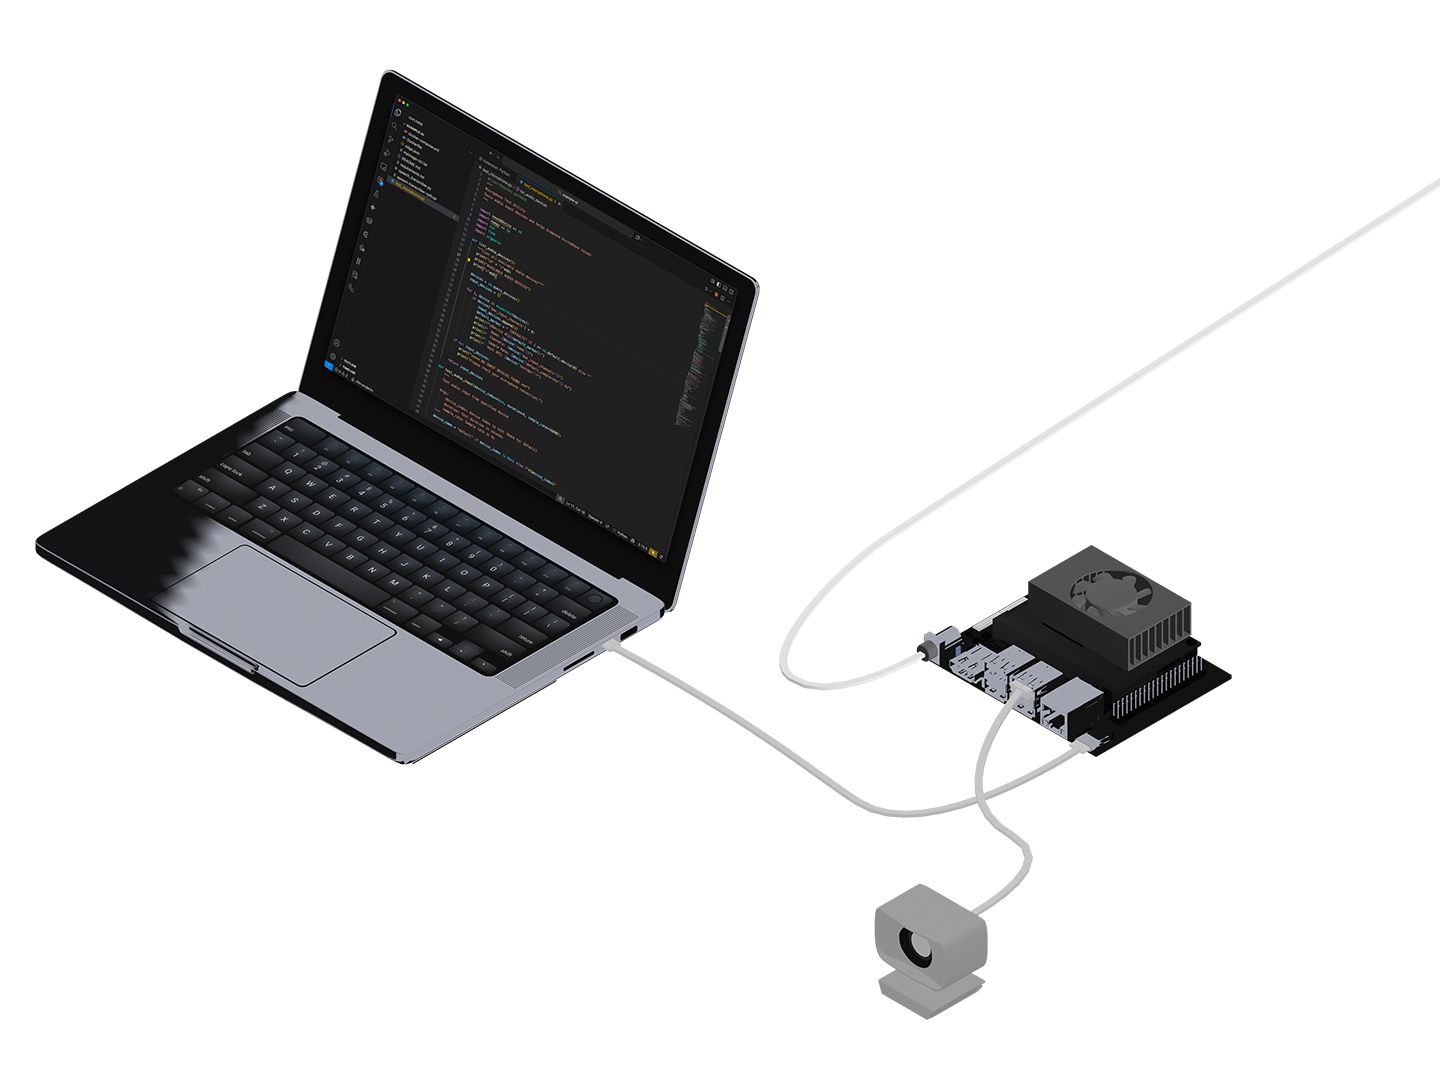
Low-Latency Webcam Streaming with GStreamer
This guide walks you through building a real-time webcam streaming application that runs on a WendyOS device. The app uses GStreamer for hardware-accelerated video capture and JPEG encoding, WebSockets for low-latency frame delivery, and a simple HTML5 frontend that renders frames on a canvas.
The complete sample is available in the samples repository.
What You'll Build
- A FastAPI backend using GStreamer to capture MJPEG frames from a USB webcam
- WebSocket-based binary JPEG streaming with automatic client management and lazy start/stop
- An HTML5 frontend with an
<img>viewer, camera picker, FPS counter, and connection status - A Docker container built on a slim Debian base with GStreamer installed
Prerequisites
- Wendy CLI installed on your development machine
- A WendyOS device (NVIDIA Jetson Orin Nano, Jetson AGX, etc.)
- A USB webcam connected to your WendyOS device
Recommended Webcams: We recommend a standard USB webcam such as the Logitech C920 or C270.
Initialize the Project
Start from the Wendy camera-feed template:
wendy init webcam --target wendyos --language python --template camera-feed --var APP_ID=webcam --var PORT=3003 --assistant skip --git-init no
cd webcam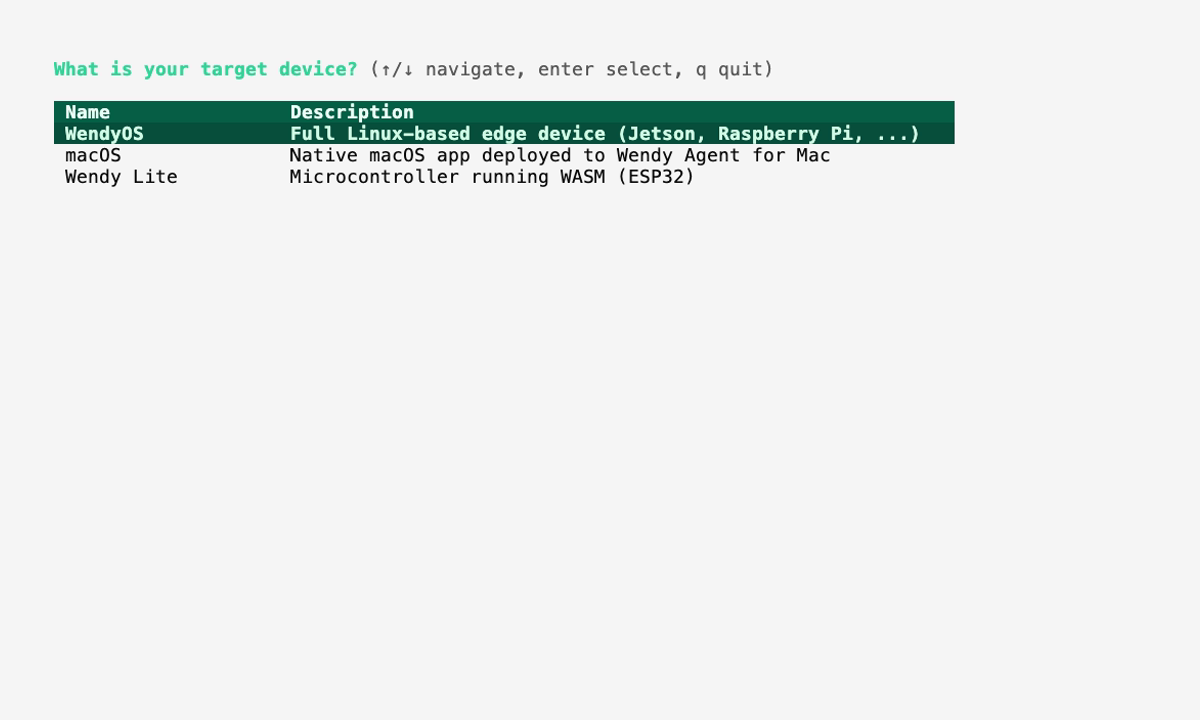
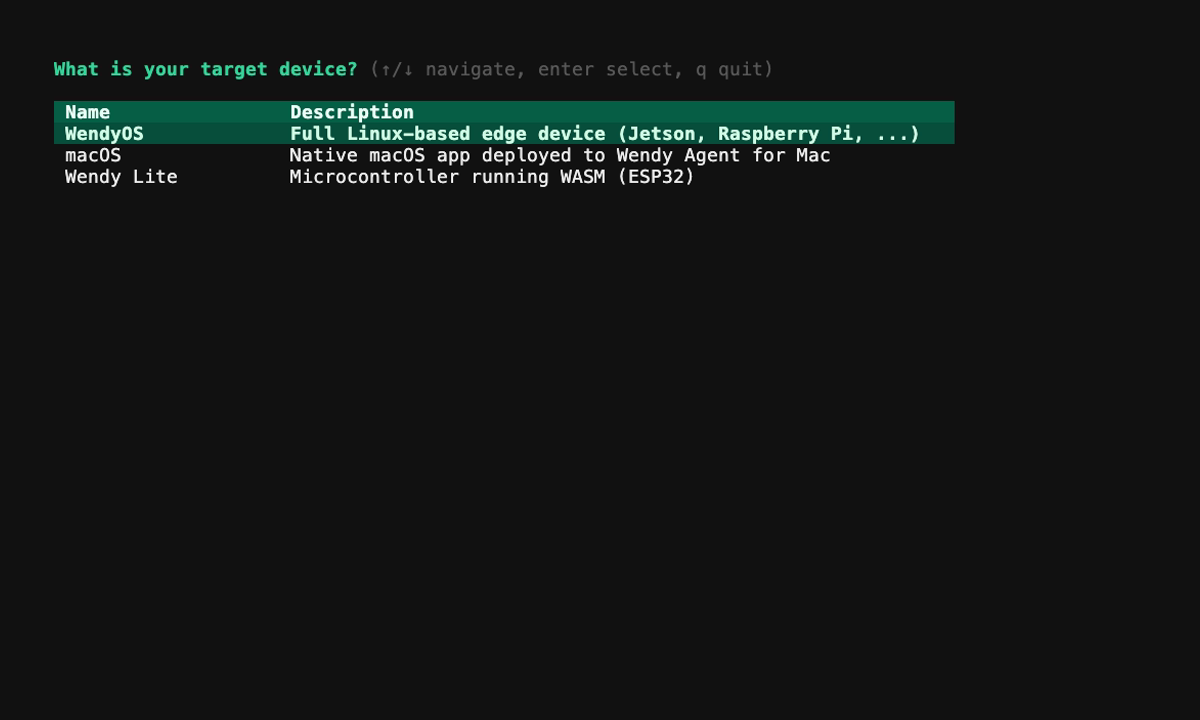
The template creates the Wendy config, Dockerfile, backend, frontend, and camera entitlements. The sections below explain the generated project.
Run on WendyOS
wendy run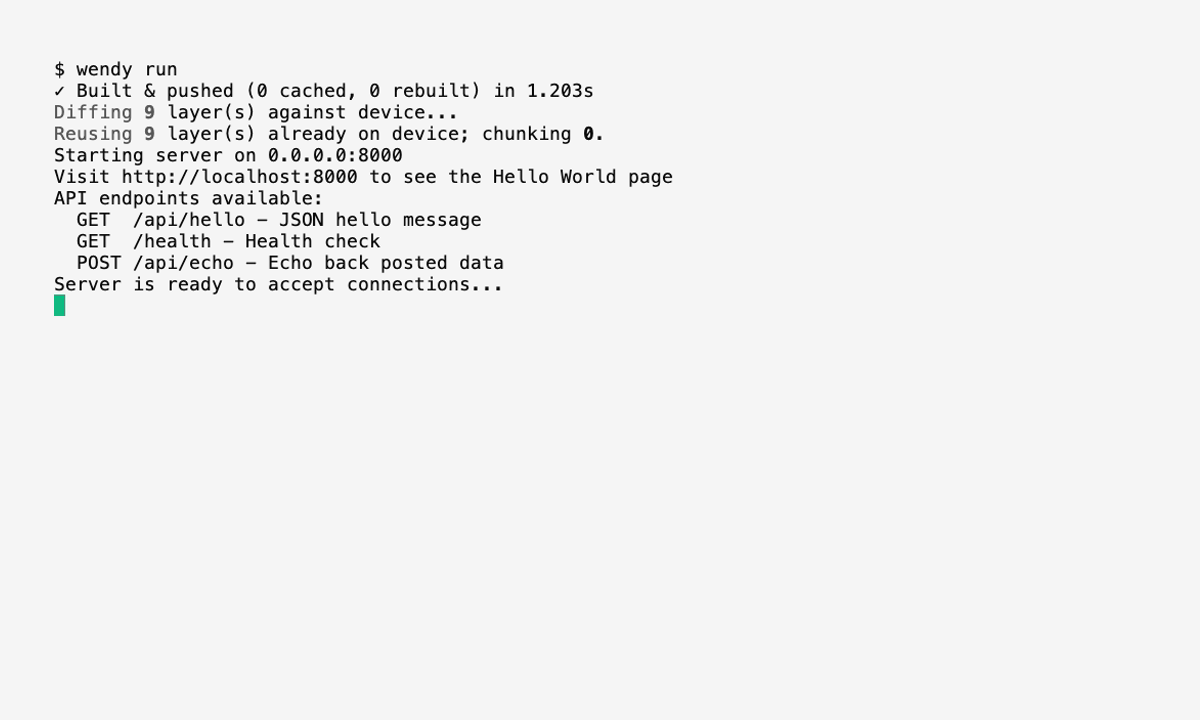
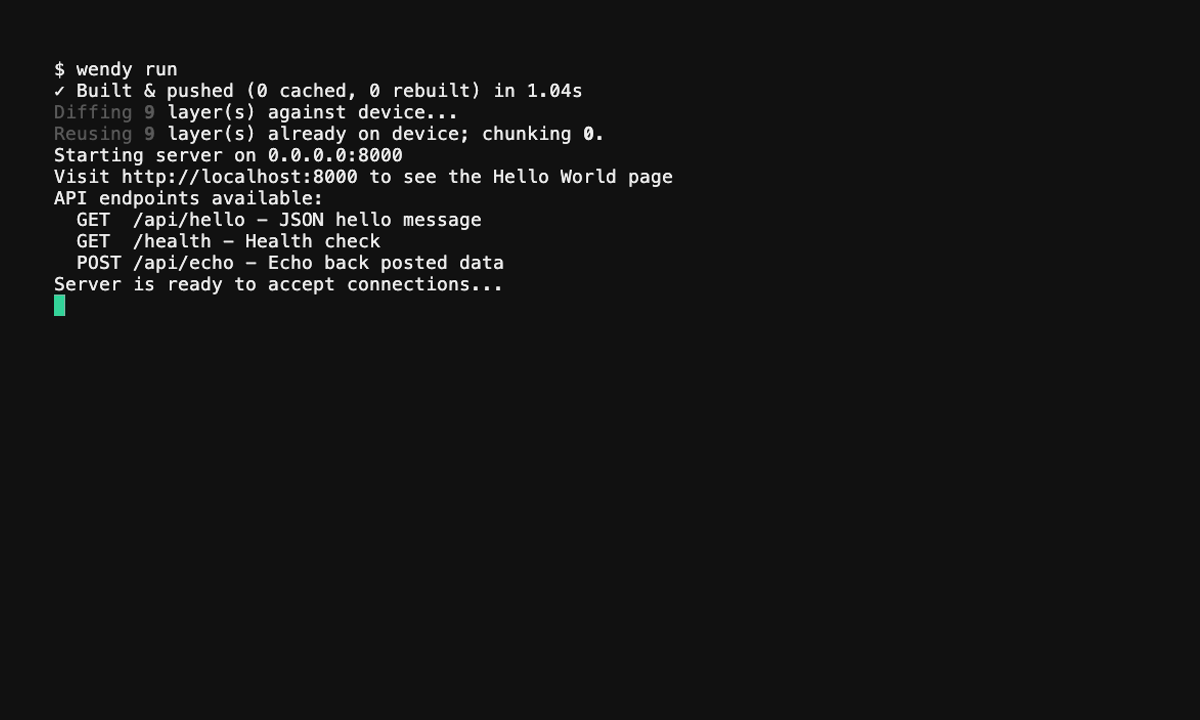
Wendy will build the app, ask you to select a device if one is not already configured, deploy the app, and print the app URL.
Code Breakdown
Understanding the Architecture
This sample uses a slim Debian base image (debian:bookworm-slim) with GStreamer and its Python bindings installed. Most USB webcams output MJPEG natively, so the app streams those JPEG frames straight through to the browser without re-encoding.
The streaming pipeline works as follows:
- GStreamer captures frames from the webcam via V4L2 (
v4l2src) - The app tries several pipelines in order, preferring native MJPEG passthrough and falling back to
jpegencsoftware encoding when needed - FastAPI serves a WebSocket endpoint that broadcasts JPEG frames to all connected browsers
- The HTML5 frontend renders each frame by setting the
srcof an<img>element to a base64 data URL
The camera pipeline starts lazily when the first client connects and stops when the last client disconnects, saving resources when nobody is watching. The app also enumerates available cameras (GET /cameras) so the frontend can offer a camera picker, and supports switching cameras over the WebSocket.
Understanding the Backend
The FastAPI backend (app.py) initializes GStreamer, runs a GLib main loop in a background thread, and serves both the UI and the WebSocket stream:
import asyncio
import json
import logging
import threading
from pathlib import Path

import gi

gi.require_version("Gst", "1.0")
gi.require_version("GstApp", "1.0")

from gi.repository import Gst, GLib
from fastapi import FastAPI, WebSocket, WebSocketDisconnect
from fastapi.responses import FileResponse, JSONResponse
from fastapi.staticfiles import StaticFiles

Gst.init(None)

_glib_loop = GLib.MainLoop()
threading.Thread(target=_glib_loop.run, daemon=True).start()

app = FastAPI()
GStreamer Pipeline
The MJPEGCamera class builds a capture pipeline. It prefers passing the camera's native MJPEG straight through and falls back to software JPEG encoding, trying each candidate until one reaches the PAUSED state:
class MJPEGCamera:
    """Captures MJPEG frames from a camera using GStreamer appsink."""

    def _start_pipeline(self, device_id: str | None = None) -> Gst.Pipeline | None:
        src = build_source(device_id)  # v4l2src on Linux, avfvideosrc on macOS
        appsink = "appsink name=sink emit-signals=true max-buffers=2 drop=true sync=false"
        pipelines = [
            f"{src} ! image/jpeg ! jpegdec ! jpegenc quality=85 ! {appsink}",
            f"{src} ! image/jpeg,width=640,height=480 ! jpegdec ! jpegenc quality=85 ! {appsink}",
            f"{src} ! videoconvert ! jpegenc quality=70 ! {appsink}",
            f"{src} ! image/jpeg ! {appsink}",
            f"{src} ! image/jpeg,width=640,height=480 ! {appsink}",
        ]

        for p_str in pipelines:
            try:
                pipeline = Gst.parse_launch(p_str)
                ret = pipeline.set_state(Gst.State.PAUSED)
                if ret == Gst.StateChangeReturn.FAILURE:
                    pipeline.set_state(Gst.State.NULL)
                    continue
                # ... wait for ASYNC preroll, check for errors ...
                logger.info("Pipeline ready: %s", p_str)
                return pipeline
            except Exception as e:
                logger.info("Pipeline exception: %s — %s", p_str, e)
        return None
How it works:
v4l2srccaptures frames from the USB webcam (the device defaults to/dev/video0)- The last two pipelines pass the camera's native
image/jpegstraight through with no re-encoding - The earlier pipelines decode and re-encode (
jpegdec ! jpegenc) or convert raw frames (videoconvert ! jpegenc) as fallbacks appsinkwithmax-buffers=2 drop=trueprevents frame buildup if clients are slow
WebSocket Frame Broadcasting
Each connected client gets a small queue. When GStreamer produces a new JPEG frame, it is pushed to every client's queue:
def _on_new_sample(self, sink):
    sample = sink.emit("pull-sample")
    if not sample:
        return Gst.FlowReturn.OK
    buf = sample.get_buffer()
    ok, mapinfo = buf.map(Gst.MapFlags.READ)
    if not ok:
        return Gst.FlowReturn.OK
    data = bytes(mapinfo.data)
    buf.unmap(mapinfo)

    with self._lock:
        for q in self.queues.values():
            try:
                q.put_nowait(data)
            except asyncio.QueueFull:
                pass

    return Gst.FlowReturn.OK
Lazy Start/Stop
The camera starts when the first client connects (via a restart task) and stops when the last disconnects:
async def add_client(self, ws: WebSocket) -> asyncio.Queue:
    self._loop = asyncio.get_running_loop()
    q = asyncio.Queue(maxsize=2)
    with self._lock:
        self.queues[ws] = q
        should_restart = self.pipeline is None
    if should_restart:
        self._ensure_restart_task("client connected")
    return q

def remove_client(self, ws: WebSocket):
    with self._lock:
        self.queues.pop(ws, None)
        if not self.queues:
            self._clear_pipeline_locked()
            logger.info("Camera stopped (no clients)")
WebSocket Endpoint
The endpoint runs a sender task (frames out) and a receiver task (commands in, such as switching cameras) concurrently:
@app.websocket("/stream")
async def websocket_stream(websocket: WebSocket):
    await websocket.accept()
    try:
        q = await camera.add_client(websocket)
    except Exception as e:
        logger.error(f"Failed to start camera: {e}")
        await websocket.close(code=1011)
        return

    async def send_frames():
        while True:
            data = await q.get()
            await websocket.send_bytes(data)

    async def recv_commands():
        try:
            while True:
                msg = json.loads(await websocket.receive_text())
                if "switch_camera" in msg:
                    await camera.switch_camera(msg["switch_camera"])
        except WebSocketDisconnect:
            pass

    try:
        done, pending = await asyncio.wait(
            [asyncio.create_task(send_frames()), asyncio.create_task(recv_commands())],
            return_when=asyncio.FIRST_COMPLETED,
        )
        for t in pending:
            t.cancel()
    finally:
        camera.remove_client(websocket)
Other endpoints
The backend also serves the UI and a few helpers:
GET /— servesindex.htmlGET /cameras— lists detected cameras ({"id": ..., "name": ...}) for the pickerGET /logs— recent log lines (handy for debugging)GET /debug— current mode, cameras, pipeline state, and client count
Understanding the Frontend
The frontend (index.html) is a single HTML file (Tailwind via CDN) that connects to the WebSocket stream and renders each JPEG frame into a fullscreen <img> element:
<div class="fixed inset-0 z-0 flex items-center justify-center bg-black">
  <img
    id="video-stream"
    class="max-w-full max-h-full w-full h-full object-contain"
    alt=""
  />
</div>
WebSocket Connection
Incoming binary frames are converted to a base64 data URL and assigned to the image's src:
function connect() {
  if (ws) ws.close();
  const proto = location.protocol === "https:" ? "wss:" : "ws:";
  ws = new WebSocket(`${proto}//${location.host}/stream`);
  ws.binaryType = "arraybuffer";
  ws.onopen = () => setStatus("Connected", "yellow");
  ws.onmessage = (e) => {
    if (e.data instanceof ArrayBuffer) {
      imgEl.src = arrayBufferToDataUrl(e.data);
      frameCount++;
      overlay.classList.add("opacity-0", "pointer-events-none");
      setStatus("Live", "green");
    }
  };
  ws.onclose = () => {
    setStatus("Disconnected", "red");
    setTimeout(connect, reconnectDelay);
    reconnectDelay = Math.min(reconnectDelay * 1.5, 10000);
  };
}
Camera Picker
The page fetches /cameras to populate a dropdown. Selecting a camera sends a switch_camera command over the open WebSocket:
async function loadCameras() {
  const cameras = await (await fetch("/cameras")).json();
  camSelect.innerHTML = "";
  cameras.forEach((c, i) => {
    const o = document.createElement("option");
    o.value = c.id; o.textContent = c.name || `Camera ${i}`;
    camSelect.appendChild(o);
  });
}

camSelect.addEventListener("change", () => {
  if (camSelect.value && ws?.readyState === WebSocket.OPEN) {
    setStatus("Switching...", "yellow");
    ws.send(JSON.stringify({ switch_camera: camSelect.value }));
  }
});
UI Features:
- Connection status indicator (yellow/green/red) with text
- Live FPS counter updated every second
- Camera picker dropdown for switching between connected webcams
- Fullscreen toggle button
- Loading spinner overlay while connecting
- Automatic reconnection on disconnect, with backoff
Understanding the Dockerfile
The Dockerfile uses a slim Debian base image with GStreamer and its Python bindings installed, and creates a virtualenv (with system site packages so the GStreamer bindings are visible):
FROM debian:bookworm-slim

RUN apt-get update && apt-get install -y --no-install-recommends \
    python3 \
    python3-pip \
    python3-venv \
    python3-gi \
    gir1.2-gst-plugins-base-1.0 \
    gir1.2-gst-plugins-bad-1.0 \
    gir1.2-gstreamer-1.0 \
    gstreamer1.0-tools \
    gstreamer1.0-plugins-base \
    gstreamer1.0-plugins-good \
    gstreamer1.0-plugins-bad \
    gstreamer1.0-plugins-ugly \
    gstreamer1.0-libav \
    gstreamer1.0-nice \
    v4l-utils \
    && rm -rf /var/lib/apt/lists/*

WORKDIR /app

RUN python3 -m venv --system-site-packages /app/venv
ENV PATH="/app/venv/bin:$PATH"

COPY requirements.txt .
RUN pip install --no-cache-dir -r requirements.txt

COPY app.py index.html ./
COPY assets/ ./assets/

ENV PYTHONUNBUFFERED=1

ARG WENDY_DEVICE_TYPE
ARG WENDY_DEBUG=false
ENV WENDY_DEVICE_TYPE=${WENDY_DEVICE_TYPE}
ENV WENDY_DEBUG=${WENDY_DEBUG}
RUN if [ "$WENDY_DEBUG" = "true" ]; then pip install --no-cache-dir debugpy; fi

EXPOSE 3003

CMD ["/app/venv/bin/uvicorn", "app:app", "--host", "0.0.0.0", "--port", "3003"]
The matching requirements.txt is just FastAPI and Uvicorn (GStreamer comes from the system packages):
fastapi
uvicorn[standard]
Key points:
- The Debian base ships the GStreamer plugins needed for MJPEG capture and software JPEG encoding
- GStreamer Python bindings (
python3-gi,gir1.2-*) enable pipeline control from Python v4l-utilsprovides Video4Linux tools for webcam discovery and access- No frontend build step is needed since the UI is a single HTML file using Tailwind via CDN
Configure Entitlements
The generated wendy.json specifies the required device permissions:
{
    "appId": "webcam",
    "platform": "linux",
    "version": "0.1.0",
    "entitlements": [
        {
            "type": "network",
            "mode": "host"
        },
        {
            "type": "camera"
        },
        {
            "type": "gpu"
        }
    ],
    "readiness": {
        "tcpSocket": { "port": 3003 },
        "timeoutSeconds": 30
    },
    "hooks": {
        "postStart": {
            "cli": "wendy utils open-browser http://${WENDY_HOSTNAME}:3003"
        }
    }
}- network (host mode): Allows binding to ports directly on the device and enables WebSocket connections
- camera: Grants access to
/dev/video*webcam devices - gpu: Allows hardware-accelerated paths when the device and GStreamer plugins support them
- readiness: Waits for port
3003to accept connections before proceeding - postStart: Automatically opens the stream in your browser once ready
Run Again on WendyOS
Connect your USB webcam to the Jetson, then run:
wendy runThe CLI will:
- Build the Docker image (cross-compiling for ARM64)
- Push the image to your device's local registry
- Start the container with the configured entitlements
wendy run
✔︎ Searching for WendyOS devices [5.0s]
✔︎ Which device?: wendyos-zestful-stork.local [USB, LAN]
✔︎ Builder ready [0.2s]
✔︎ Container built and uploaded successfully! [22.1s]
✔ Success
  Started app
INFO:     Uvicorn running on http://0.0.0.0:3003
INFO:     Discovered 1 camera(s) via V4L2: /dev/video0 (HD Pro Webcam C920)
INFO:     Pipeline ready: v4l2src device=/dev/video0 ! image/jpeg ! appsink name=sink emit-signals=true max-buffers=2 drop=true sync=false
Your browser will open automatically once the stream is ready, thanks to the postStart hook. If it doesn't, navigate to:
http://wendyos-zestful-stork.local:3003Replace the hostname with your device's actual hostname.
Troubleshooting
Next Steps
- Add the YOLOv8 Webcam Detection guide to layer object detection on top of this stream
- Add recording to save video clips to disk
- Implement snapshot endpoints to capture still images on demand
- Add multiple camera support by parameterizing the device path