Simple Web Server
Build a long-running HTTP server on WendyOS using FastAPI
Building a Web Server with FastAPI
Source Code: The complete source code for this example is available at github.com/wendylabsinc/samples/python/simple-server
Often times you'll want a long-running server where you can make HTTP or WebSocket calls to your WendyOS device. This allows your device to accept incoming requests and respond to them, making it easy to build interactive applications or APIs that can be accessed from other devices on your network.
To prove this out, we'll use FastAPI, a modern, fast (high-performance) web framework for building APIs with Python based on standard Python type hints.
Prerequisites
- Wendy CLI installed on your development machine
- Python 3.14 installed
- A WendyOS device plugged in over USB or connectable over Wi-Fi
Setting Up Your Project
Initialize the Project
Start from the Wendy FastAPI template:
wendy init simple-server --target wendyos --language python --template simple-api --var APP_ID=simple-server --var PORT=8000 --assistant skip --git-init no
cd simple-server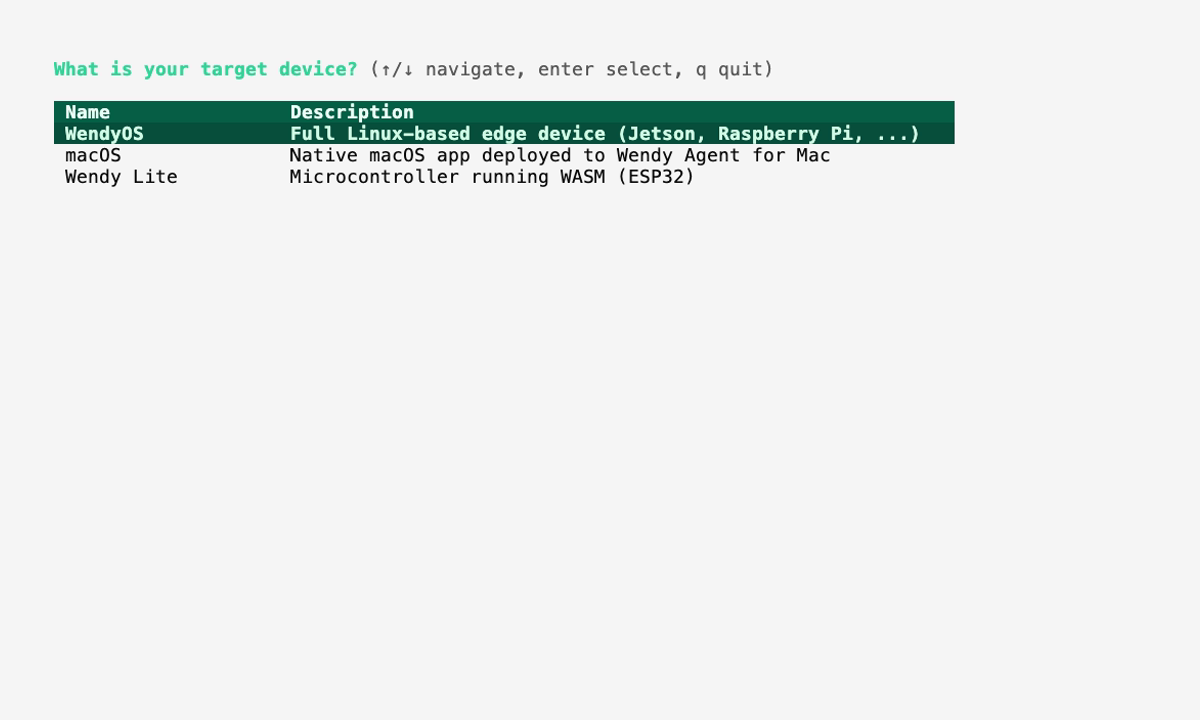
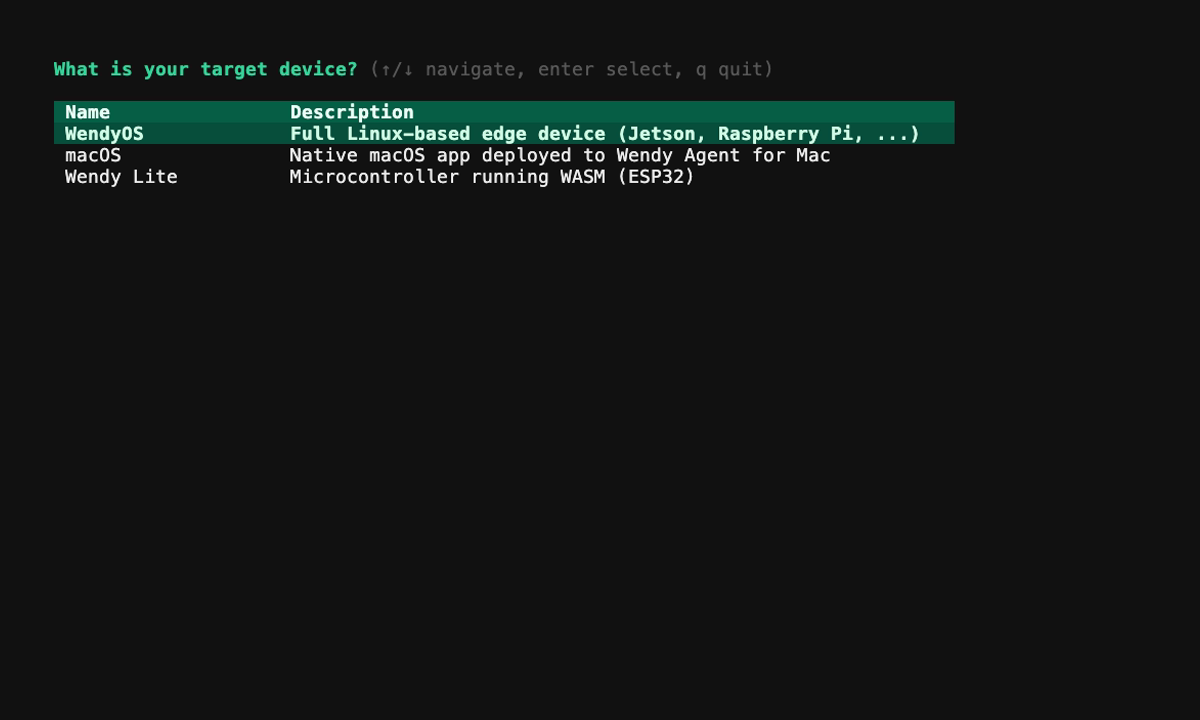
The template creates the Wendy config, Dockerfile, and Python server files. The sections below explain the generated app and the pieces you can customize.
Run on WendyOS
wendy run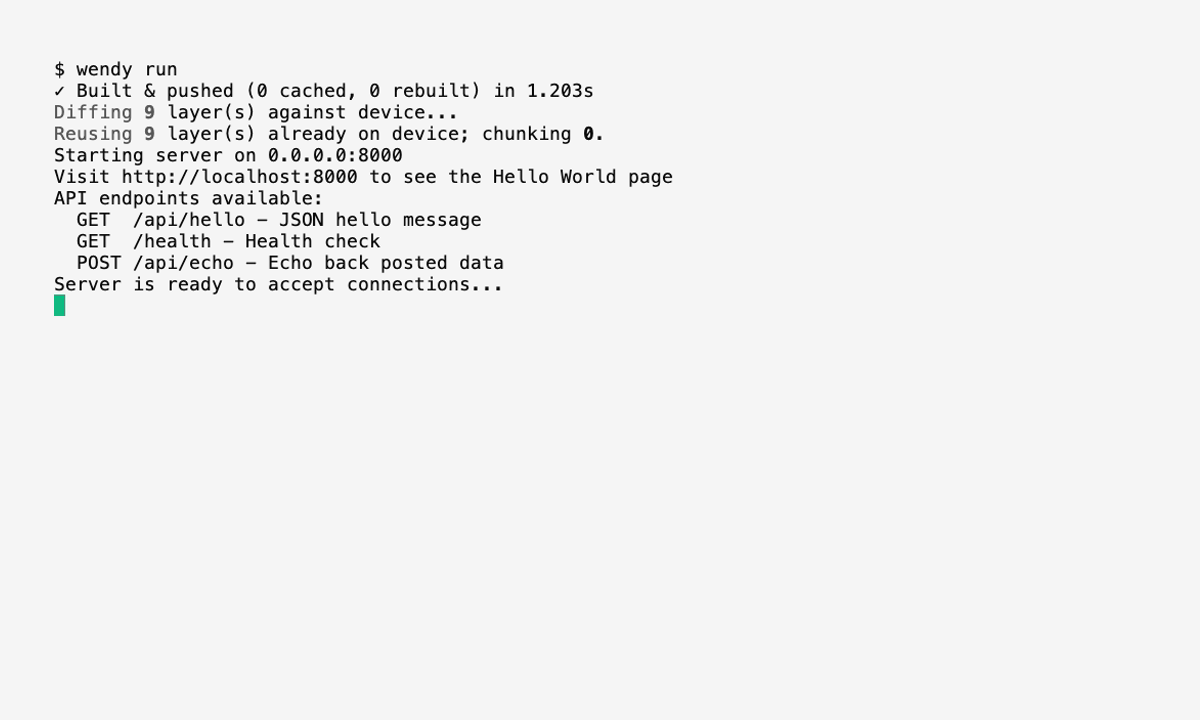
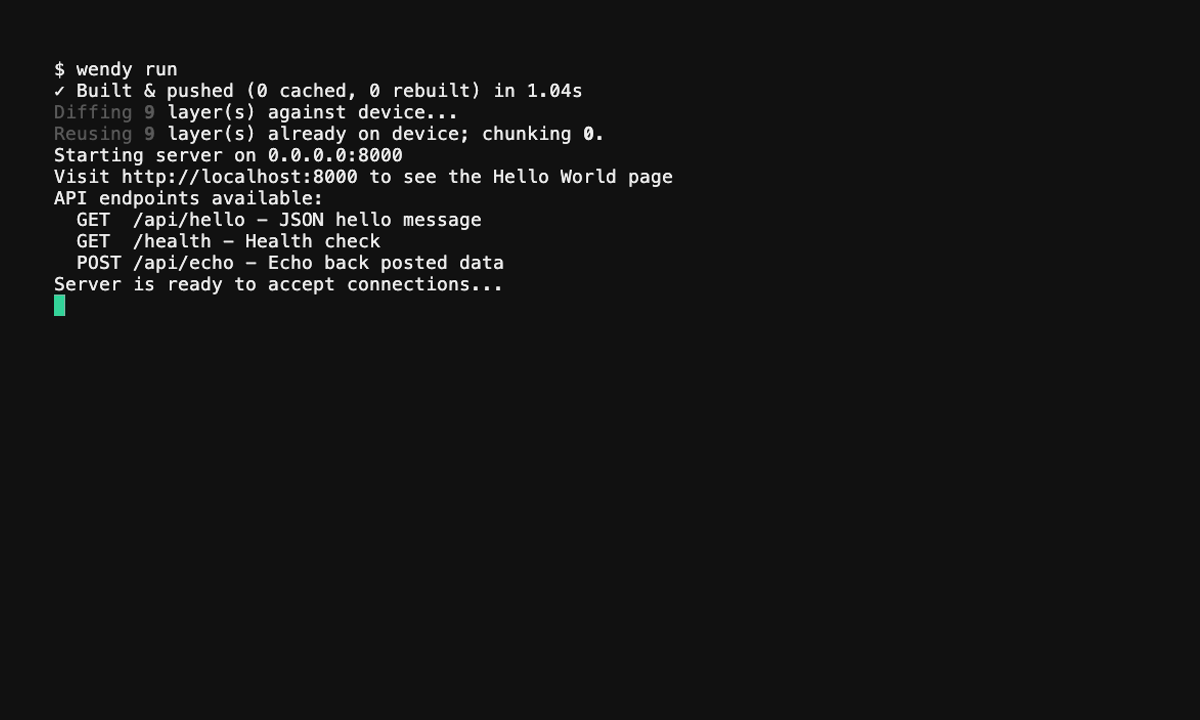
Wendy will build the app, ask you to select a device if one is not already configured, deploy the app, and print the URL or run output.
Code Breakdown
Generated Web Server
The generated app.py contains the server logic — a FastAPI app with a few routes:
import os
from fastapi import FastAPI
from pydantic import BaseModel

app = FastAPI()

hostname = (
    os.environ.get("WENDY_DEVICE_HOSTNAME")
    or os.environ.get("WENDY_HOSTNAME")
    or "localhost"
)


class Item(BaseModel):
    name: str
    price: float


@app.on_event("startup")
async def startup_event():
    print(f"Server running on {hostname}:8000", flush=True)


@app.get("/")
async def root():
    print("Received request: GET /", flush=True)
    return {"message": "hello-world"}


@app.get("/health")
async def health():
    return {"status": "ok"}


@app.post("/items", status_code=201)
async def create_item(item: Item):
    print(f"Received request: POST /items - {item.name}", flush=True)
    return {"id": 1, "name": item.name, "price": item.price}
Multiple Routes: This example includes three routes:
GET /- Returns a JSON object{"message": "hello-world"}GET /health- A health check returning{"status": "ok"}POST /items- Accepts a JSON body validated by a Pydantic model and echoes it back
Generated Dockerfile
The generated project includes a Dockerfile that installs FastAPI/Uvicorn with uv and starts the server with uvicorn. Dependencies are installed in the Dockerfile, so there is no requirements.txt:
FROM ghcr.io/astral-sh/uv:python3.14-bookworm-slim

WORKDIR /app

ENV PYTHONUNBUFFERED=1

ARG WENDY_DEVICE_HOSTNAME=localhost
ENV WENDY_DEVICE_HOSTNAME=${WENDY_DEVICE_HOSTNAME}

ARG WENDY_DEVICE_TYPE
ARG WENDY_DEBUG=false
ENV WENDY_DEVICE_TYPE=${WENDY_DEVICE_TYPE}
ENV WENDY_DEBUG=${WENDY_DEBUG}

RUN uv pip install --system fastapi==0.135.3 "uvicorn[standard]"
RUN if [ "$WENDY_DEBUG" = "true" ]; then uv pip install --system debugpy; fi

COPY app.py .

EXPOSE 8000

CMD ["uvicorn", "app:app", "--host", "0.0.0.0", "--port", "8000"]Important: The server runs on 0.0.0.0 and not localhost or 127.0.0.1. This is because your WendyOS device needs to accept connections from other devices on the network. Binding to 0.0.0.0 makes the server accessible externally.
Run Again on WendyOS
Deploy your containerized web server to your WendyOS device:
wendy runYou'll see output similar to the following as the CLI discovers your device, builds the container, and starts the server:
wendy run
✔︎ Searching for WendyOS devices [5.0s]
✔︎ Which device do you want to run this app on?: True Probe (wendyos-true-probe.local) [USB, Ethernet, LAN]
i Info
  True Probe
╭───────────┬──────────────────────────────────────────────╮
│ Interface │ Details                                      │
├───────────┼──────────────────────────────────────────────┤
│ USB 3.2   │ VID: 0x1D6B, PID: 0x0104, S/N: 1421325024451 │
│ Ethernet  │ en30, 2.5 Gbps                               │
│ LAN       │ wendyos-true-probe.local                     │
╰───────────┴──────────────────────────────────────────────╯
✔︎ Builder ready [0.1s]
✔︎ Container built and uploaded successfully! [0.4s]
ℹ︎ Preparing app
✔︎ App ready to start [0.1s]
✔ Success
  Started app
Downloading pydantic-core (1.8MiB)
Downloading uvloop
 Downloaded pydantic-core
 Downloaded uvloop
Installed 19 packages in 16ms
INFO:     Started server process [41]
INFO:     Waiting for application startup.
INFO:     Application startup complete.
INFO:     Uvicorn running on http://0.0.0.0:8000 (Press CTRL+C to quit)
Test Your Server on WendyOS
After deploying your server to your WendyOS device, you can test it from your development machine. As long as your WendyOS device is accessible over USB or the Local Area Network, you can reach it from your browser.
The generated wendy.json already includes the network entitlement, a readiness probe, and a postStart hook that opens your browser automatically once the server is ready:
{
    "appId": "simple-server",
    "platform": "linux",
    "version": "0.1.0",
    "entitlements": [
        {
            "type": "network"
        }
    ],
    "readiness": {
        "tcpSocket": { "port": 8000 },
        "timeoutSeconds": 30
    },
    "hooks": {
        "postStart": {
            "cli": "wendy utils open-browser http://${WENDY_HOSTNAME}:8000"
        }
    }
}
Or open your browser manually and navigate to:
http://wendyos-true-probe.local:8000Replace the hostname: Each WendyOS device has a unique hostname. Replace wendyos-true-probe with your device's actual hostname shown in the CLI output. In addition, don't forget to add the port to the hostname.
You should see the following output:
{"message":"hello-world"}This confirms your web server is successfully running on your WendyOS device and accepting requests from your network.
Verifying Deployment
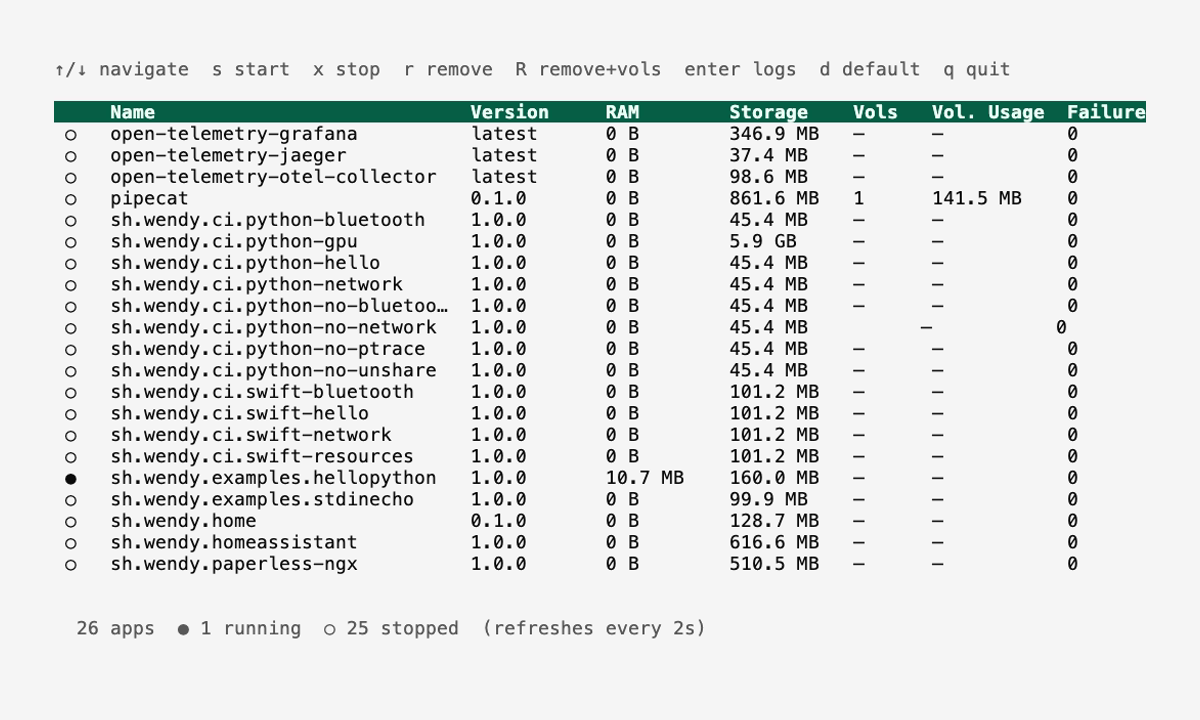
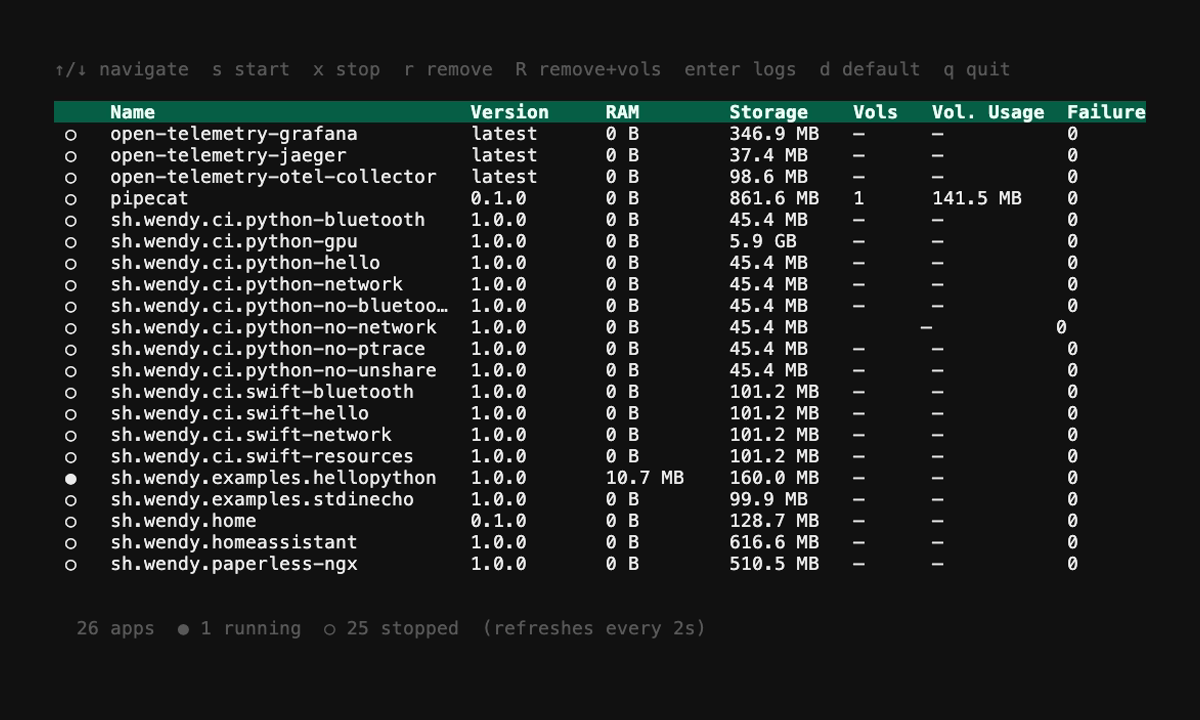
You can also verify the server is running by listing the applications on your device:
wendy device apps list
✔︎ Searching for WendyOS devices [5.3s]
✔︎ Listing applications: True Probe [USB, Ethernet, LAN]
╭───────────────┬─────────┬─────────┬──────────╮
│ App           │ Version │ State   │ Failures │
├───────────────┼─────────┼─────────┼──────────┤
│ simple-server │ 0.1.0   │ Running │ 0        │
╰───────────────┴─────────┴─────────┴──────────╯
Explore the API Documentation
FastAPI automatically generates interactive API documentation. After starting your server, visit:
- Swagger UI:
http://wendyos-true-probe.local:8000/docs - ReDoc:
http://wendyos-true-probe.local:8000/redoc
These interfaces let you explore and test your API endpoints interactively. Remember to replace wendyos-true-probe with your device's actual hostname.
Learn More
FastAPI is a fantastic modern web framework for Python with automatic API documentation, type validation, and excellent performance. Learn more by visiting https://fastapi.tiangolo.com/.
Next Steps
Now that you have a basic web server running:
- Add more routes to handle different endpoints
- Implement POST, PUT, and DELETE routes for a full REST API
- Use Pydantic models for request body validation
- Connect to WendyOS device features to control hardware via HTTP
- Add WebSocket support for real-time communication
- Check out FastAPI Examples for comprehensive examples