Hello World in Python
Create your first WendyOS application using Python
Creating Your First Python Application
This guide walks you through creating your first WendyOS application in Python. It proves you can send an app to your device and that your development environment is set up correctly.
The Python simple-api template generates a small FastAPI HTTP server. Unlike a one-shot script that prints and exits, this app keeps running and serves requests, so you can open it in your browser right after deploying.
Prerequisites
- Wendy CLI installed on your development machine
- Docker and Buildx installed, with Docker running on your development machine
- A WendyOS device plugged in over USB or connectable over Wi-Fi
Python and the app's dependencies run inside the container. You do not need to install Python on your development machine for this guide. Check the builder first:
docker info
docker buildx version
Both commands should succeed. If Docker is unavailable, start it before continuing. You can also use a WendyOS virtual device on macOS or Linux when you do not have hardware yet.
Creating the Project
Initialize the Project
Start from the Wendy Python template:
wendy init hello-world --target wendyos --language python --template simple-api --var APP_ID=hello-world --var PORT=3001 --assistant skip --git-init no
cd hello-world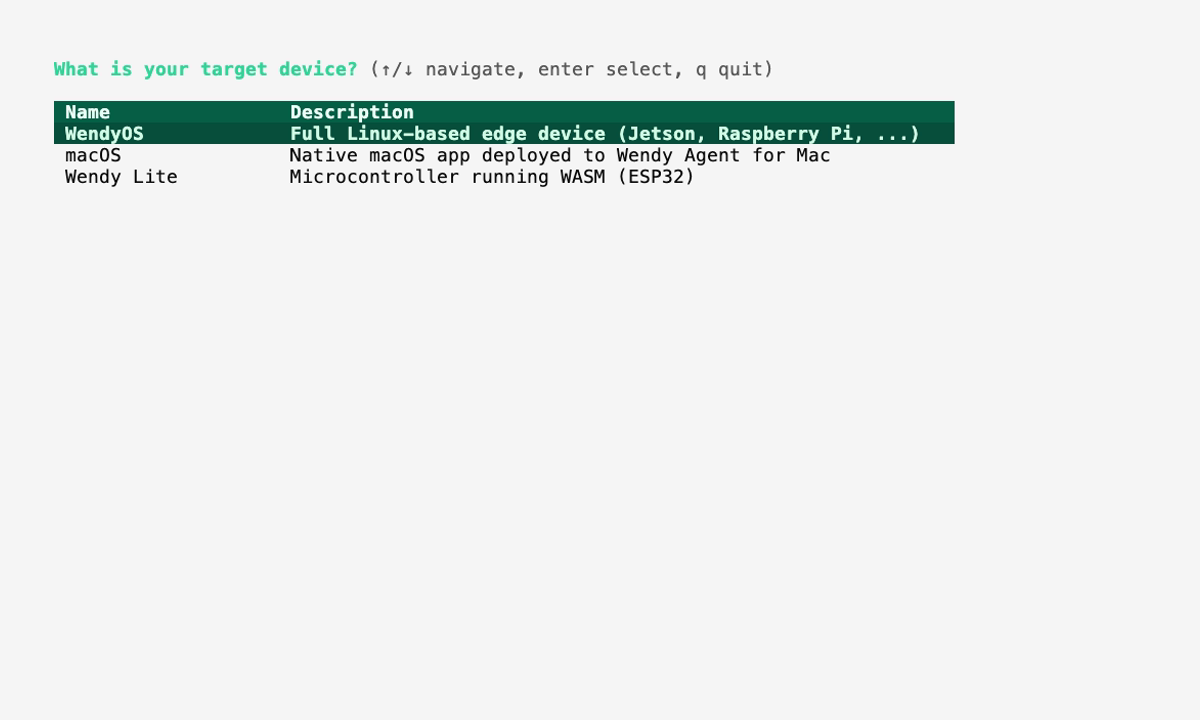
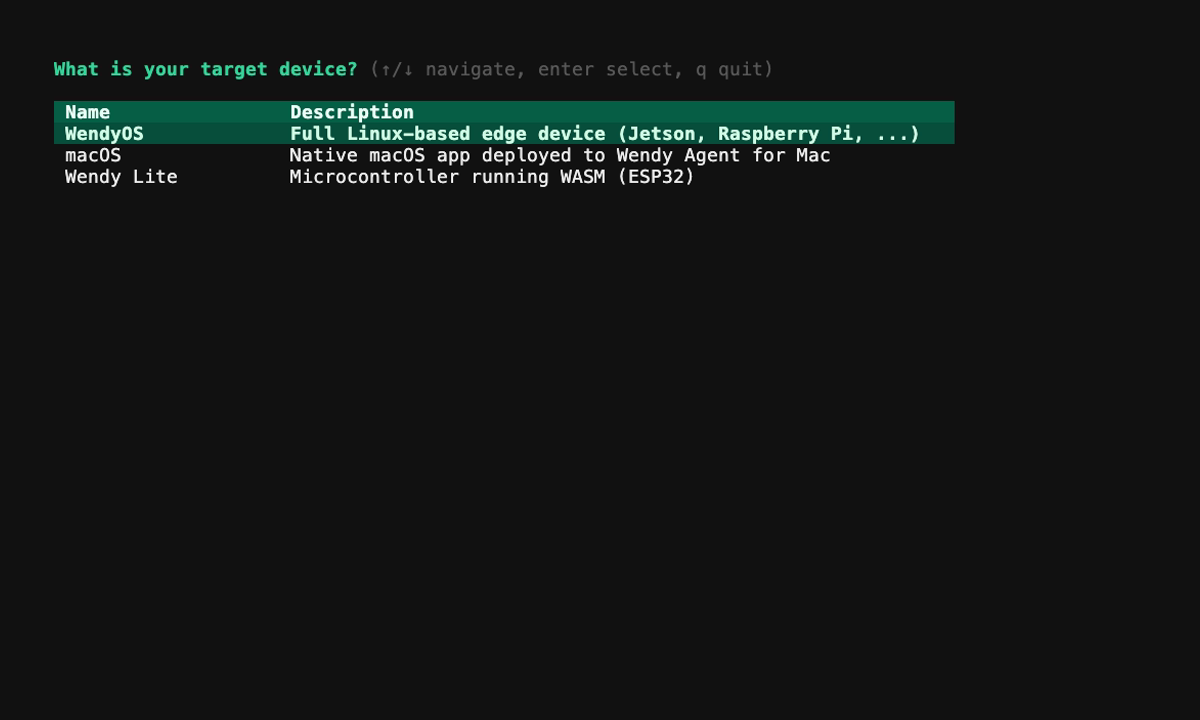
This creates wendy.json, a Dockerfile, and a ready-to-run app.py from the template. The next steps explain the generated files.
Run on WendyOS
wendy run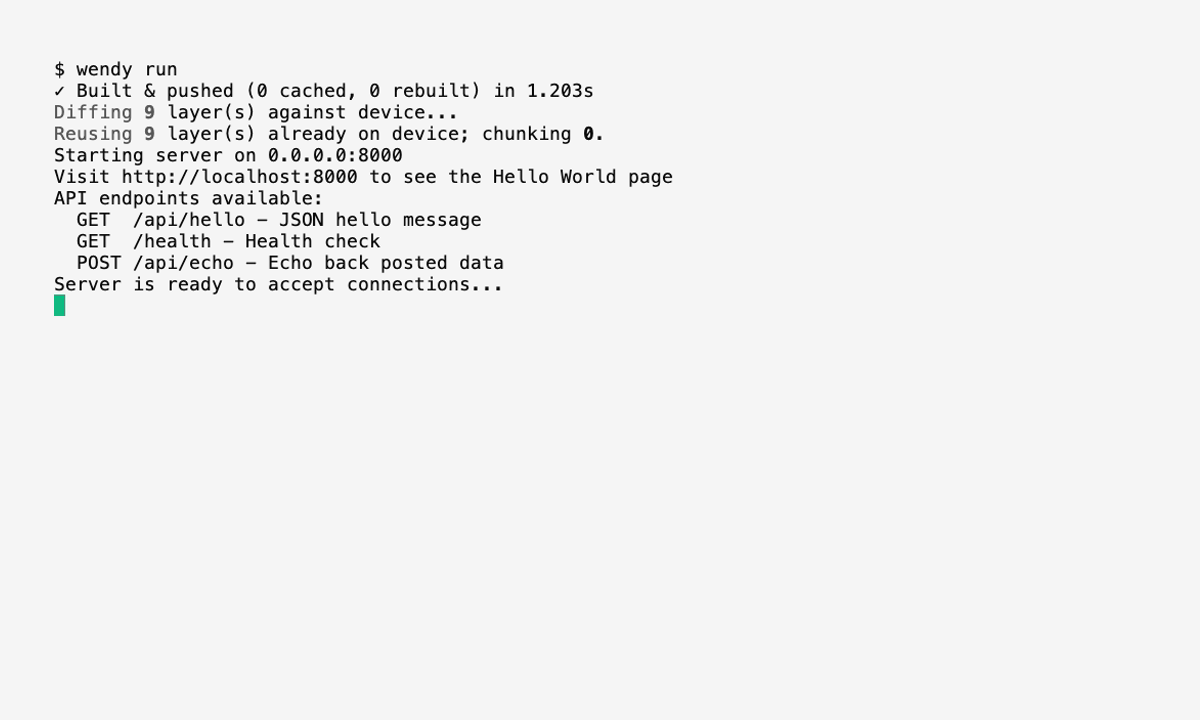
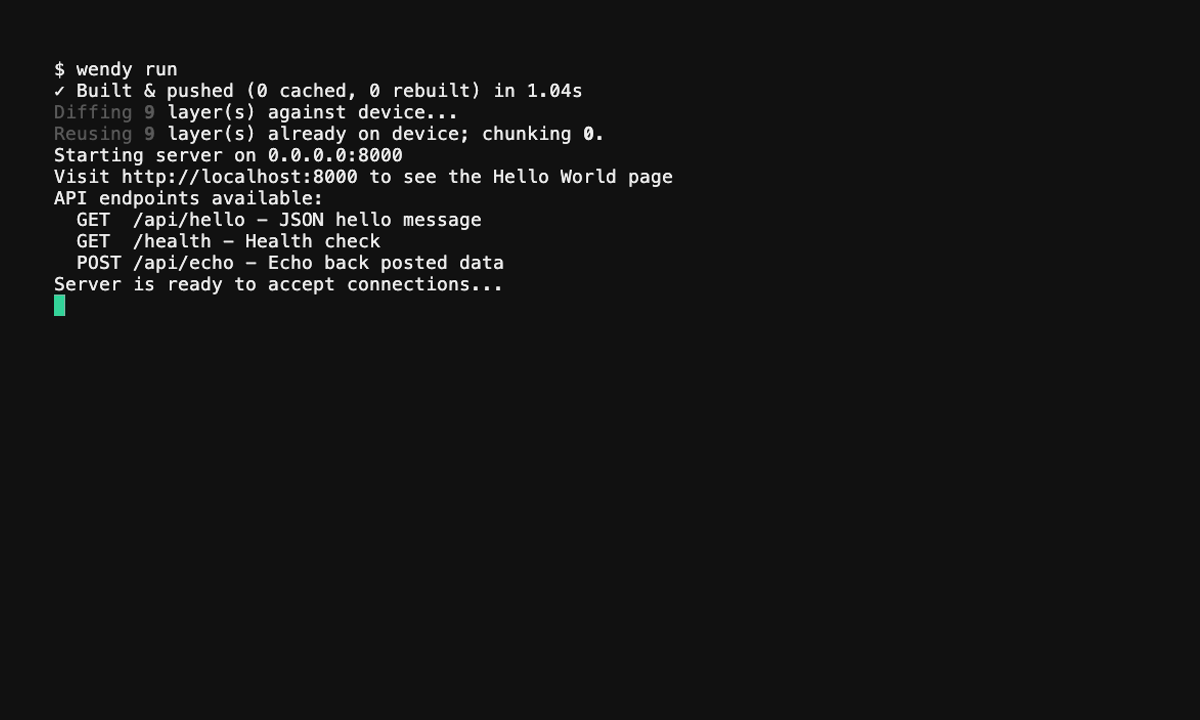
Wendy will build the app, ask you to select a device if one is not already configured, deploy the app, and show the run output. Because the generated wendy.json includes a postStart browser hook, your browser opens to the app automatically once it is ready.
Code Breakdown
Generated Application
The template generates an app.py that defines a FastAPI server with a few routes:
import os
from fastapi import FastAPI
from pydantic import BaseModel

app = FastAPI()

hostname = (
    os.environ.get("WENDY_DEVICE_HOSTNAME")
    or os.environ.get("WENDY_HOSTNAME")
    or "localhost"
)


class Item(BaseModel):
    name: str
    price: float


@app.on_event("startup")
async def startup_event():
    print(f"Server running on {hostname}:3001", flush=True)


@app.get("/")
async def root():
    print("Received request: GET /", flush=True)
    return {"message": "hello-world"}


@app.get("/health")
async def health():
    return {"status": "ok"}


@app.post("/items", status_code=201)
async def create_item(item: Item):
    print(f"Received request: POST /items - {item.name}", flush=True)
    return {"id": 1, "name": item.name, "price": item.price}
There is no if __name__ == '__main__' block — the app is started by uvicorn (see the Dockerfile). The GET / route is what you hit first; it returns {"message": "hello-world"}.
Want the classic one-liner? A bare hello-world like print("Hello World") would print once and exit. The template instead gives you a long-running server so you can interact with your device over HTTP — a more useful starting point for real apps.
Generated Dockerfile
The template includes a Dockerfile that installs FastAPI/Uvicorn with uv and runs the server with uvicorn:
FROM ghcr.io/astral-sh/uv:python3.14-bookworm-slim

WORKDIR /app

ENV PYTHONUNBUFFERED=1

ARG WENDY_DEVICE_HOSTNAME=localhost
ENV WENDY_DEVICE_HOSTNAME=${WENDY_DEVICE_HOSTNAME}

ARG WENDY_DEVICE_TYPE
ARG WENDY_DEBUG=false
ENV WENDY_DEVICE_TYPE=${WENDY_DEVICE_TYPE}
ENV WENDY_DEBUG=${WENDY_DEBUG}

RUN uv pip install --system fastapi==0.135.3 "uvicorn[standard]"
RUN if [ "$WENDY_DEBUG" = "true" ]; then uv pip install --system debugpy; fi

COPY app.py .

EXPOSE 3001

CMD ["uvicorn", "app:app", "--host", "0.0.0.0", "--port", "3001"]
Dependencies are installed directly in the Dockerfile, so there is no requirements.txt in this template.
Generated wendy.json
The template also generates a wendy.json with the network entitlement, a readiness probe, and a postStart hook that opens your browser when the server is ready:
{
    "appId": "hello-world",
    "platform": "linux",
    "version": "0.1.0",
    "entitlements": [
        {
            "type": "network"
        }
    ],
    "readiness": {
        "tcpSocket": { "port": 3001 },
        "timeoutSeconds": 30
    },
    "hooks": {
        "postStart": {
            "cli": "wendy utils open-browser http://${WENDY_HOSTNAME}:3001"
        }
    }
}
Run Again on WendyOS
Deploy your application to a connected WendyOS device:
wendy runThis builds your application into a container, deploys it to your device, and starts the server.
Verifying Deployment on Your Device
After deploying, verify the app is running by listing the applications on your device:
wendy device apps list
✔︎ Searching for WendyOS devices [5.3s]
✔︎ Listing applications: True Probe [USB, Ethernet, LAN]
╭───────────────┬─────────┬─────────┬──────────╮
│ App           │ Version │ State   │ Failures │
├───────────────┼─────────┼─────────┼──────────┤
│ hello-world   │ 0.1.0   │ Running │ 0        │
╰───────────────┴─────────┴─────────┴──────────╯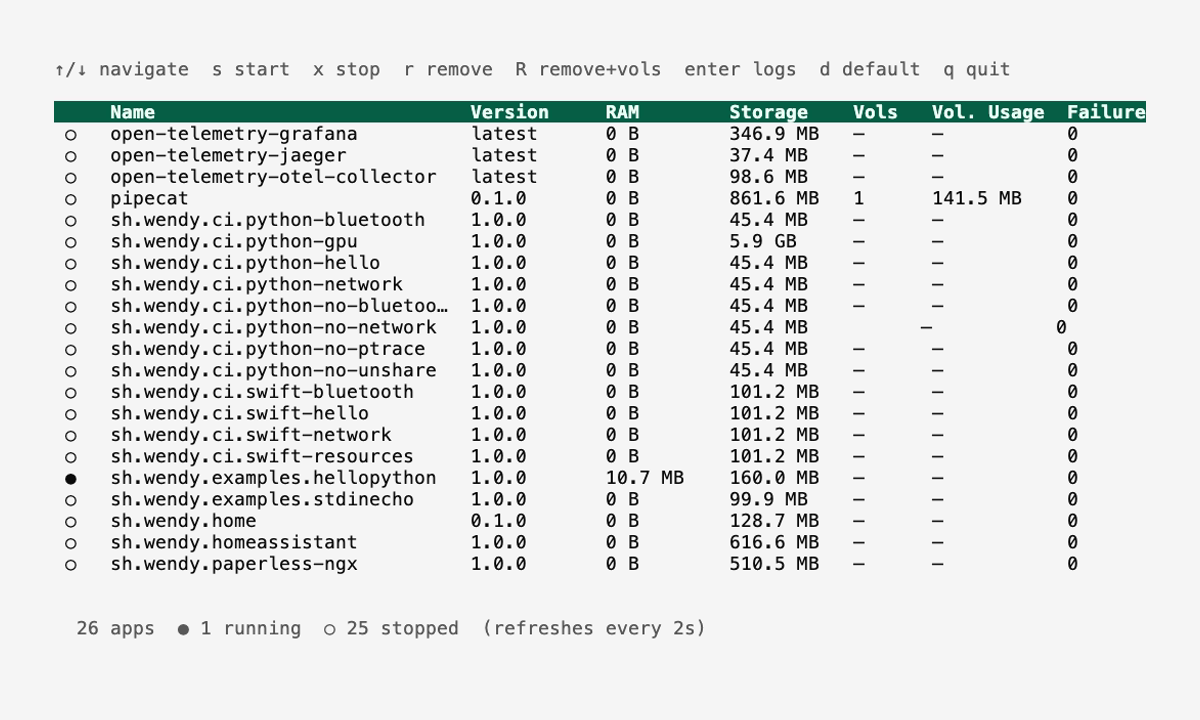
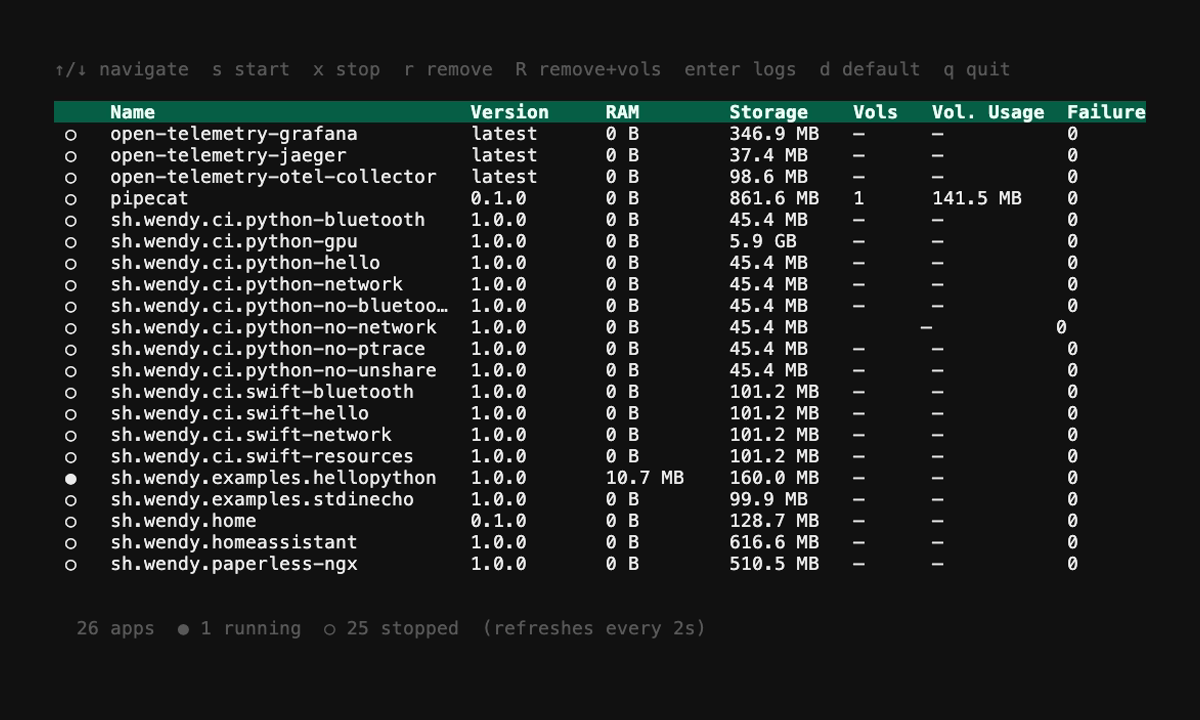
Expected State: The app shows as "Running" because it is a long-running HTTP server. The "Failures" column showing 0 confirms it started successfully. Reaching / in your browser returns {"message":"hello-world"}.
Next Steps
Now that you have a basic Python application running:
- Learn how to build a Simple Web Server with FastAPI
- Explore WendyOS libraries for hardware access
- Build more complex applications with user input and data processing