Simple Web Server
Build a long-running HTTP server on WendyOS using Hummingbird
Building a Web Server with Hummingbird
Often times you'll want a long-running server where you can make HTTP calls to your WendyOS device. This allows your device to accept incoming requests and respond to them, making it easy to build interactive applications or APIs that can be accessed from other devices on your network.
To prove this out, we'll use Hummingbird, a lightweight and flexible HTTP server framework for Swift. The simple-api template generates a ready-to-run Hummingbird server with OpenTelemetry instrumentation wired in.
Prerequisites
- Wendy CLI installed on your development machine
- Swift 6.2 or later installed via swiftly (Xcode's Swift is not supported)
- A WendyOS device plugged in over USB or connectable over Wi-Fi
Setting Up Your Project
Initialize the Project
Start from the Wendy Hummingbird template:
wendy init simple-web-server --target wendyos --language swift --template simple-api --var APP_ID=simple-web-server --var PORT=8000 --var SWIFT_VERSION=6.3 --assistant skip --git-init no
cd simple-web-server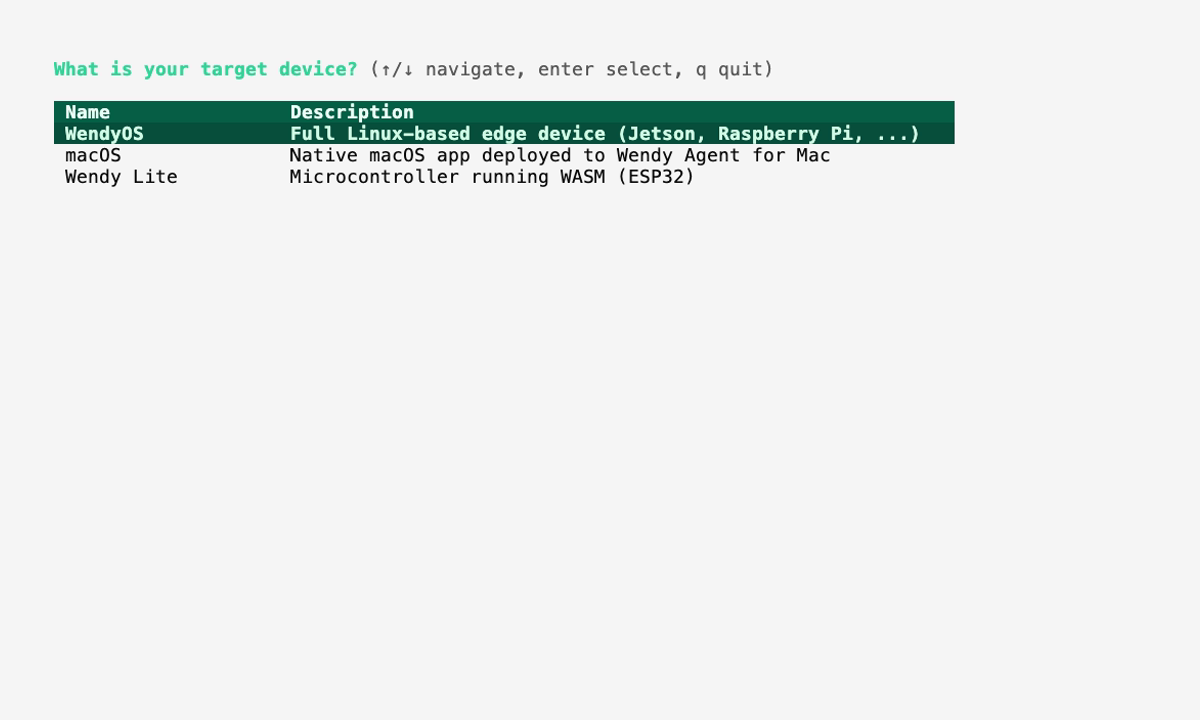
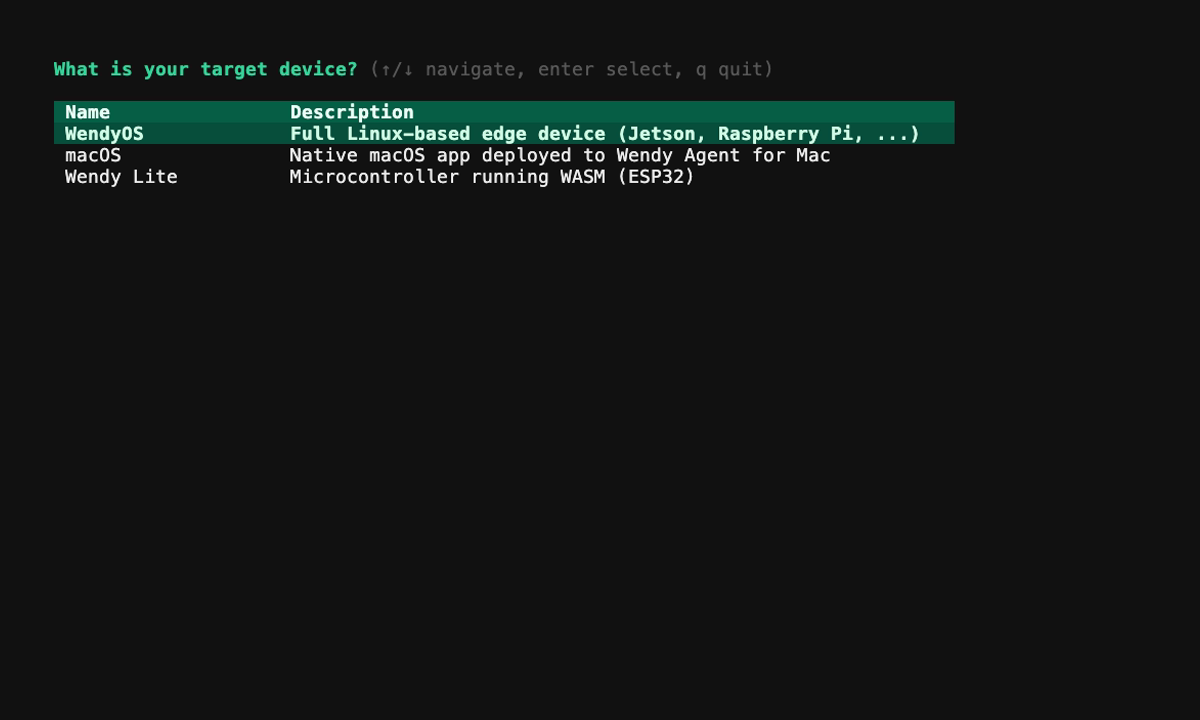
This creates a Swift project with Package.swift, a Sources/ directory, Dockerfile, and wendy.json.
Run on WendyOS
wendy run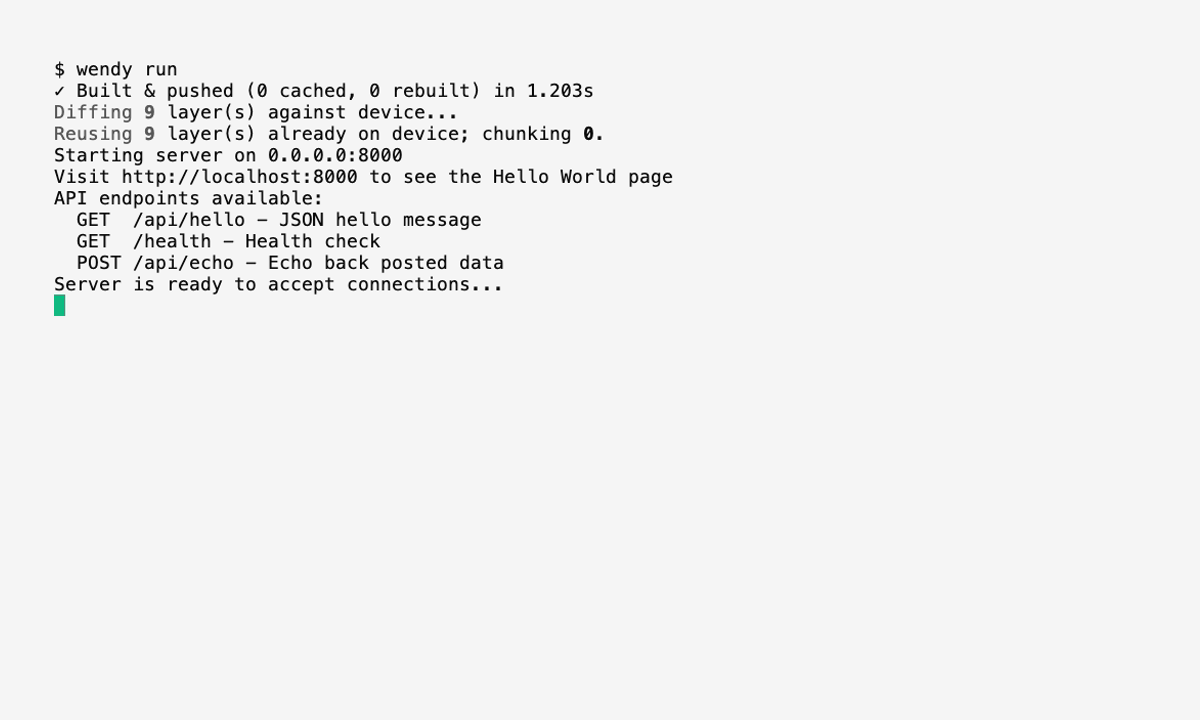
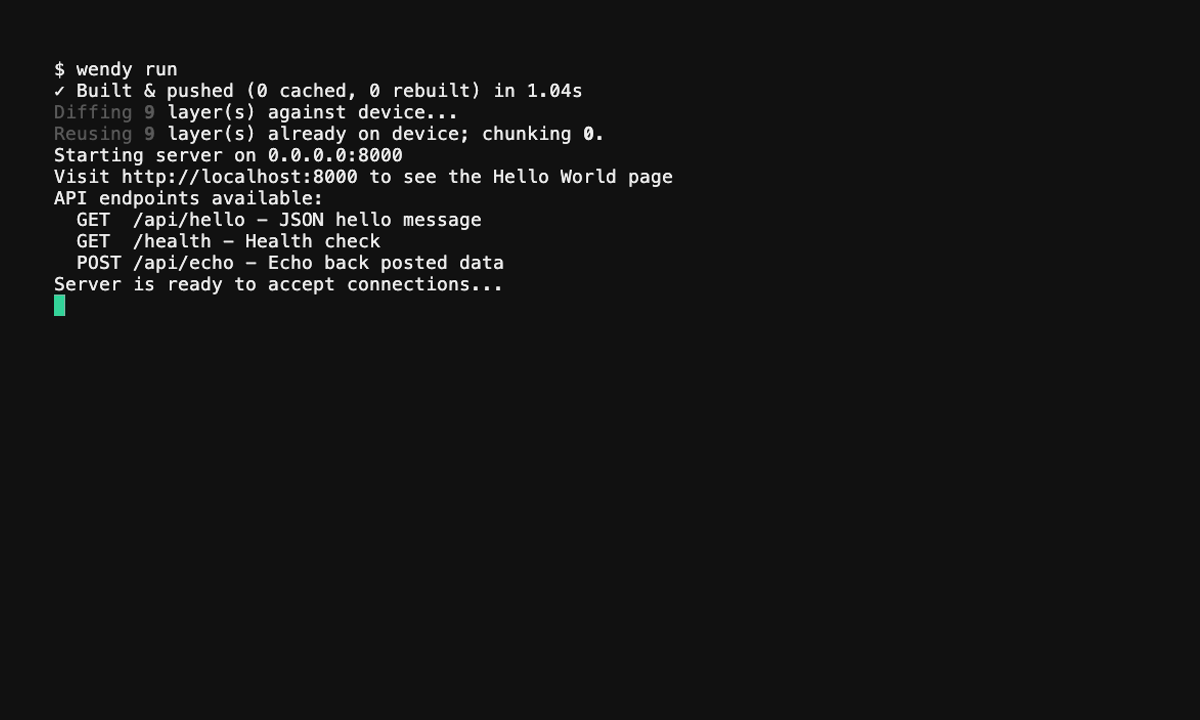
Wendy will build the app, ask you to select a device if one is not already configured, deploy the app, and stream the run output. Because this is a long-running server, the app stays running after deploy.
Code Breakdown
Generated Package Dependencies
The generated Package.swift at the project root looks like this:
// swift-tools-version: 6.3

import PackageDescription

let package = Package(
    name: "simple-web-server",
    platforms: [
        .macOS(.v14)
    ],
    dependencies: [
        .package(url: "https://github.com/hummingbird-project/hummingbird.git", from: "2.21.1", traits: []),
        .package(url: "https://github.com/swift-otel/swift-otel.git", from: "1.0.0", traits: ["OTLPHTTP", "OTLPGRPC"]),
        .package(url: "https://github.com/apple/swift-container-plugin", from: "1.0.0"),
    ],
    targets: [
        .executableTarget(
            name: "simple-web-server",
            dependencies: [
                .product(name: "Hummingbird", package: "hummingbird"),
                .product(name: "OTel", package: "swift-otel"),
            ]
        )
    ]
)
Your project layout should look like this:
simple-web-server/
├── Package.swift
├── Dockerfile
├── wendy.json
├── .swift-version
└── Sources/
    └── simple-web-server/
        └── App.swift
Generated Web Server
The generated Sources/simple-web-server/App.swift contains the server logic. It listens on port 8000 and exposes three routes:
import Hummingbird
import Logging
import OTel
import ServiceLifecycle

struct Item: Decodable {
    let name: String
    let price: Double
}

struct ItemResponse: ResponseCodable {
    let id: Int
    let name: String
    let price: Double
}

@main
struct SimpleAPI {
    static func main() async throws {
        let observability = try OTel.bootstrap()

        let logger = Logger(label: "simple-web-server")

        let router = Router()
        router.middlewares.add(TracingMiddleware())
        router.middlewares.add(MetricsMiddleware())
        router.middlewares.add(LogRequestsMiddleware(.info))

        router.get("/") { _, _ in
            ["message": "hello-world"]
        }

        router.get("/health") { _, _ -> HTTPResponse.Status in
            .ok
        }

        router.post("/items") { request, context -> ItemResponse in
            let item = try await request.decode(as: Item.self, context: context)
            return ItemResponse(id: 1, name: item.name, price: item.price)
        }

        let app = Application(
            router: router,
            configuration: .init(address: .hostname("0.0.0.0", port: 8000))
        )

        let serviceGroup = ServiceGroup(
            services: [observability, app],
            gracefulShutdownSignals: [.sigterm, .sigint],
            logger: logger
        )

        try await serviceGroup.run()
    }
}
GET / returns {"message":"hello-world"}, GET /health returns 200 OK, and POST /items decodes an item from the request body and echoes it back as JSON. The ServiceGroup runs both the OpenTelemetry observability service and the HTTP server, and shuts them down gracefully on SIGTERM/SIGINT.
Important: It's important that your Hummingbird server is running on 0.0.0.0 and not localhost or 127.0.0.1. 0.0.0.0 binds to all network interfaces on the device, making your server reachable from the host machine and the local network. Using localhost or 127.0.0.1 binds only to the loopback interface, so the server would not be accessible from outside the device.
Running Locally
You can test your server on your development machine before deploying to a WendyOS device:
swift runOnce the build completes, the server starts listening on 0.0.0.0:8000. You can then test it from another terminal:
curl http://localhost:8000
# {"message":"hello-world"}

curl http://localhost:8000/health
# (returns HTTP 200)

curl -X POST http://localhost:8000/items \
  -H "Content-Type: application/json" \
  -d '{"name":"Widget","price":9.99}'
# {"id":1,"name":"Widget","price":9.99}
Press Ctrl+C to stop the local server.
Generated wendy.json
The generated wendy.json requests the network entitlement and already includes a readiness probe plus a postStart hook that opens your browser when the server is ready — you don't need to add these by hand:
{
    "appId": "simple-web-server",
    "platform": "linux",
    "version": "0.1.0",
    "entitlements": [
        {
            "type": "network"
        }
    ],
    "readiness": {
        "tcpSocket": { "port": 8000 },
        "timeoutSeconds": 30
    },
    "hooks": {
        "postStart": {
            "cli": "wendy utils open-browser http://${WENDY_HOSTNAME}:8000"
        }
    }
}
Run Again on WendyOS
When you're ready to deploy, run:
wendy runOnce the readiness probe passes, the postStart hook opens http://${WENDY_HOSTNAME}:8000 in your browser. You can also access it manually with curl:
curl http://wendyos-device.local:8000Take note of the hostname of your WendyOS device. It will be something like wendyos-device.local; wendy run will output the hostname of your device.
You should see the response:
{"message":"hello-world"}Verifying Deployment
You can also verify the server is running by listing the applications on your device:
wendy device apps list
✔︎ Searching for WendyOS devices [5.3s]
✔︎ Listing applications: True Probe [USB, Ethernet, LAN]
╭───────────────────┬─────────┬─────────┬──────────╮
│ App               │ Version │ State   │ Failures │
├───────────────────┼─────────┼─────────┼──────────┤
│ simple-web-server │ 0.1.0   │ Running │ 0        │
╰───────────────────┴─────────┴─────────┴──────────╯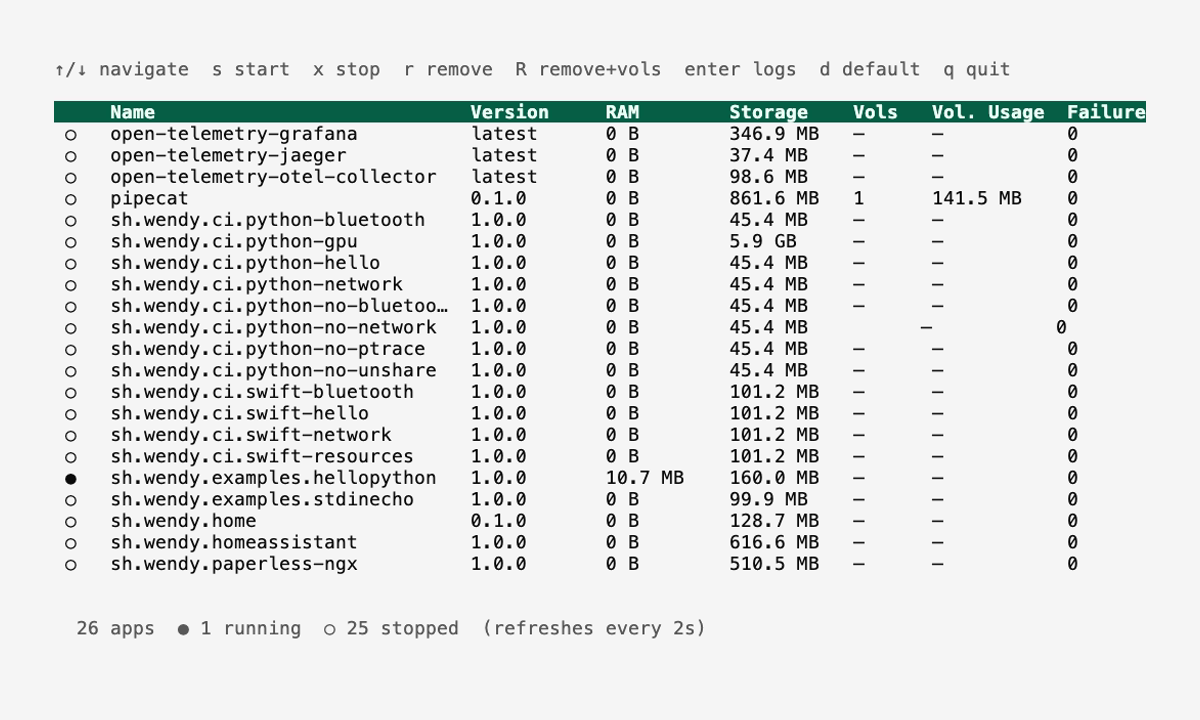
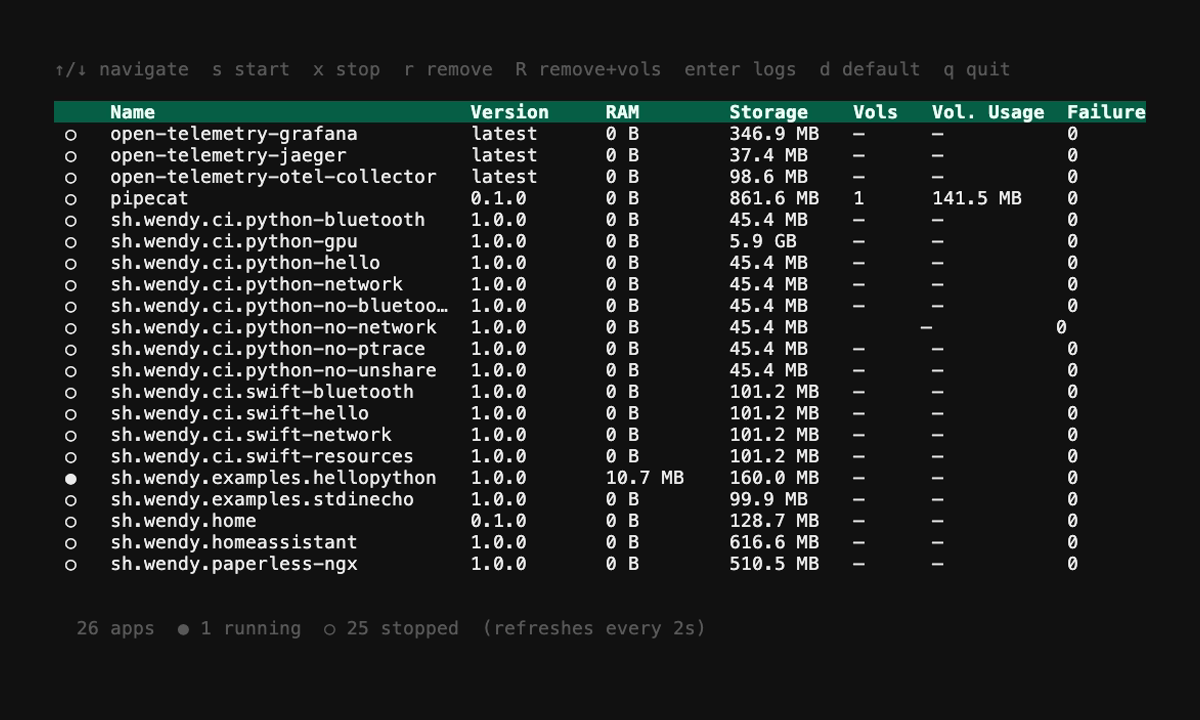
The app shows as Running because it is a long-running HTTP server.
Learn More
Hummingbird is a fantastic lightweight web framework for Swift. Learn more by visiting https://hummingbird.codes/ and exploring the examples to make your server much more advanced.
Next Steps
Now that you have a basic web server running:
- Add more routes to handle different endpoints
- Implement POST, PUT, and DELETE routes for a full REST API
- Connect to WendyOS device features to control hardware via HTTP
- Add WebSocket support for real-time communication
- Explore Hummingbird's middleware and authentication features
- Check out Hummingbird Examples for a plethora of comprehensive examples