Full-Stack Web App
Build a full-stack device dashboard with a React/Vite frontend and Hummingbird backend on WendyOS
Building a Full-Stack Device Dashboard
Source Code: The complete source code for this example is available at github.com/wendylabsinc/samples/swift/web-app
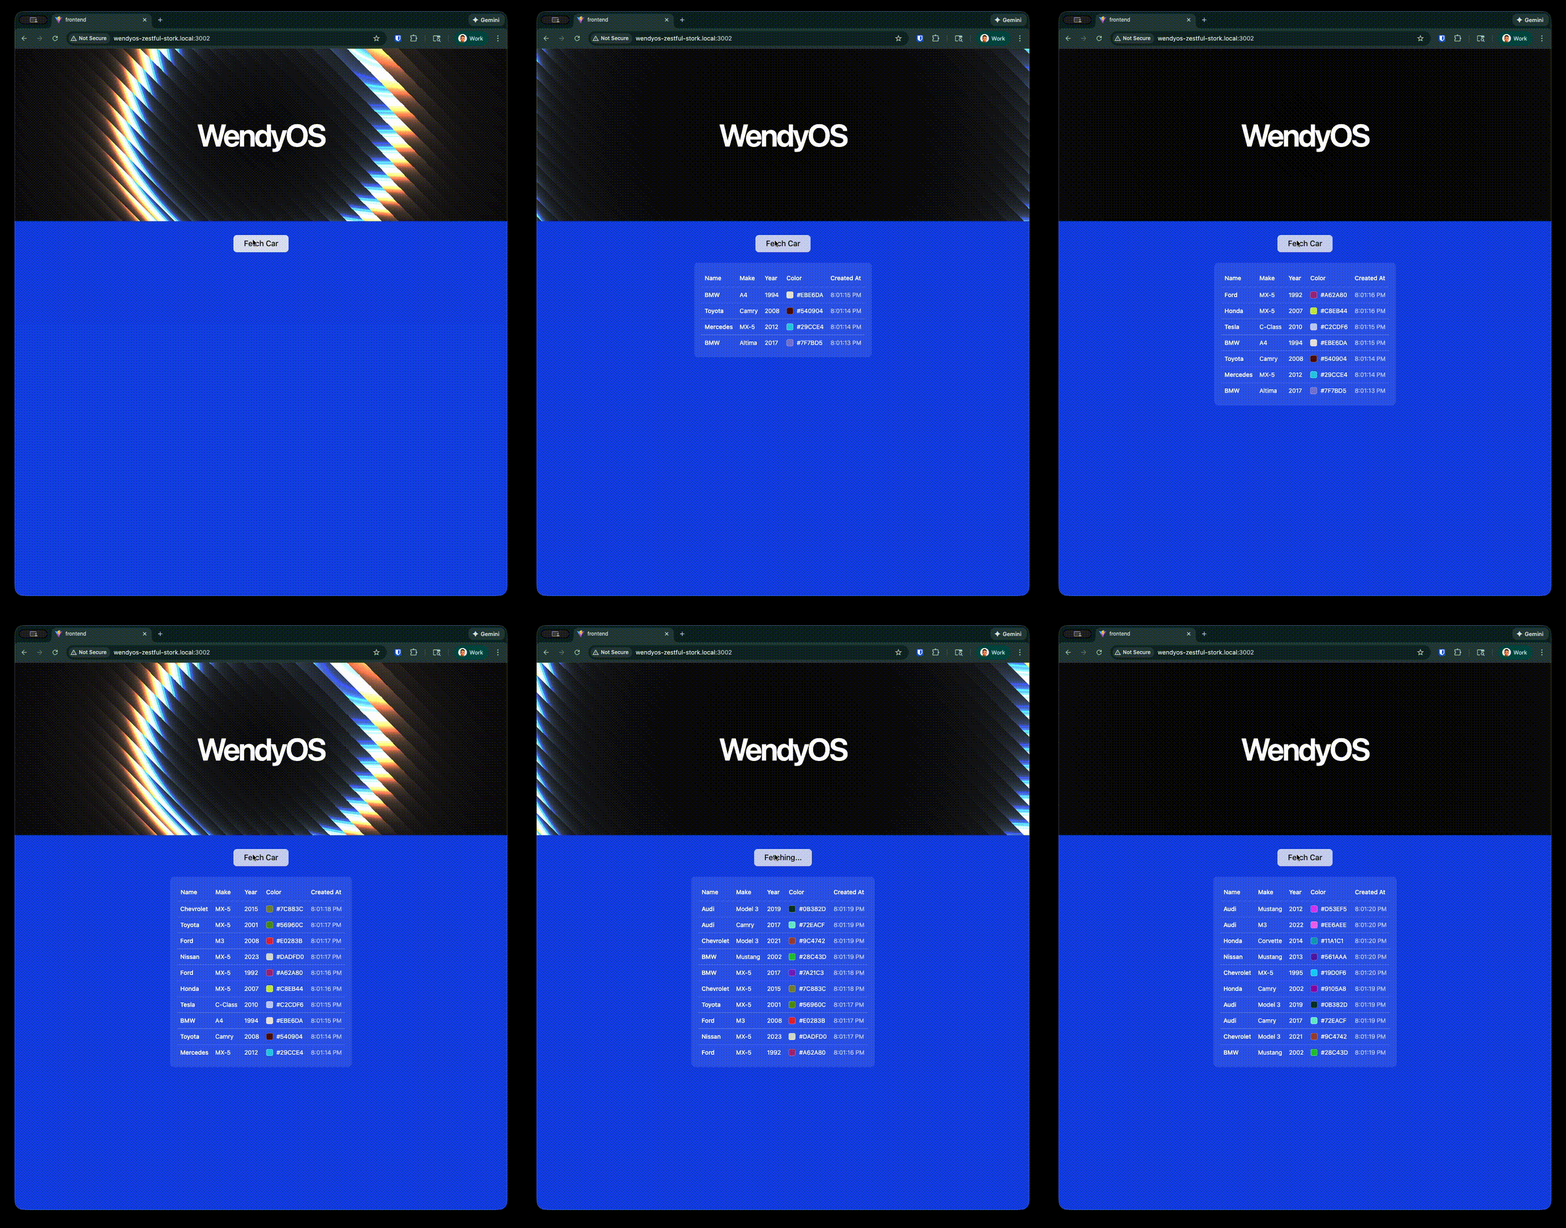
The fullstack template generates a complete device dashboard: a modern React frontend bundled inside a Hummingbird backend that exposes your device's hardware over HTTP and WebSockets. Out of the box it gives you live camera and microphone streams, GPU and system info, and a small SQLite-backed CRUD example — all served from a single container.
This demonstrates how to:
- Serve a production-built React single-page app (SPA) from a Swift backend
- Expose device hardware (camera, audio, GPU, system) through
/api/*routes - Persist data on the device with SQLite and a
persistentitlement - Deploy the entire stack as a single container to your WendyOS device
Prerequisites
- Wendy CLI installed on your development machine
- Node.js 22+ and npm installed (only needed if you want to run the frontend dev server locally; the Docker build handles it otherwise)
- Swift 6.2 or later installed via swiftly (Xcode's Swift is not supported)
- A WendyOS device plugged in over USB or connectable over Wi-Fi
Project Structure
The template ships a complete frontend under frontend/ and a Swift backend at the project root. The frontend is built to static assets and copied into the backend image as ./static:
web-app/
├── Package.swift
├── Dockerfile
├── wendy.json
├── .swift-version
├── Sources/
│   └── web-app/
│       ├── App.swift                 # Router, /api routes, WebSockets, static serving
│       ├── CarStore.swift            # SQLite-backed cars CRUD (GRDB)
│       ├── MJPEGCamera.swift         # GStreamer/V4L2 camera capture
│       ├── AudioCapture.swift        # Microphone capture
│       ├── GPUInfo.swift             # GPU info
│       ├── SystemInfo.swift          # Host/CPU/mem/disk/uptime
│       ├── DeviceDiscovery.swift     # Camera/ALSA device enumeration
│       └── StaticFileMiddleware.swift
└── frontend/                         # React 19 + Vite + Tailwind v4 + shadcn/ui
    ├── package.json
    ├── vite.config.ts
    ├── index.html
    └── src/
        ├── App.tsx                   # Sidebar dashboard + react-router routes
        ├── main.tsx
        ├── components/               # app-sidebar, ui/ (shadcn), ...
        └── pages/
            ├── camera.tsx
            ├── audio.tsx
            ├── persistence.tsx
            ├── gpu.tsx
            └── system.tsx
The generated project contains many more frontend files (the full shadcn/ui component library lives under frontend/src/components/ui/). The tree above shows the meaningful structure — you don't build any of it by hand; the template ships the whole thing.
Setting Up Your Project
Initialize the Project
Start from the Wendy full-stack Swift template:
wendy init web-app --target wendyos --language swift --template fullstack --var APP_ID=web-app --var PORT=8000 --var SWIFT_VERSION=6.3 --assistant skip --git-init no
cd web-app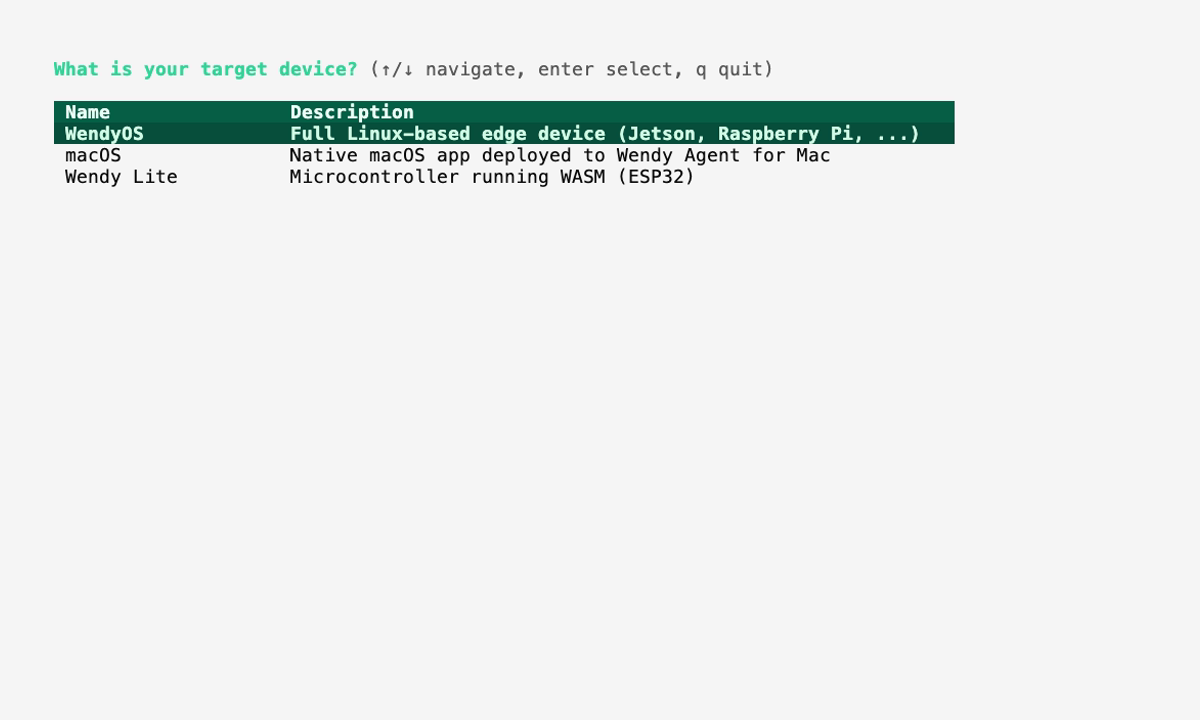
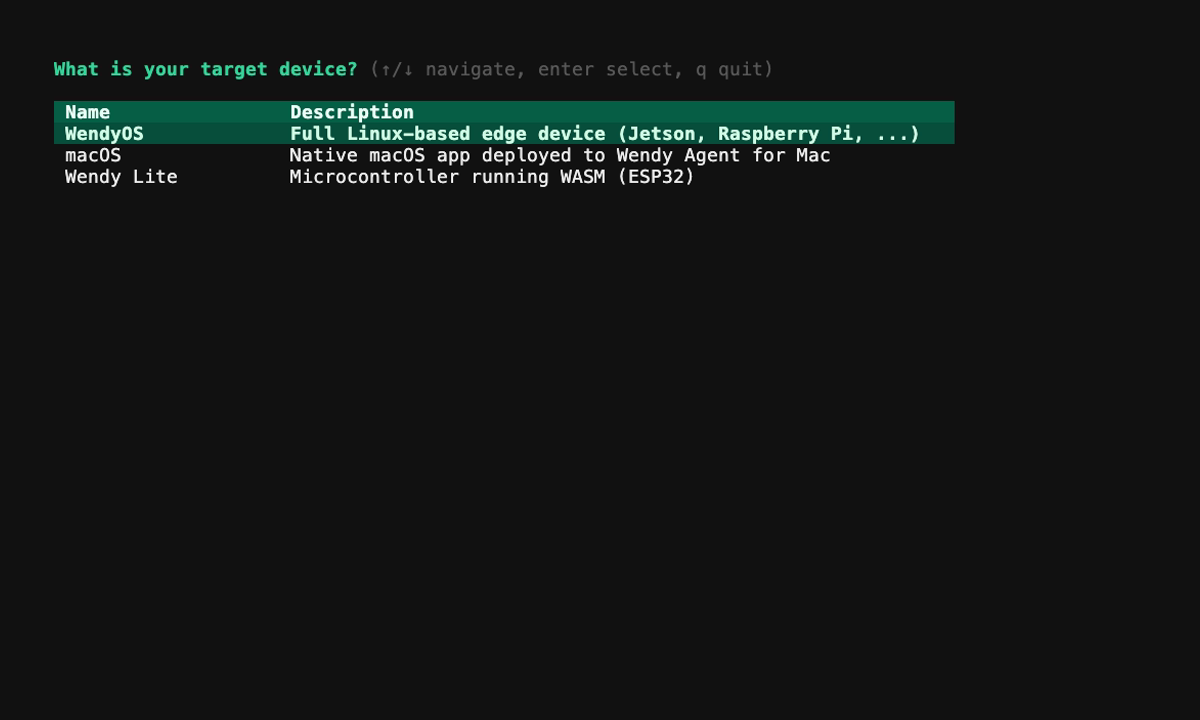
The template creates wendy.json, the Dockerfile, the entire React frontend, and the Swift backend. The sections below explain how the generated full-stack app fits together.
Run on WendyOS
wendy run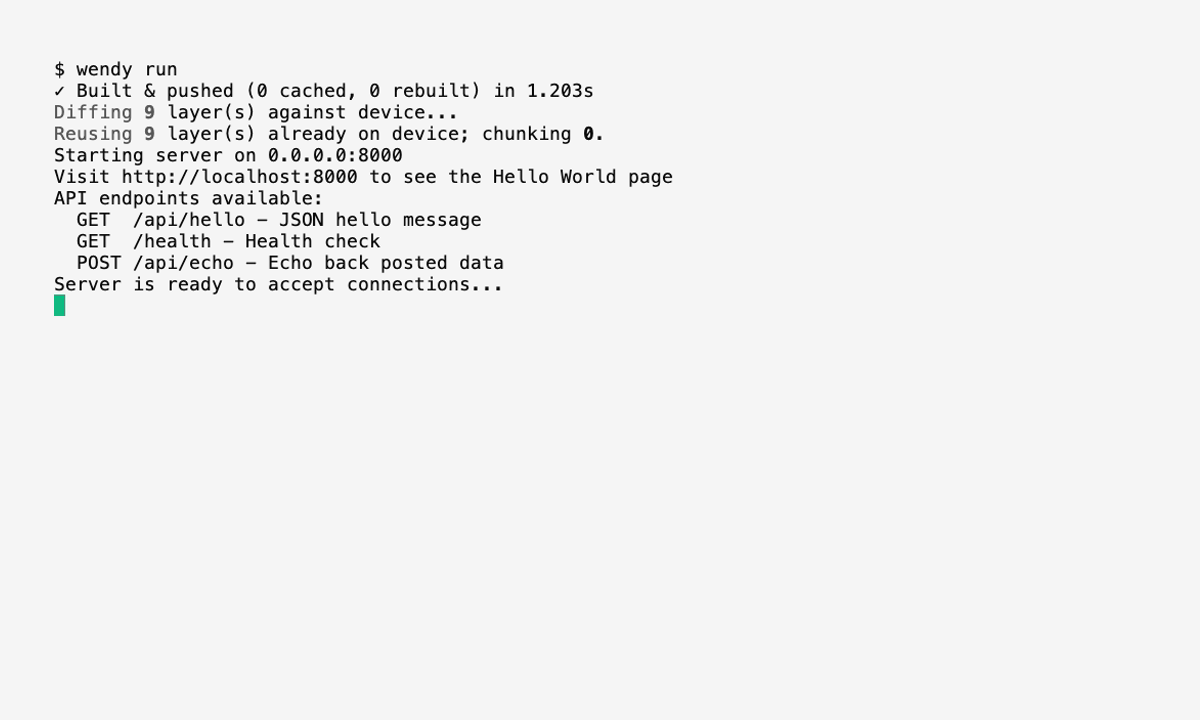
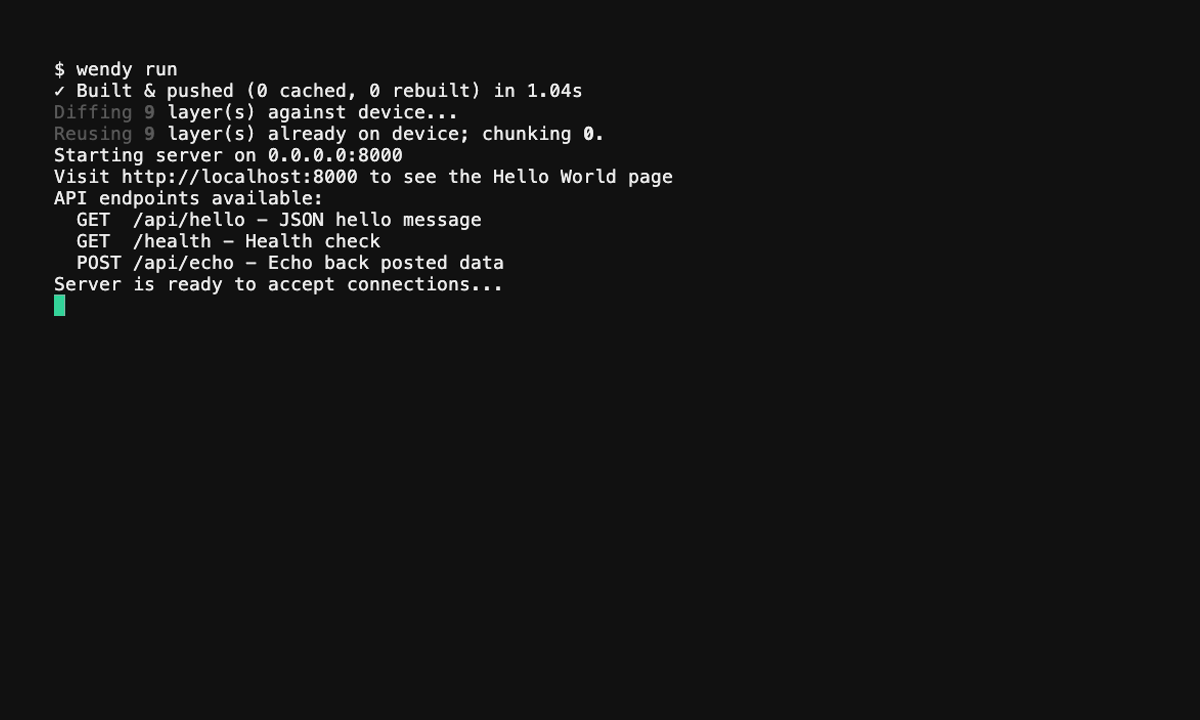
Wendy will build the frontend, build and cross-compile the Swift backend, deploy the container, and stream the run output. Once the readiness probe passes, the postStart hook opens the dashboard in your browser.
Code Breakdown
Generated Frontend
The frontend is a React 19 SPA built with Vite, Tailwind CSS v4, and shadcn/ui. It uses react-router-dom v7 for client-side routing and renders a sidebar dashboard. The default route redirects to /camera:
import { BrowserRouter, Routes, Route, Navigate } from "react-router-dom"
import { AppSidebar } from "@/components/app-sidebar"
import { SiteHeader } from "@/components/site-header"
import { SidebarInset, SidebarProvider } from "@/components/ui/sidebar"

import CameraPage from "@/pages/camera"
import AudioPage from "@/pages/audio"
import PersistencePage from "@/pages/persistence"
import GpuPage from "@/pages/gpu"
import SystemPage from "@/pages/system"

export default function App() {
  return (
    <BrowserRouter>
      <SidebarProvider /* ... */>
        <AppSidebar variant="inset" />
        <SidebarInset>
          <SiteHeader />
          <Routes>
            <Route path="/" element={<Navigate to="/camera" replace />} />
            <Route path="/camera" element={<CameraPage />} />
            <Route path="/audio" element={<AudioPage />} />
            <Route path="/persistence" element={<PersistencePage />} />
            <Route path="/gpu" element={<GpuPage />} />
            <Route path="/system" element={<SystemPage />} />
          </Routes>
        </SidebarInset>
      </SidebarProvider>
    </BrowserRouter>
  )
}
Each page talks to the backend's /api/* routes (and the camera/audio WebSocket streams). The frontend's package.json pins React 19, react-router-dom v7, Tailwind v4, and the shadcn/ui dependency set; npm run build runs tsc -b && vite build to produce the static dist/ output.
You don't scaffold the frontend manually. The template already includes the full Vite + React + shadcn/ui project. The Docker build runs npm install and npm run build for you.
Generated Backend Package
The generated Package.swift pulls in Hummingbird (with WebSockets), GRDB for SQLite persistence, and the GStreamer Swift wrapper (Linux only) for camera/audio capture:
// swift-tools-version: 6.2

import PackageDescription

let package = Package(
    name: "web-app",
    platforms: [
        .macOS(.v14),
    ],
    dependencies: [
        .package(url: "https://github.com/hummingbird-project/hummingbird.git", from: "2.21.1", traits: []),
        .package(url: "https://github.com/hummingbird-project/hummingbird-websocket.git", from: "2.0.0"),
        .package(url: "https://github.com/groue/GRDB.swift.git", from: "7.0.0"),
        .package(url: "https://github.com/wendylabsinc/gstreamer-swift.git", branch: "main"),
        .package(url: "https://github.com/apple/swift-container-plugin.git", from: "1.0.0"),
    ],
    targets: [
        .executableTarget(
            name: "web-app",
            dependencies: [
                .product(name: "Hummingbird", package: "hummingbird"),
                .product(name: "HummingbirdWebSocket", package: "hummingbird-websocket"),
                .product(name: "GRDB", package: "GRDB.swift"),
                .product(name: "GStreamer", package: "gstreamer-swift", condition: .when(platforms: [.linux])),
            ]
        ),
    ]
)
The build runs against Swift 6.3 (the Dockerfile uses swift:6.3-bookworm). The swift-tools-version line declares the minimum Package Manager version and is independent of the toolchain that compiles the code.
Generated Backend Routes
Sources/web-app/App.swift builds the Hummingbird server on port 8000. It opens a SQLite database at /data/cars.db, wires up the device endpoints, and serves the built SPA from ./static, falling back to index.html for client-side routing:
let carStore = try CarStore(path: "/data/cars.db")
let camera = MJPEGCamera(device: "/dev/video0")
let audio = AudioCapture()
let staticDir = "./static"

let router = Router()
router.get("/health") { _, _ -> HTTPResponse.Status in .ok }

// Cars CRUD, backed by SQLite at /data/cars.db
let carsGroup = router.group("api/cars")
carsGroup.get { _, _ in try jsonResponse(await carStore.all(), status: .ok) }
carsGroup.post { request, context in /* create */ }
carsGroup.get(":id") { _, context in /* read */ }
carsGroup.put(":id") { request, context in /* update */ }
carsGroup.delete(":id") { _, context in /* delete */ }

// Device endpoints
router.get("api/cameras")     { _, _ in try jsonResponse(listCameras(), status: .ok) }
router.get("api/microphones") { _, _ in try jsonResponse(listAlsaDevices(args: ["arecord", "-l"]), status: .ok) }
router.get("api/speakers")    { _, _ in try jsonResponse(listAlsaDevices(args: ["aplay", "-l"]), status: .ok) }
router.get("api/gpu")         { _, _ in try jsonResponse(gpuInfo(), status: .ok) }
router.get("api/system")      { _, _ in try jsonResponse(systemInfo(), status: .ok) }

// Serve the SPA and fall back to index.html
router.get("/",            use: spaHandler(staticDir: staticDir))
router.get("assets/{path+}", use: spaHandler(staticDir: staticDir))
router.get("{path+}",      use: spaHandler(staticDir: staticDir))
Live media is delivered over WebSockets on a separate router:
let wsRouter = Router(context: BasicWebSocketRequestContext.self)
wsRouter.ws("api/camera/stream") { inbound, outbound, _ in /* MJPEG frames */ }
wsRouter.ws("api/audio/stream")  { inbound, outbound, _ in /* PCM frames */ }

let app = Application(
    router: router,
    server: .http1WebSocketUpgrade(webSocketRouter: wsRouter),
    configuration: .init(address: .hostname("0.0.0.0", port: 8000))
)
The camera stream accepts {"switch_camera": "<device>"} and the audio stream accepts {"switch_microphone": "<deviceID>"} to change the active source.
Generated Dockerfile
The Dockerfile is a three-stage build: build the frontend with Node, build the Swift backend with swift:6.3-bookworm (plus GStreamer and SQLite dev libraries), and run on swift:6.3-bookworm-slim with the GStreamer/ALSA/V4L runtime plugins and SQLite. The built frontend is copied in as ./static:
# Stage 1: Build the frontend
FROM node:22-slim AS frontend
WORKDIR /frontend
COPY frontend/package*.json ./
RUN npm install
COPY frontend/ .
RUN npm run build

# Stage 2: Build the Swift backend
FROM swift:6.3-bookworm AS builder
RUN apt-get update && apt-get install -y --no-install-recommends \
    libgstreamer1.0-dev \
    libgstreamer-plugins-base1.0-dev \
    libgstreamer-plugins-bad1.0-dev \
    libsqlite3-dev \
    && rm -rf /var/lib/apt/lists/*
WORKDIR /app
COPY Package.swift ./
COPY Sources Sources
RUN swift build -c release

# Stage 3: Runtime image
FROM swift:6.3-bookworm-slim
RUN apt-get update && apt-get install -y --no-install-recommends \
    gstreamer1.0-tools \
    gstreamer1.0-plugins-base \
    gstreamer1.0-plugins-good \
    gstreamer1.0-plugins-bad \
    gstreamer1.0-plugins-ugly \
    gstreamer1.0-libav \
    gstreamer1.0-alsa \
    alsa-utils \
    v4l-utils \
    sqlite3 \
    ca-certificates \
    && rm -rf /var/lib/apt/lists/*
COPY --from=builder /app/.build/release/web-app /usr/local/bin/web-app
COPY --from=frontend /frontend/dist ./static
EXPOSE 8000
CMD ["web-app"]
Generated wendy.json
Because the dashboard touches the camera, microphone, GPU, and persistent storage, the generated wendy.json requests host networking plus the camera, audio, gpu, and persist entitlements. The persist volume web-app-data is mounted at /data, where the SQLite database lives:
{
    "appId": "web-app",
    "platform": "linux",
    "version": "0.1.0",
    "entitlements": [
        {
            "type": "network",
            "mode": "host"
        },
        {
            "type": "camera"
        },
        {
            "type": "audio"
        },
        {
            "type": "gpu"
        },
        {
            "type": "persist",
            "name": "web-app-data",
            "path": "/data"
        }
    ],
    "readiness": {
        "tcpSocket": { "port": 8000 },
        "timeoutSeconds": 30
    },
    "hooks": {
        "postStart": {
            "cli": "wendy utils open-browser http://${WENDY_HOSTNAME}:8000"
        }
    }
}
The readiness probe waits until port 8000 is accepting connections before proceeding. The postStart hook automatically opens your browser once the app is ready.
Run Again on WendyOS
Deploy your full-stack dashboard to your WendyOS device:
wendy runTest Your Web App
Your browser will open automatically once the app is ready, thanks to the postStart hook. If it doesn't, navigate to:
http://wendyos-true-probe.local:8000Replace the hostname: Each WendyOS device has a unique hostname. Replace wendyos-true-probe with your device's actual hostname shown in the CLI output.
Test the API Directly
# System info (host, CPU, memory, disk, uptime)
curl http://wendyos-true-probe.local:8000/api/system

# List cars (SQLite-backed CRUD)
curl http://wendyos-true-probe.local:8000/api/cars

# Create a car
curl -X POST http://wendyos-true-probe.local:8000/api/cars \
  -H "Content-Type: application/json" \
  -d '{"make":"Tesla","model":"Model 3","color":"#cc0000","year":2024}'
Learn More
Next Steps
Now that you have a full-stack device dashboard running:
- Add new
/api/*routes and a matching page infrontend/src/pages/ - Extend the cars example into your own SQLite-backed data model
- Stream additional device data over WebSockets
- Add authentication middleware
- Customize the shadcn/ui theme and sidebar navigation