Deploy your first app
Run a web server on a device, change its response, and deploy your edit.
You'll deploy a TypeScript web server, open it in your browser, and change the response. Use a Linux or WendyOS device you already have, or a local virtual device. No Cloud account or local Node.js installation is needed.
Already have a Dockerfile? You can keep it. This walkthrough creates a sample project; using the platform does not require converting an existing build to a Stagefile.
Before you start
Use macOS or Linux. On Windows, use a WSL2 Linux terminal, with your project and container builder inside WSL2, for every command in this tutorial.
The app builds in a container. On macOS, Wendy offers to install Docker Desktop through Homebrew. On Linux and WSL2, install and start Docker with Buildx before continuing.
Choose where the app will run:
- On your device, finish its setup guide and confirm that
wendy discoverlists it. If WendyOS or Wendy Agent is already installed, you can use it directly. A Linux agent installed with Only this computer does not appear in discovery. Follow local Linux setup and pass--device 127.0.0.1:50051wherever this tutorial selects a device. - For a local virtual device, no hardware setup is needed. Wendy creates it in step 3 and offers to install QEMU. Allow 4 GiB of VM memory and several minutes for the initial image download. See VM requirements.
1. Install Wendy
Run this on your development computer, or skip it if wendy --version already works:
curl -fsSL https://install.wendy.dev/cli.sh | bash
wendy --version
You should see a version number. If the command is not found, open a new terminal and retry.
2. Create an app
wendy init hello-wendy --target wendyos --language node --template simple-api --var APP_ID=hello-wendy --assistant skip --git-init no
cd hello-wendy
Wendy creates a TypeScript server in src/index.ts, a Dockerfile for building it,
and wendy.json for deployment settings. Keep this terminal in hello-wendy
for the remaining commands.
3. Run it
wendy runSelect your device and press Enter. To create a virtual device, press Tab to open Simulator, press c, and choose Generic WendyOS. This VM runs your web server; it does not include a simulated robot.
If Wendy skips the picker because you have a saved default, use
wendy device unset-default and run the command again to choose a different target.
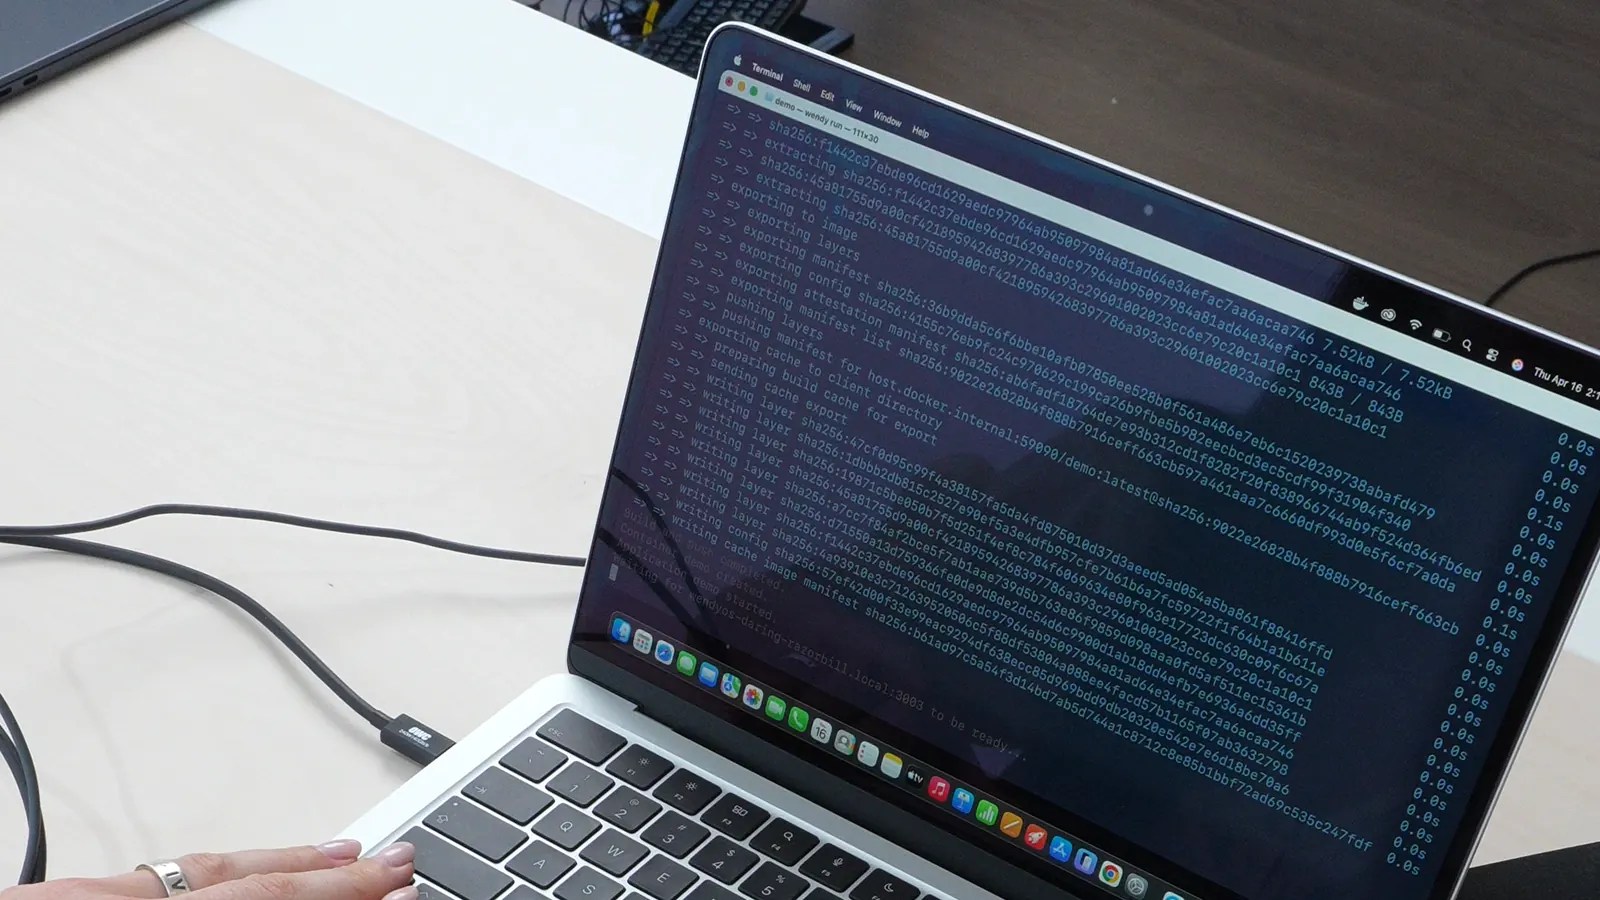
Wendy builds and deploys the app, then streams its logs. Wait for App reachable at
and open the printed URL if your browser does not open automatically. You should see:
{"message":"hello-world"}That response came from the app on your selected device. Keep the printed URL for the next step. If it does not appear, follow troubleshoot your first deployment.
4. Change the response
Press Ctrl+C to leave the attached run. Watch mode cannot show the device picker,
so set the target explicitly. Replace the value below with your device's hostname
or IP address from wendy discover. For a VM, use vm:<name> with the name from
wendy vm list.
This is the agent's address, not the app's HTTP URL.
WENDY_TARGET='your-device.local'
wendy run --device "$WENDY_TARGET" --watch
Keep this terminal for the remaining commands. Open src/index.ts in your editor. Replace:
res.json({ message: "hello-world" });with:
res.json({ message: "Hello from my Wendy app!" });Save the file. Wait for the redeployment to finish in your terminal, then refresh the app's URL. You should now see:
{"message":"Hello from my Wendy app!"}5. Finish
Press Ctrl+C to exit watch mode, then stop the app on the same target:
wendy --device "$WENDY_TARGET" device apps stop hello-wendyWatch mode leaves the app running until you stop it.
If you created a VM, find its name with wendy vm list and stop it with
wendy vm stop <name>. Your project stays in hello-wendy.
To work on it again, set WENDY_TARGET in your terminal as above, then run
wendy run --device "$WENDY_TARGET" --watch from that directory.
Next steps
- Understand the generated server to see how the source, Dockerfile, and
wendy.jsonwork together. - Build in another language with the app tutorials.
- Give your app a camera, microphone, or GPU with hardware access.